Warning: Undefined array key "file" in /data/web/virtuals/245671/virtual/www/domains/honeydesigns.cz/wp-includes/media.php on line 1723
Warning: Undefined array key "file" in /data/web/virtuals/245671/virtual/www/domains/honeydesigns.cz/wp-includes/media.php on line 1723
Warning: Undefined array key "file" in /data/web/virtuals/245671/virtual/www/domains/honeydesigns.cz/wp-includes/media.php on line 1723
Warning: Undefined array key "file" in /data/web/virtuals/245671/virtual/www/domains/honeydesigns.cz/wp-includes/media.php on line 1723
This project was done as part of assignment for my second year of HND course of college. The assignment was to “Design and produce an Interactive Interface for Artistic Installation”.
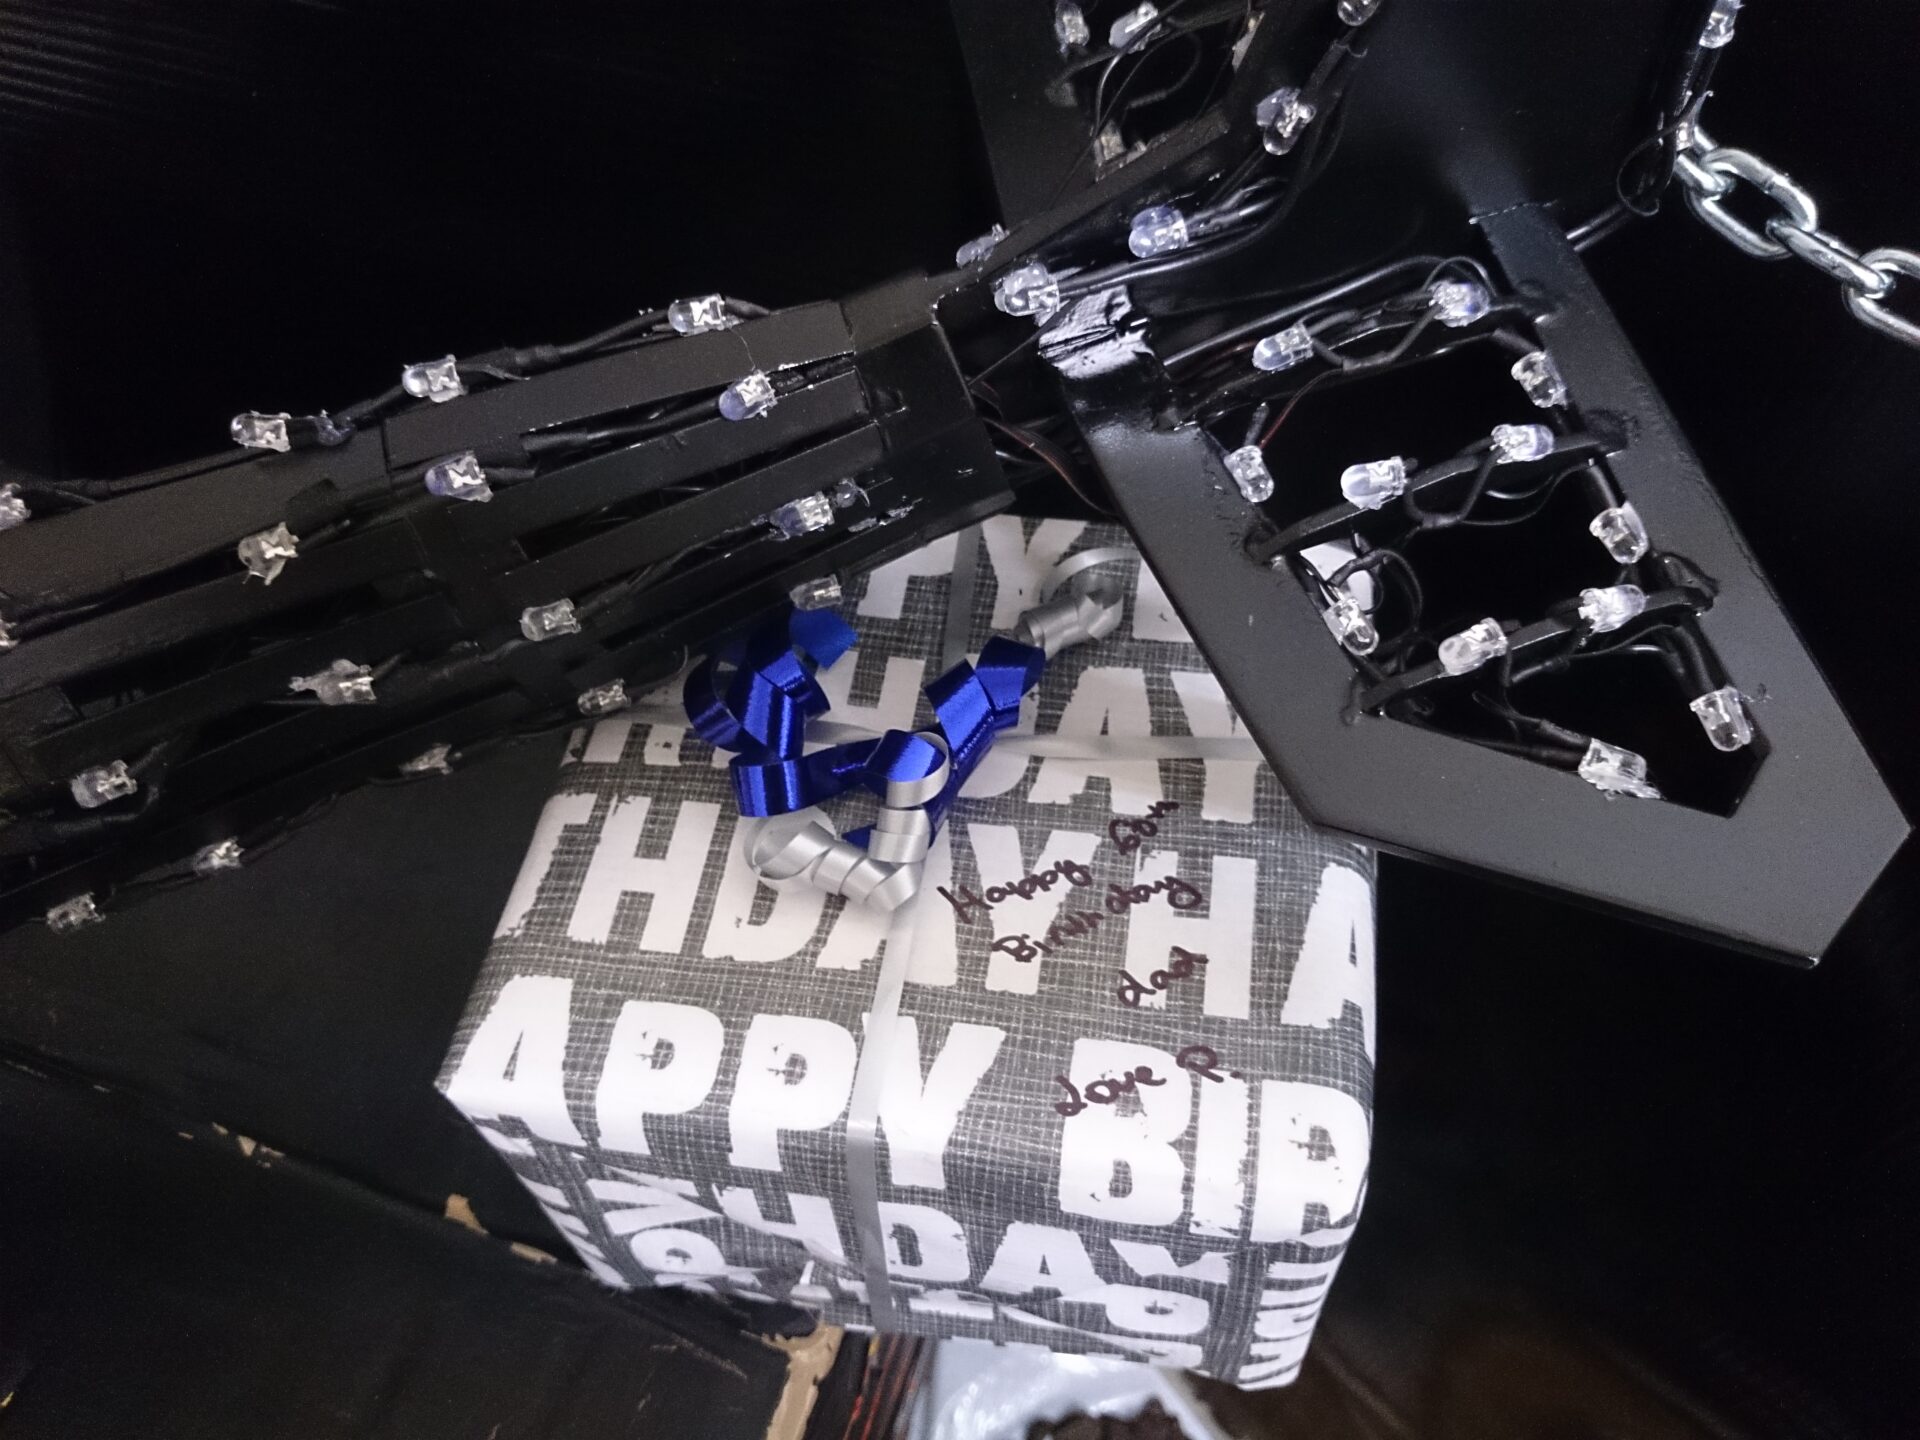
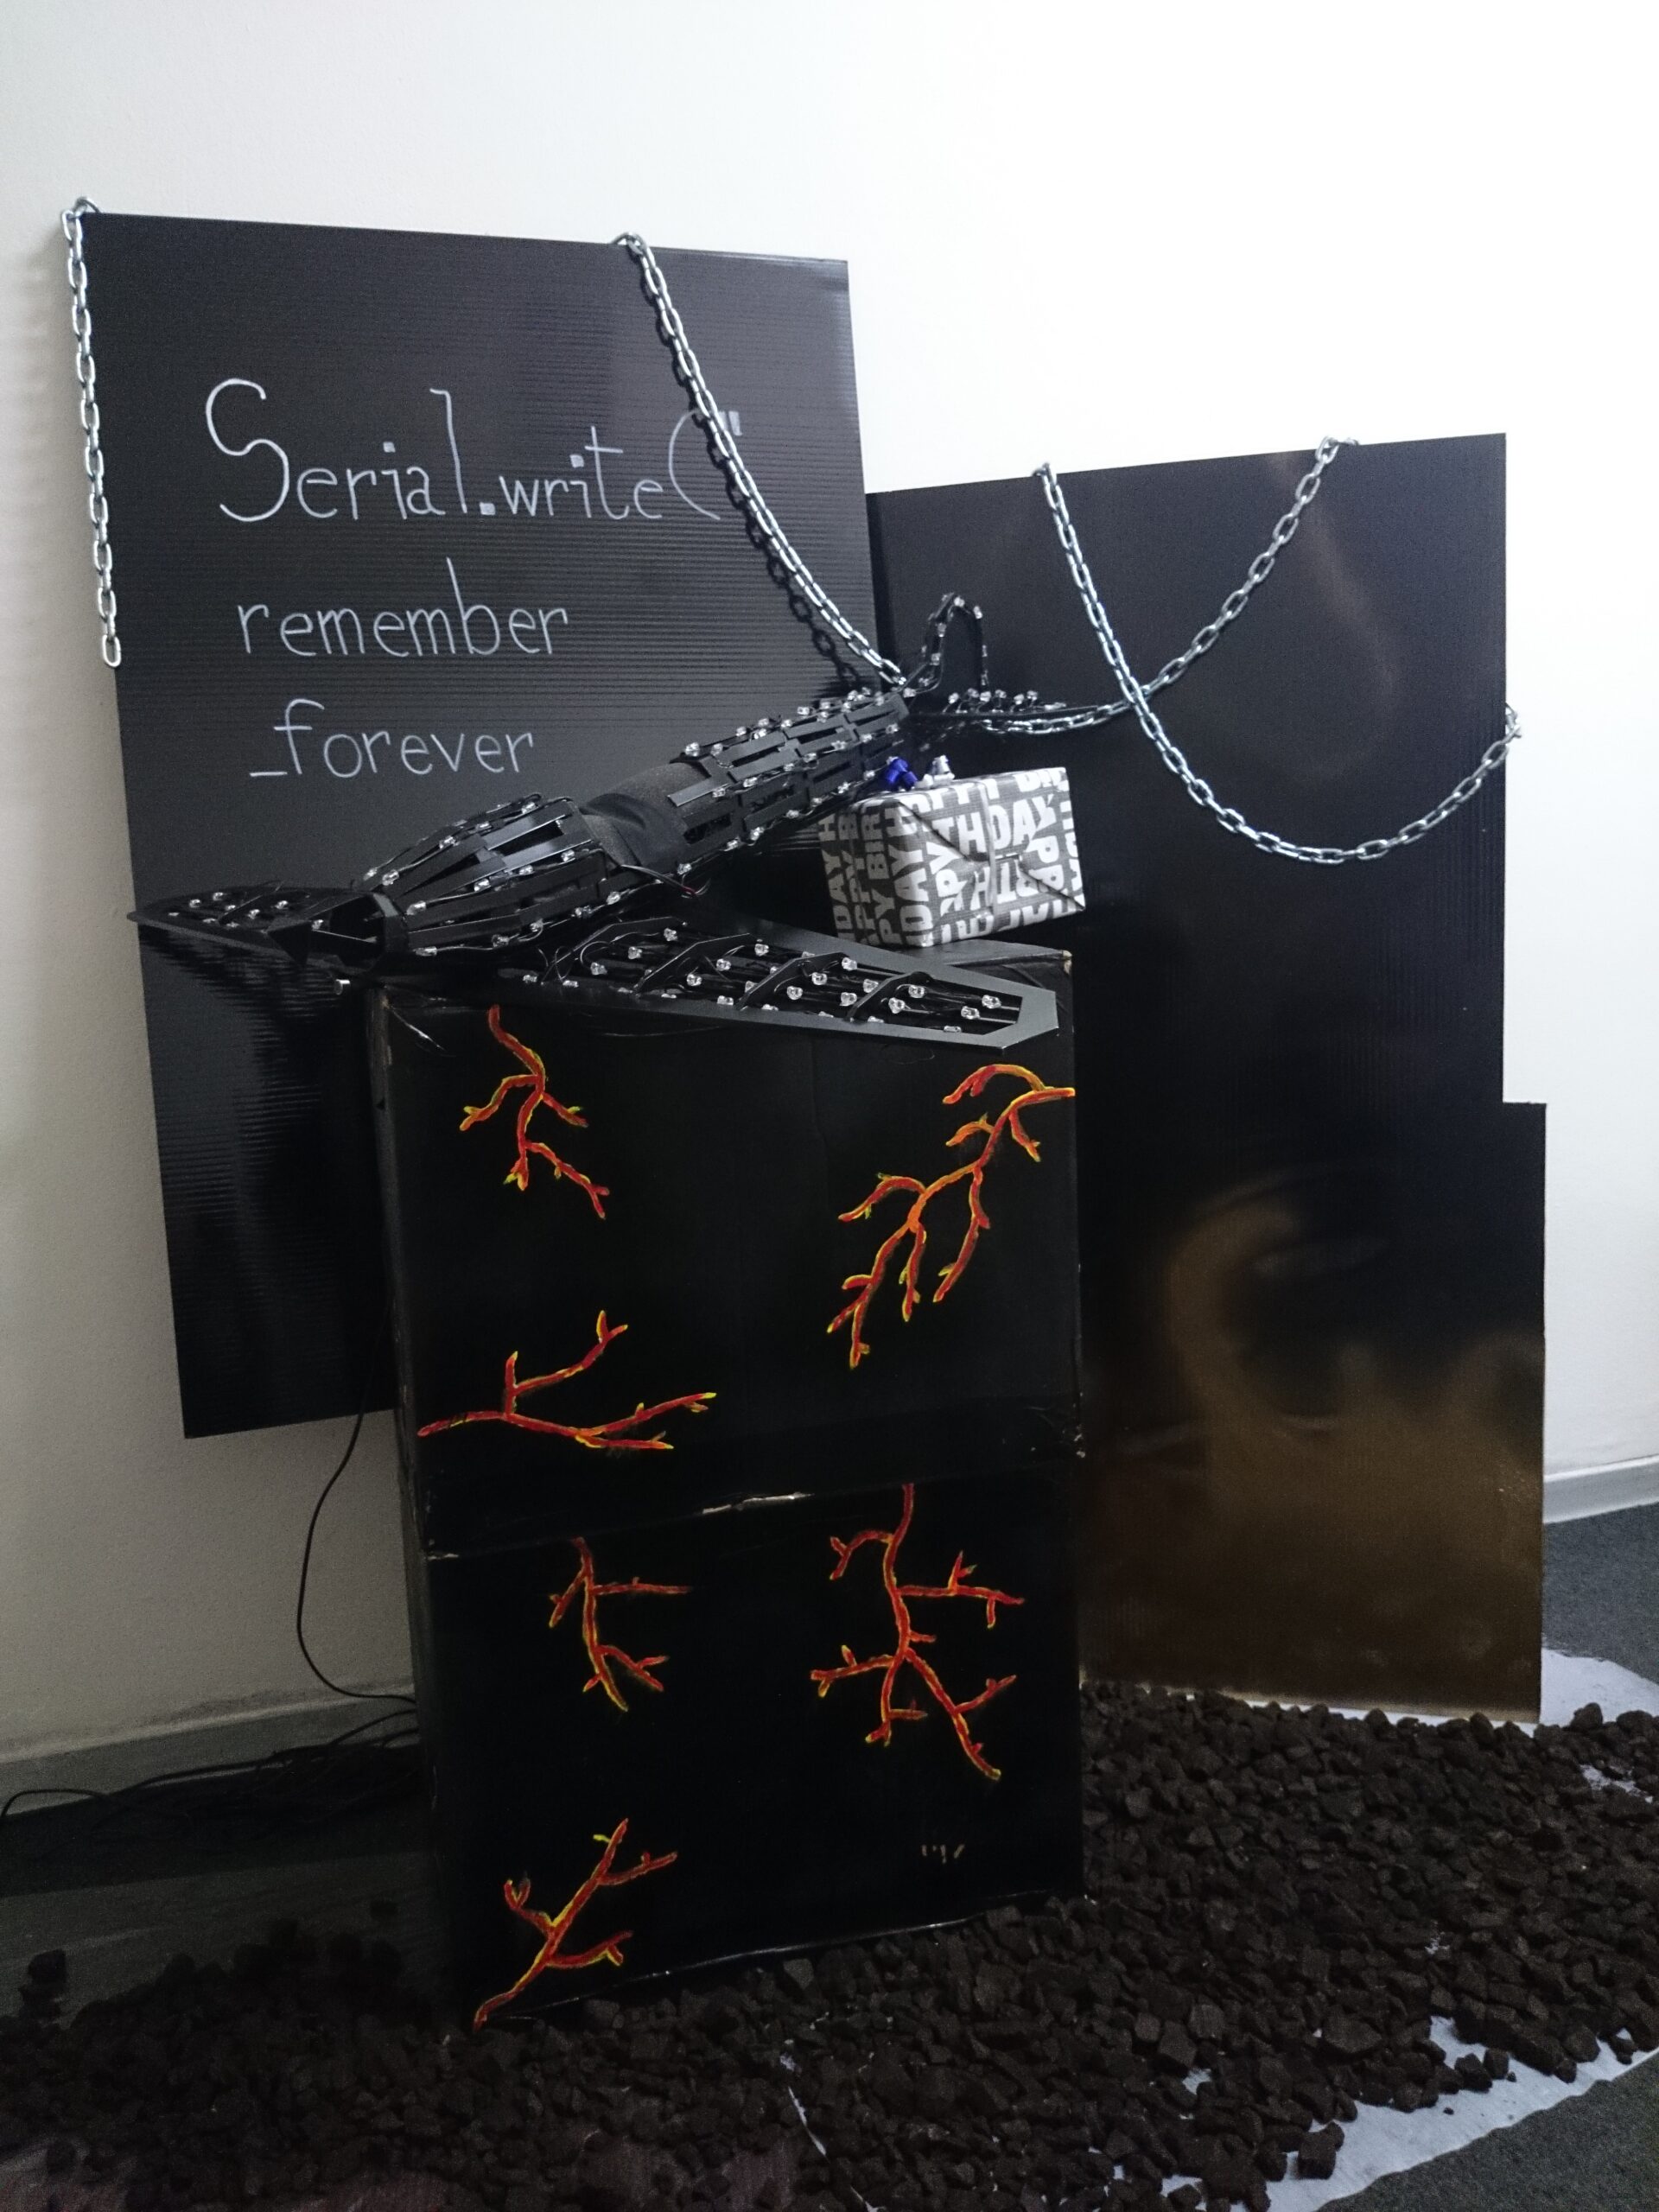
I have chosen to build an interactive model of Spitfire airplane as a tribute to my dad who’s died that year. My aim was to realize his dream of “colourful music” which meant lights reacting to music input. This was before the smart lights were popularised massively as they are now and you can connect them through mobile interface to do almost anything. The installation was themed as a gift for his 60th birthday which he’d have exactly 6 months after he’s died.
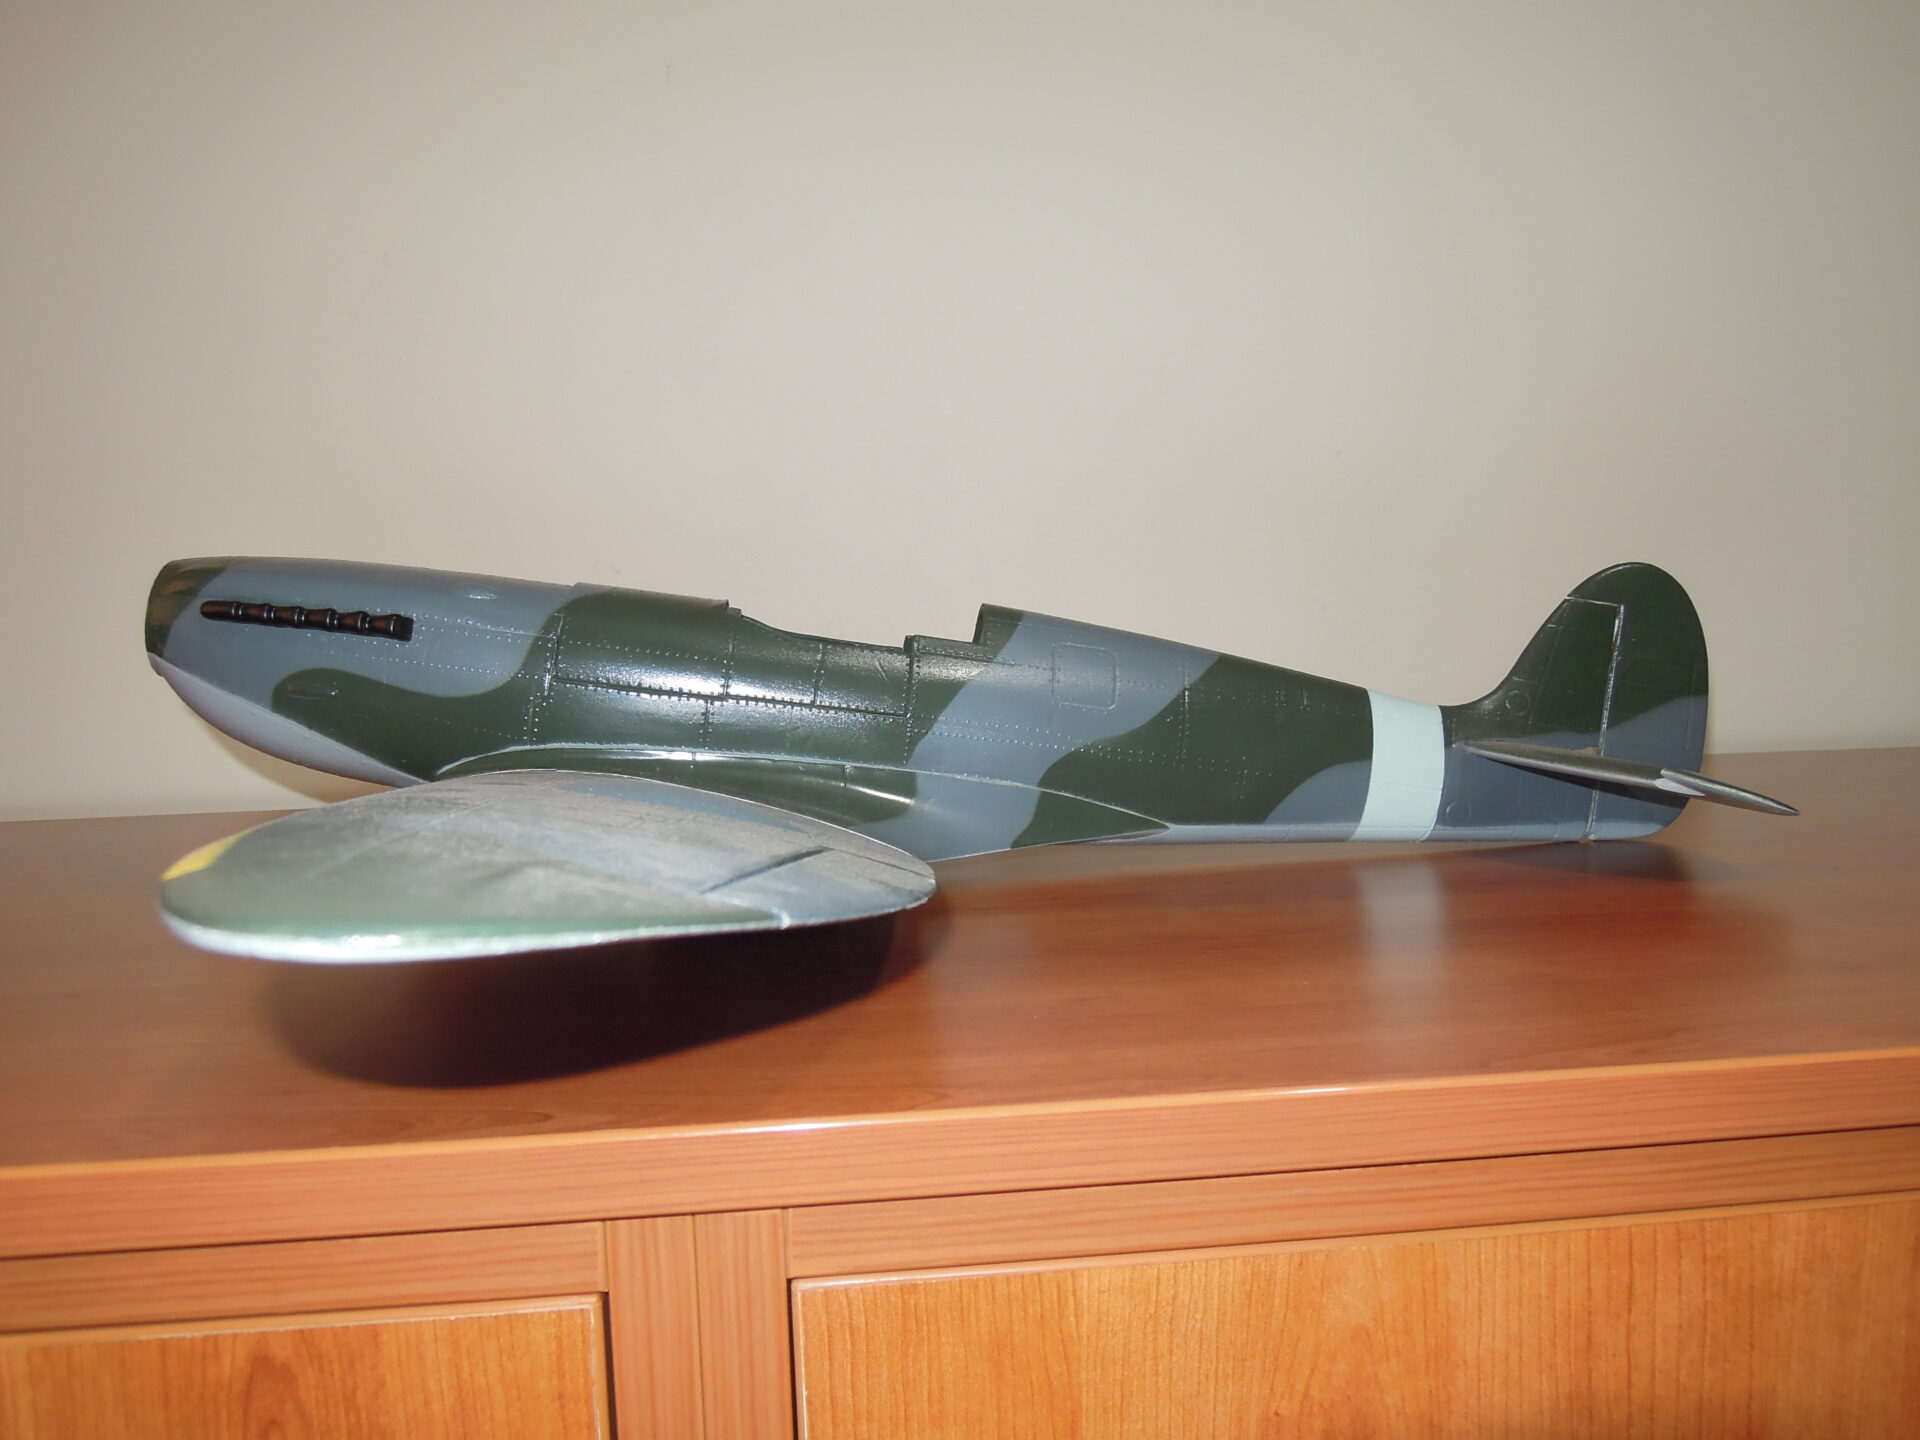
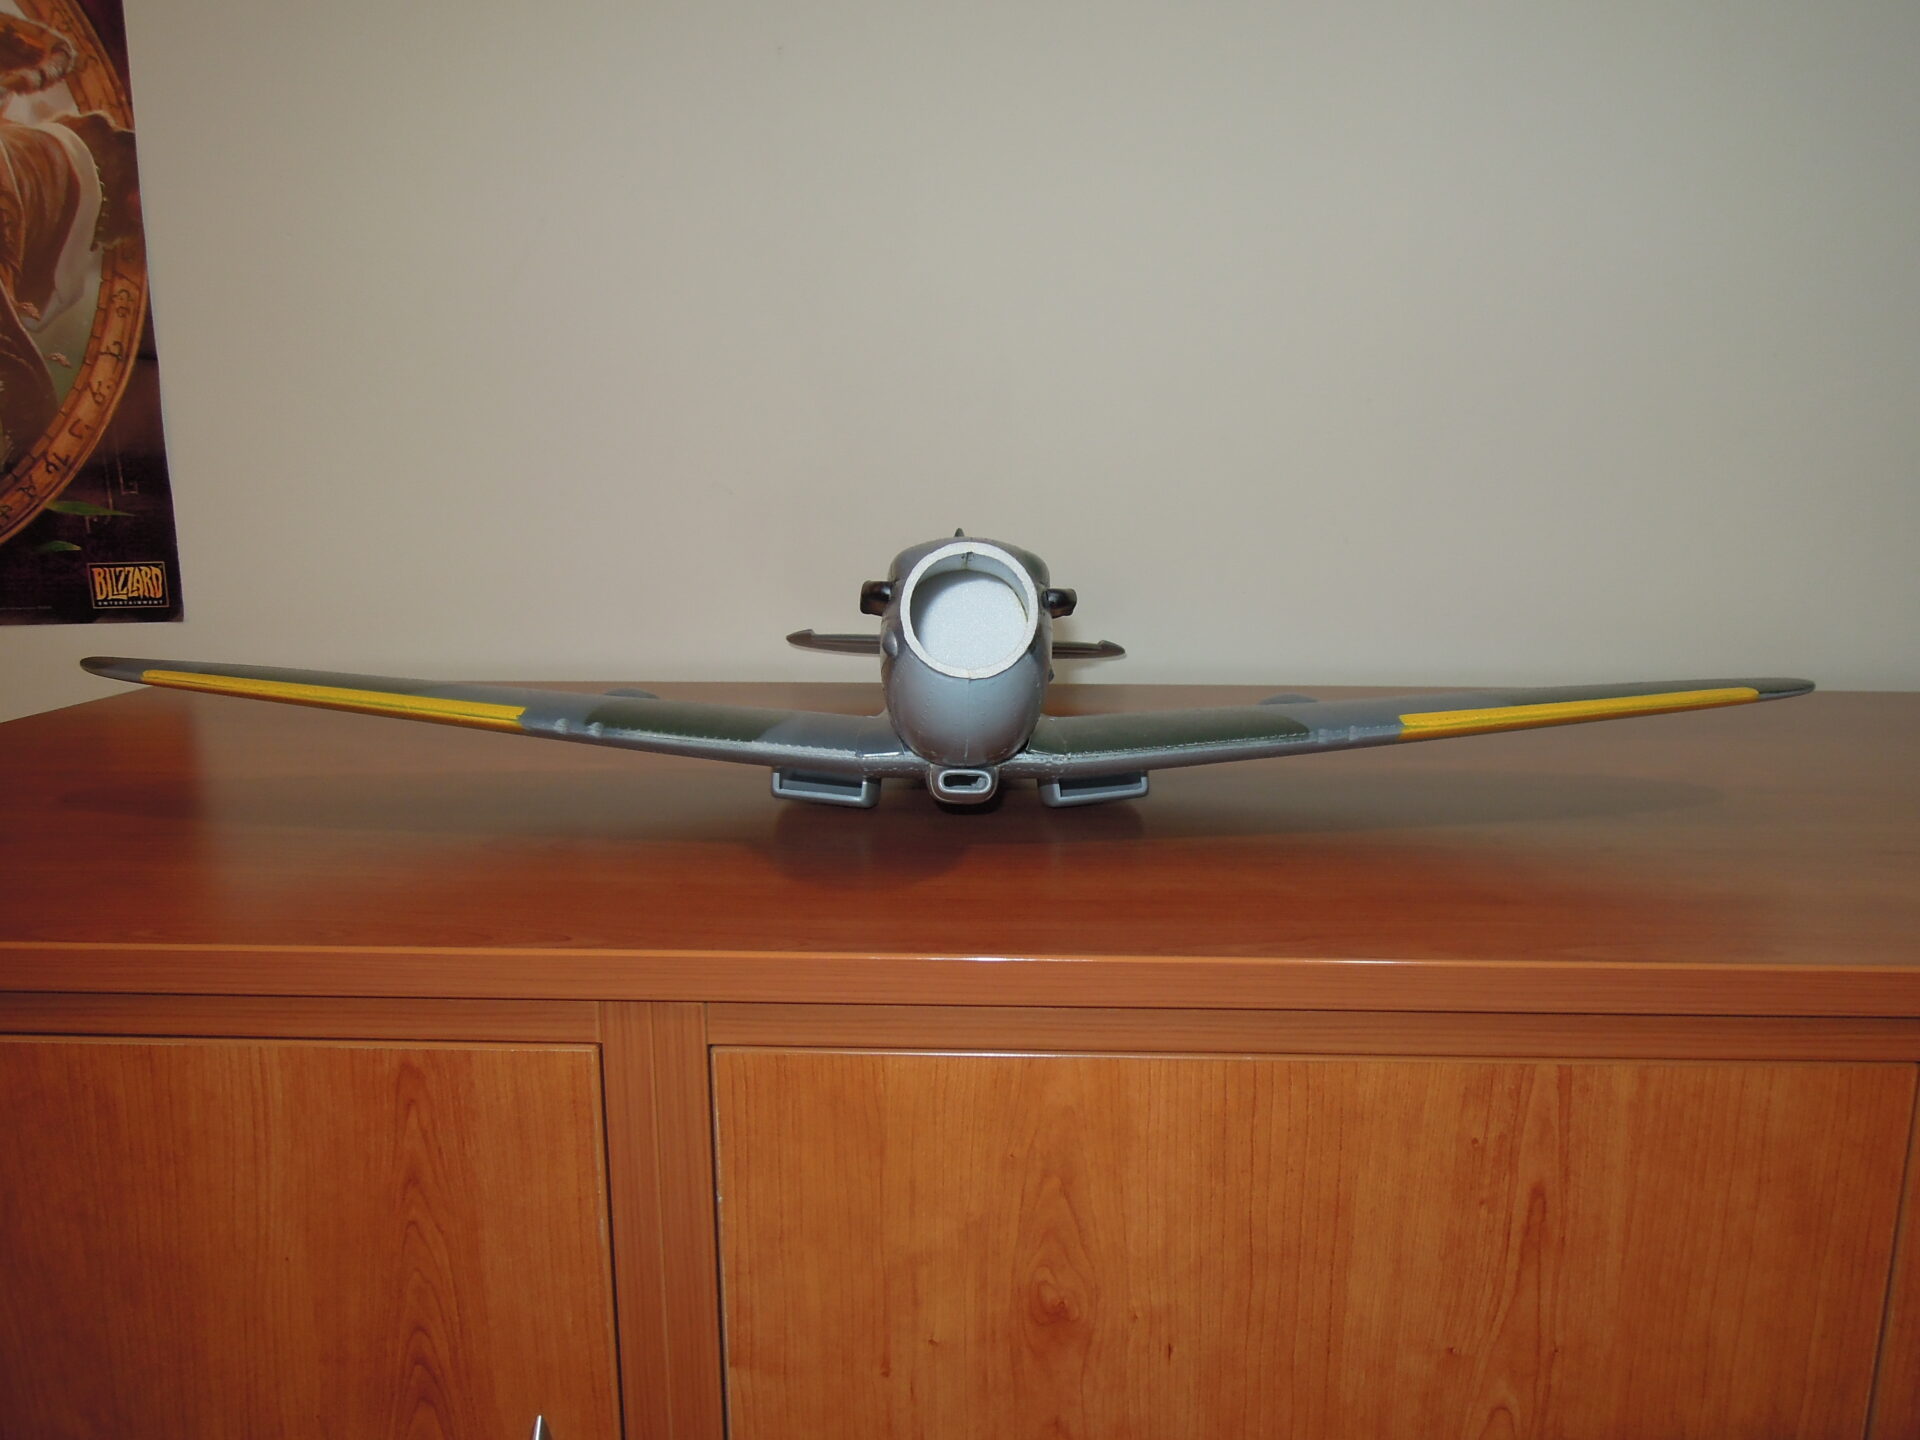
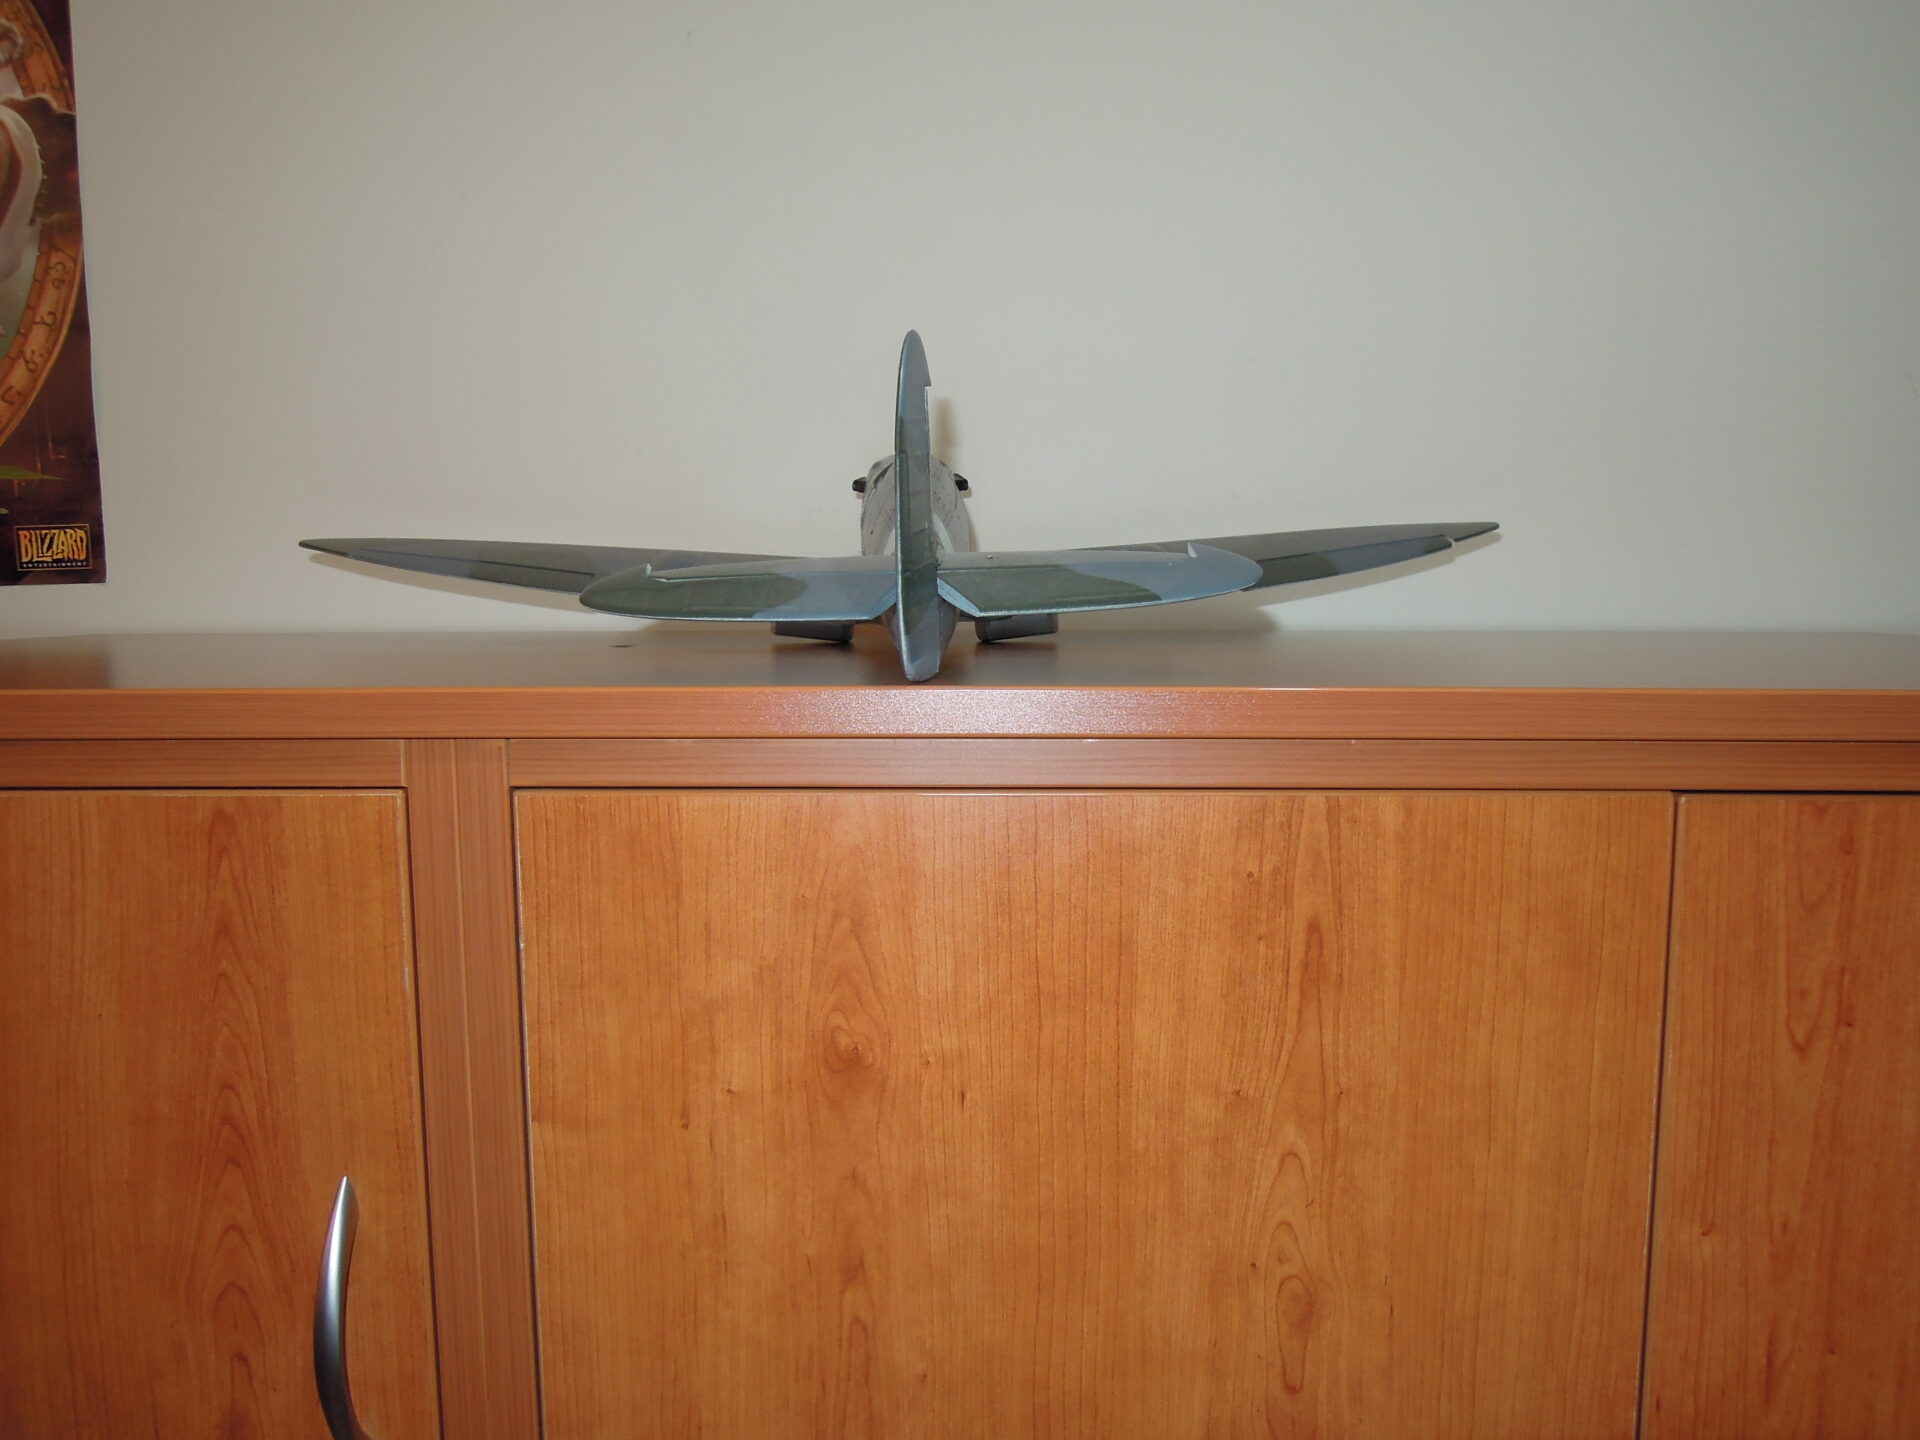
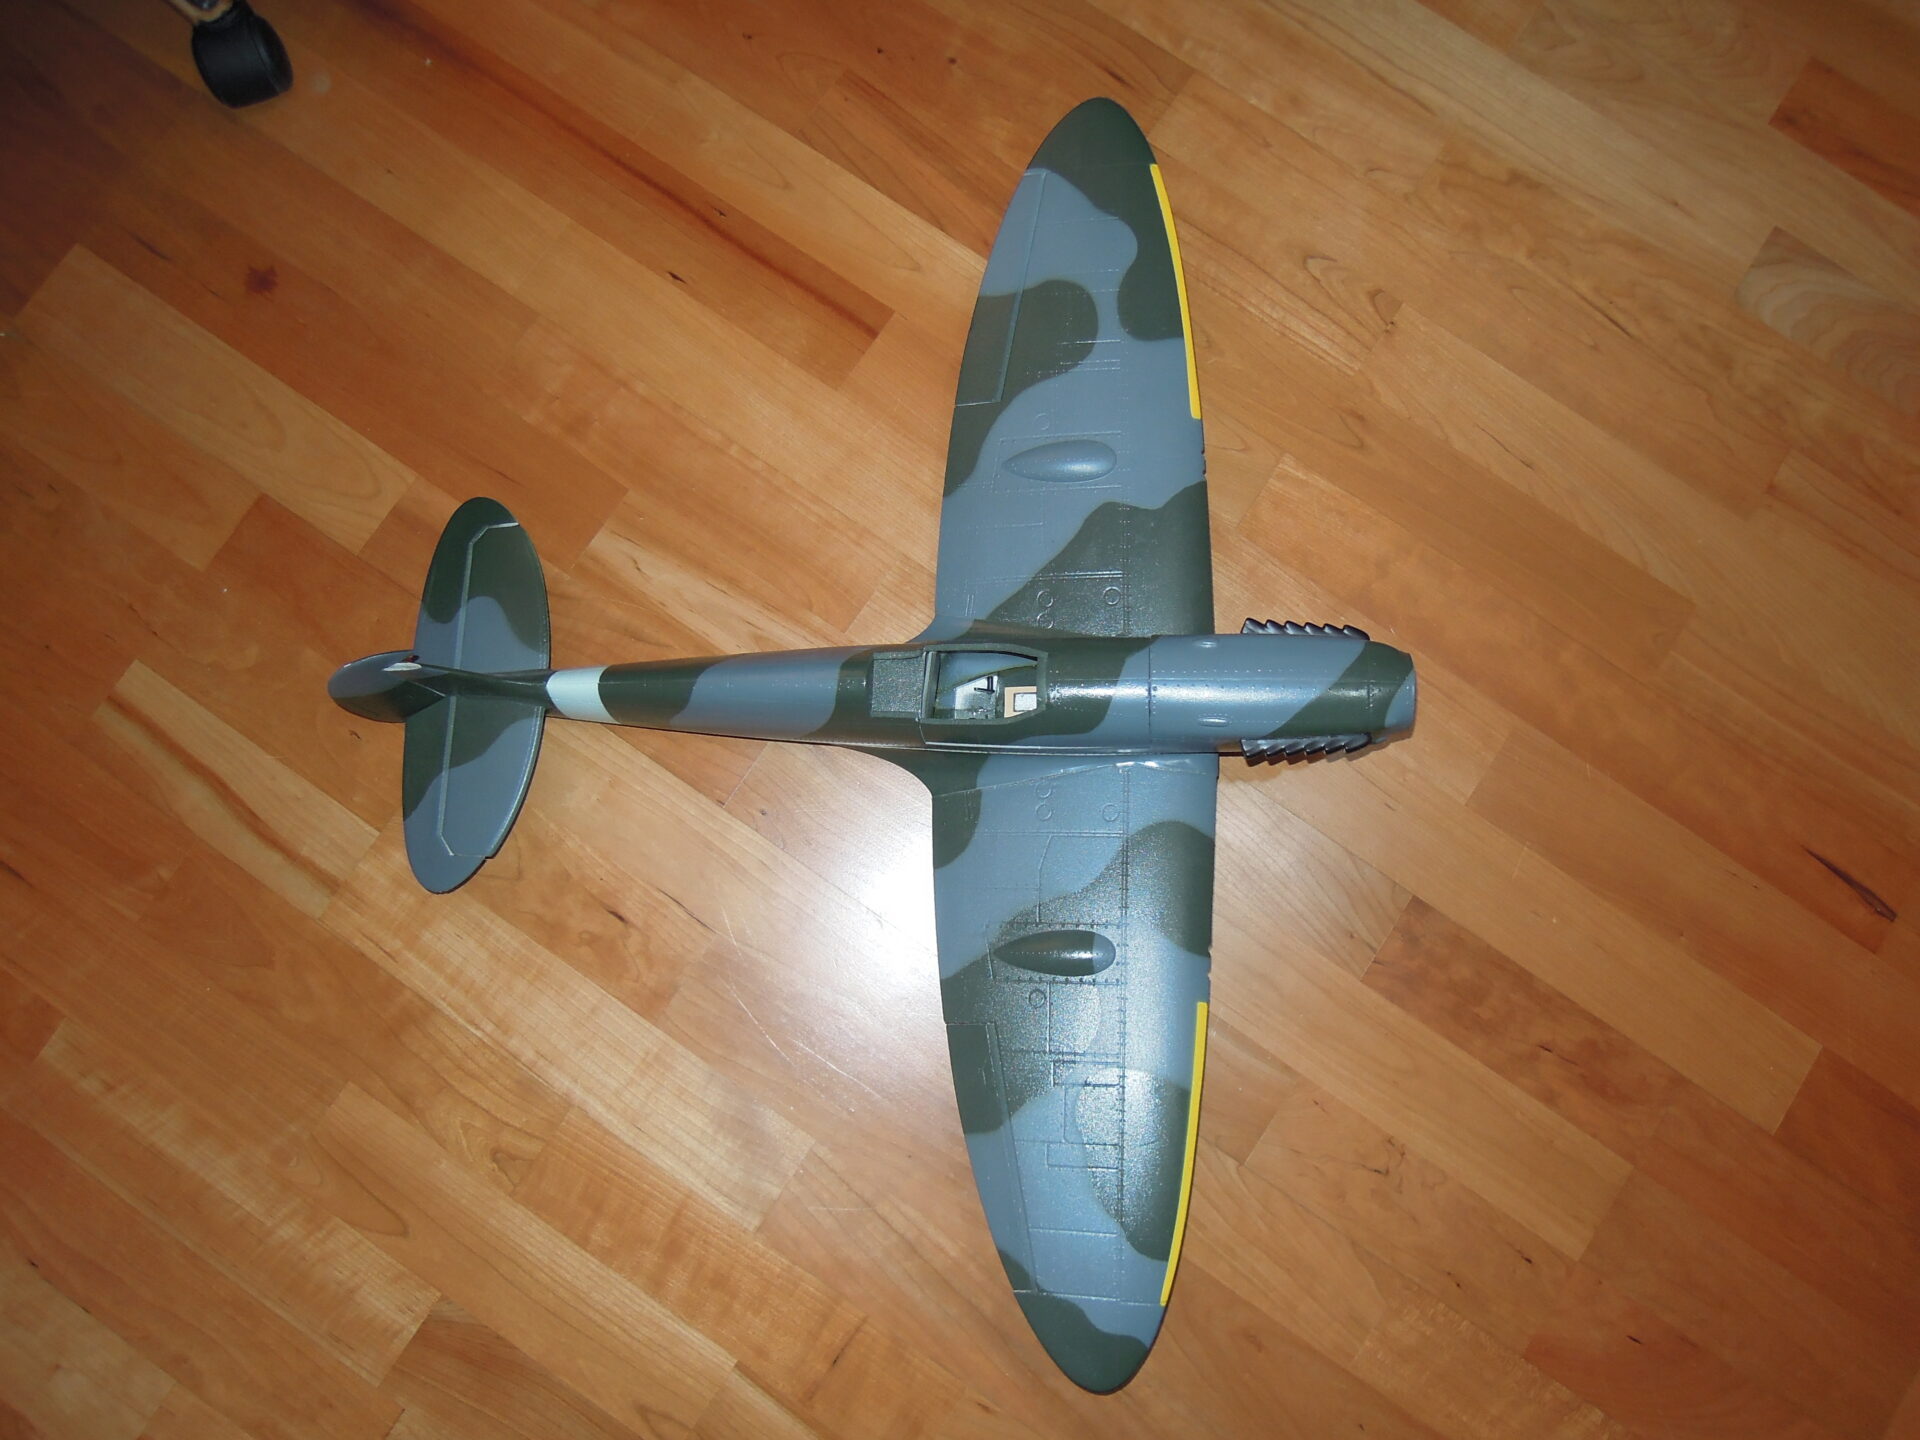
The basic concept was to take a wooden model of a Spitfire airplane that he’s had at home. Recreate it as 3D model, manufacture the 3D model, insert programmable brain inside and attach LED lights that will light up the plane.
I’m not a blogger so here’s the final result. Scroll down if you want to see how was built. Or don’t I don’t care 😛
Here’s how it started with the original model.
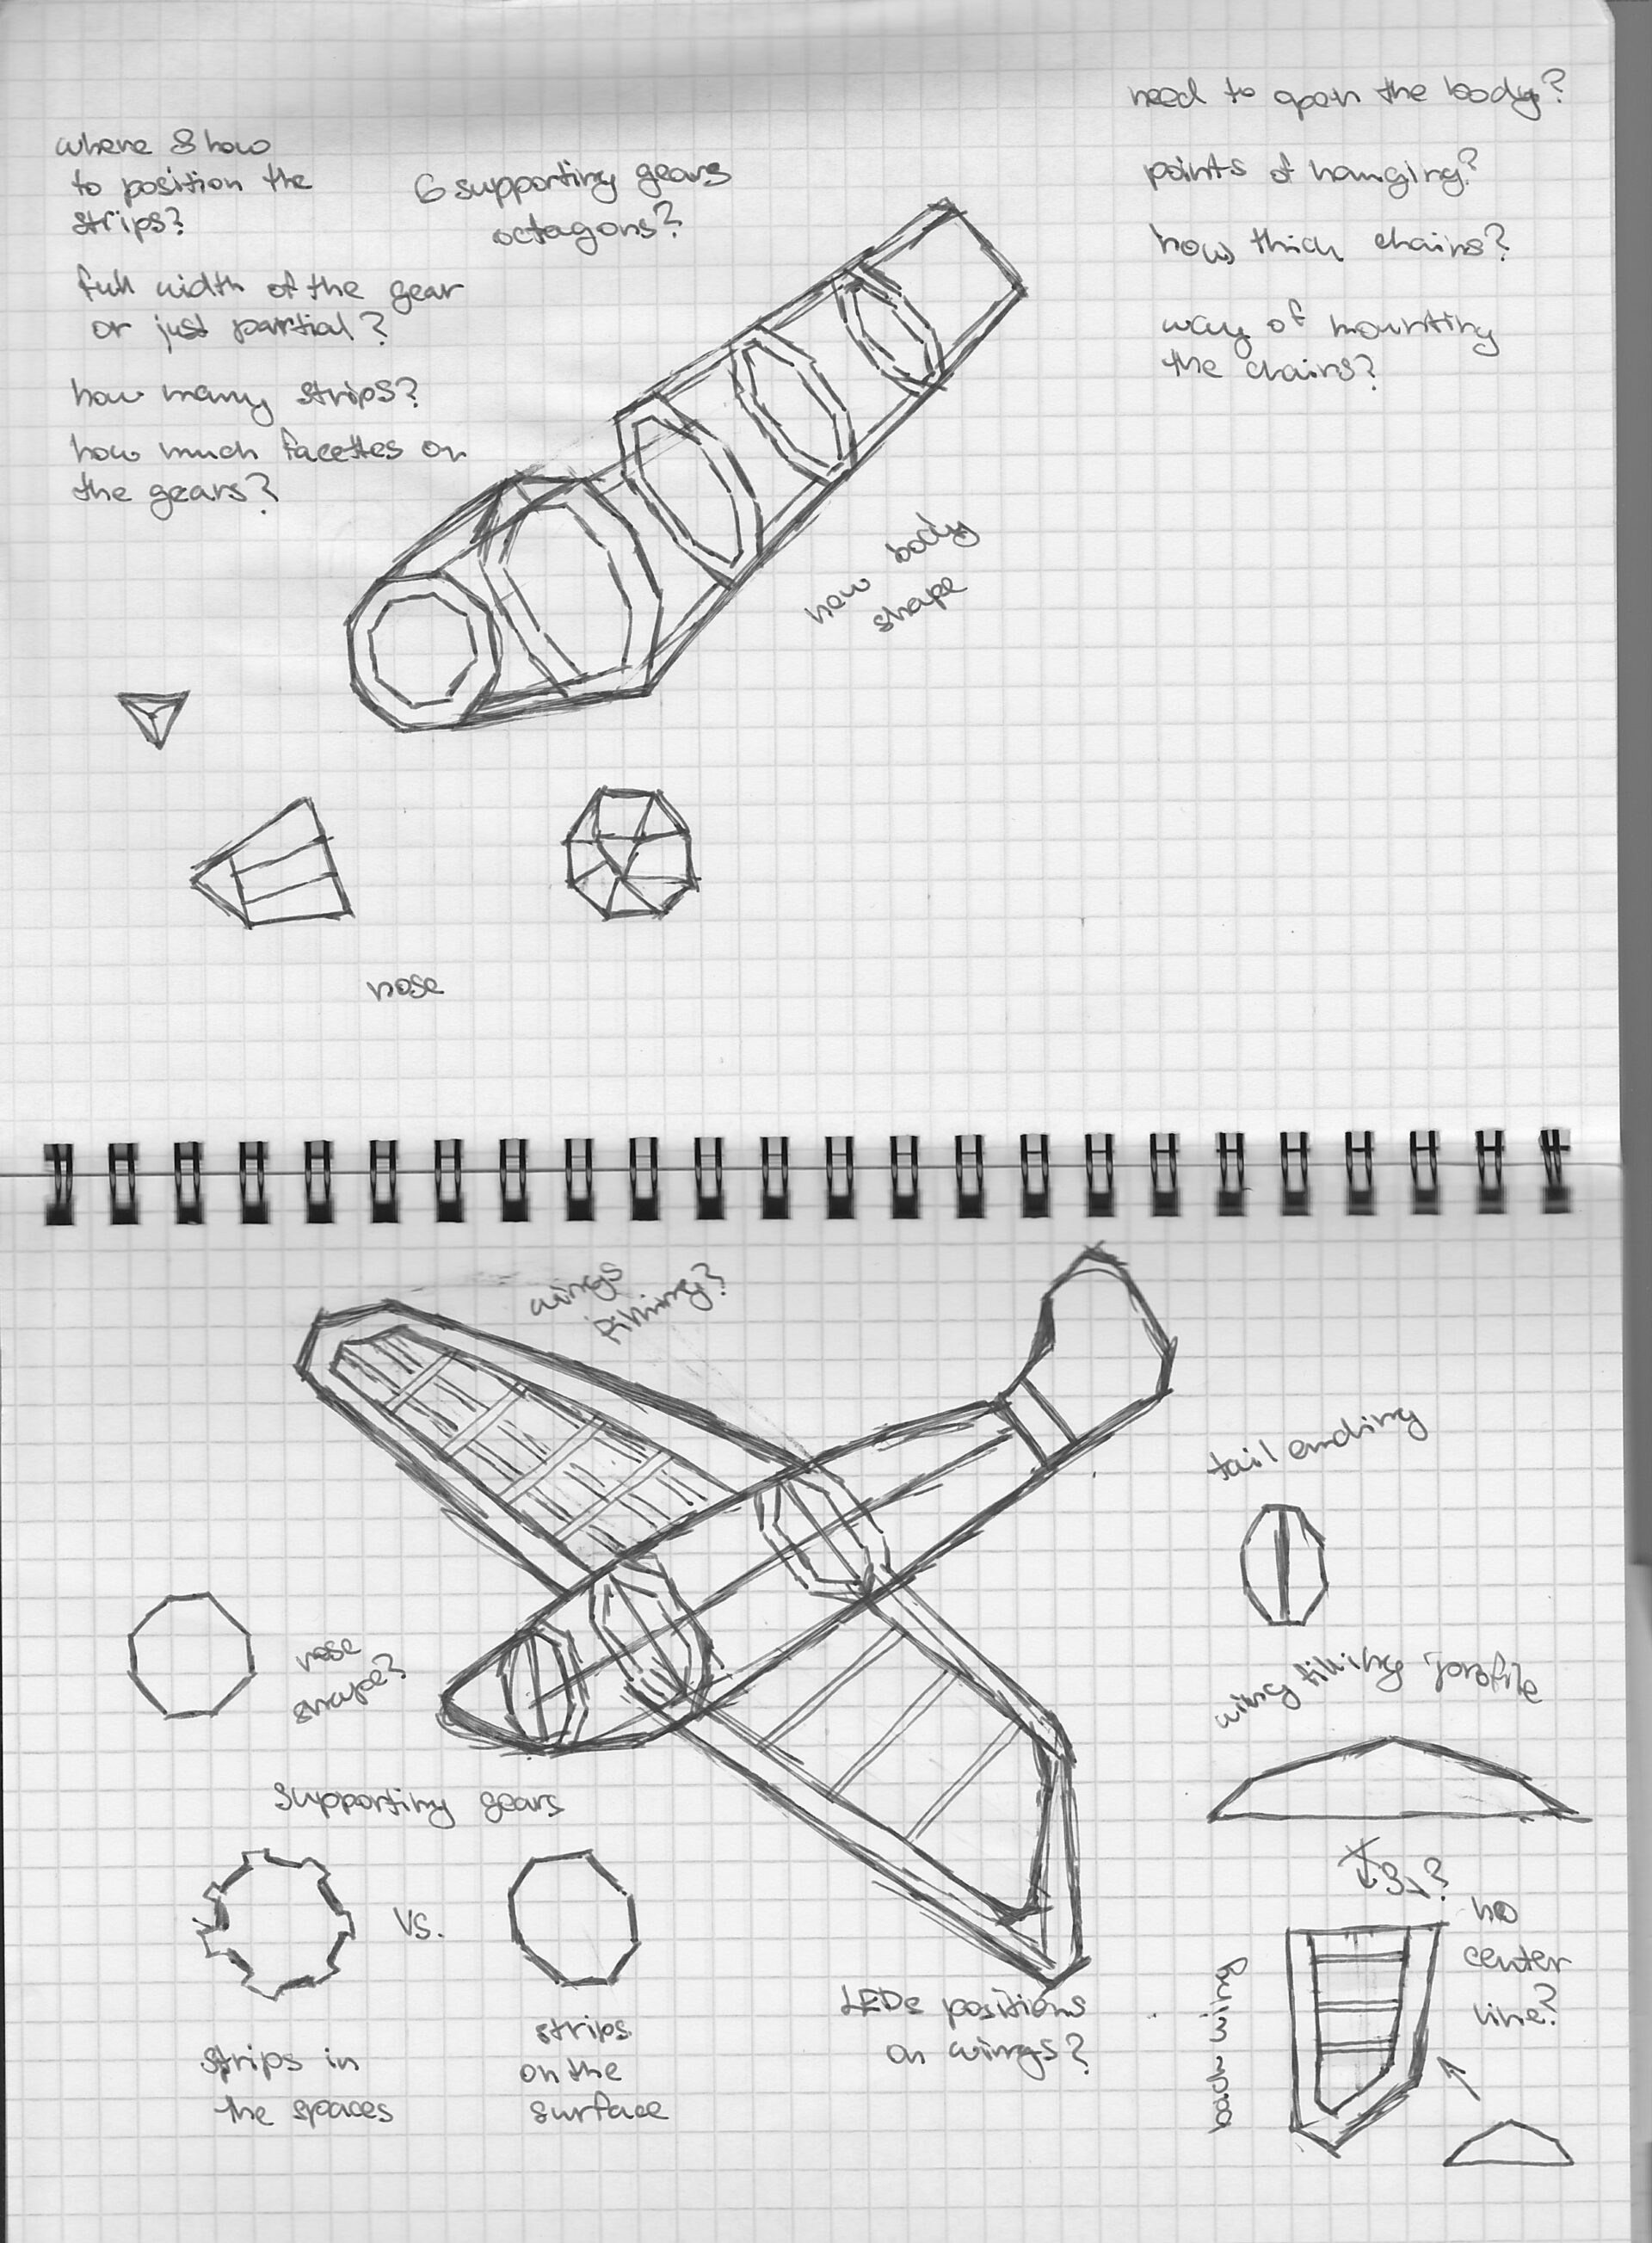
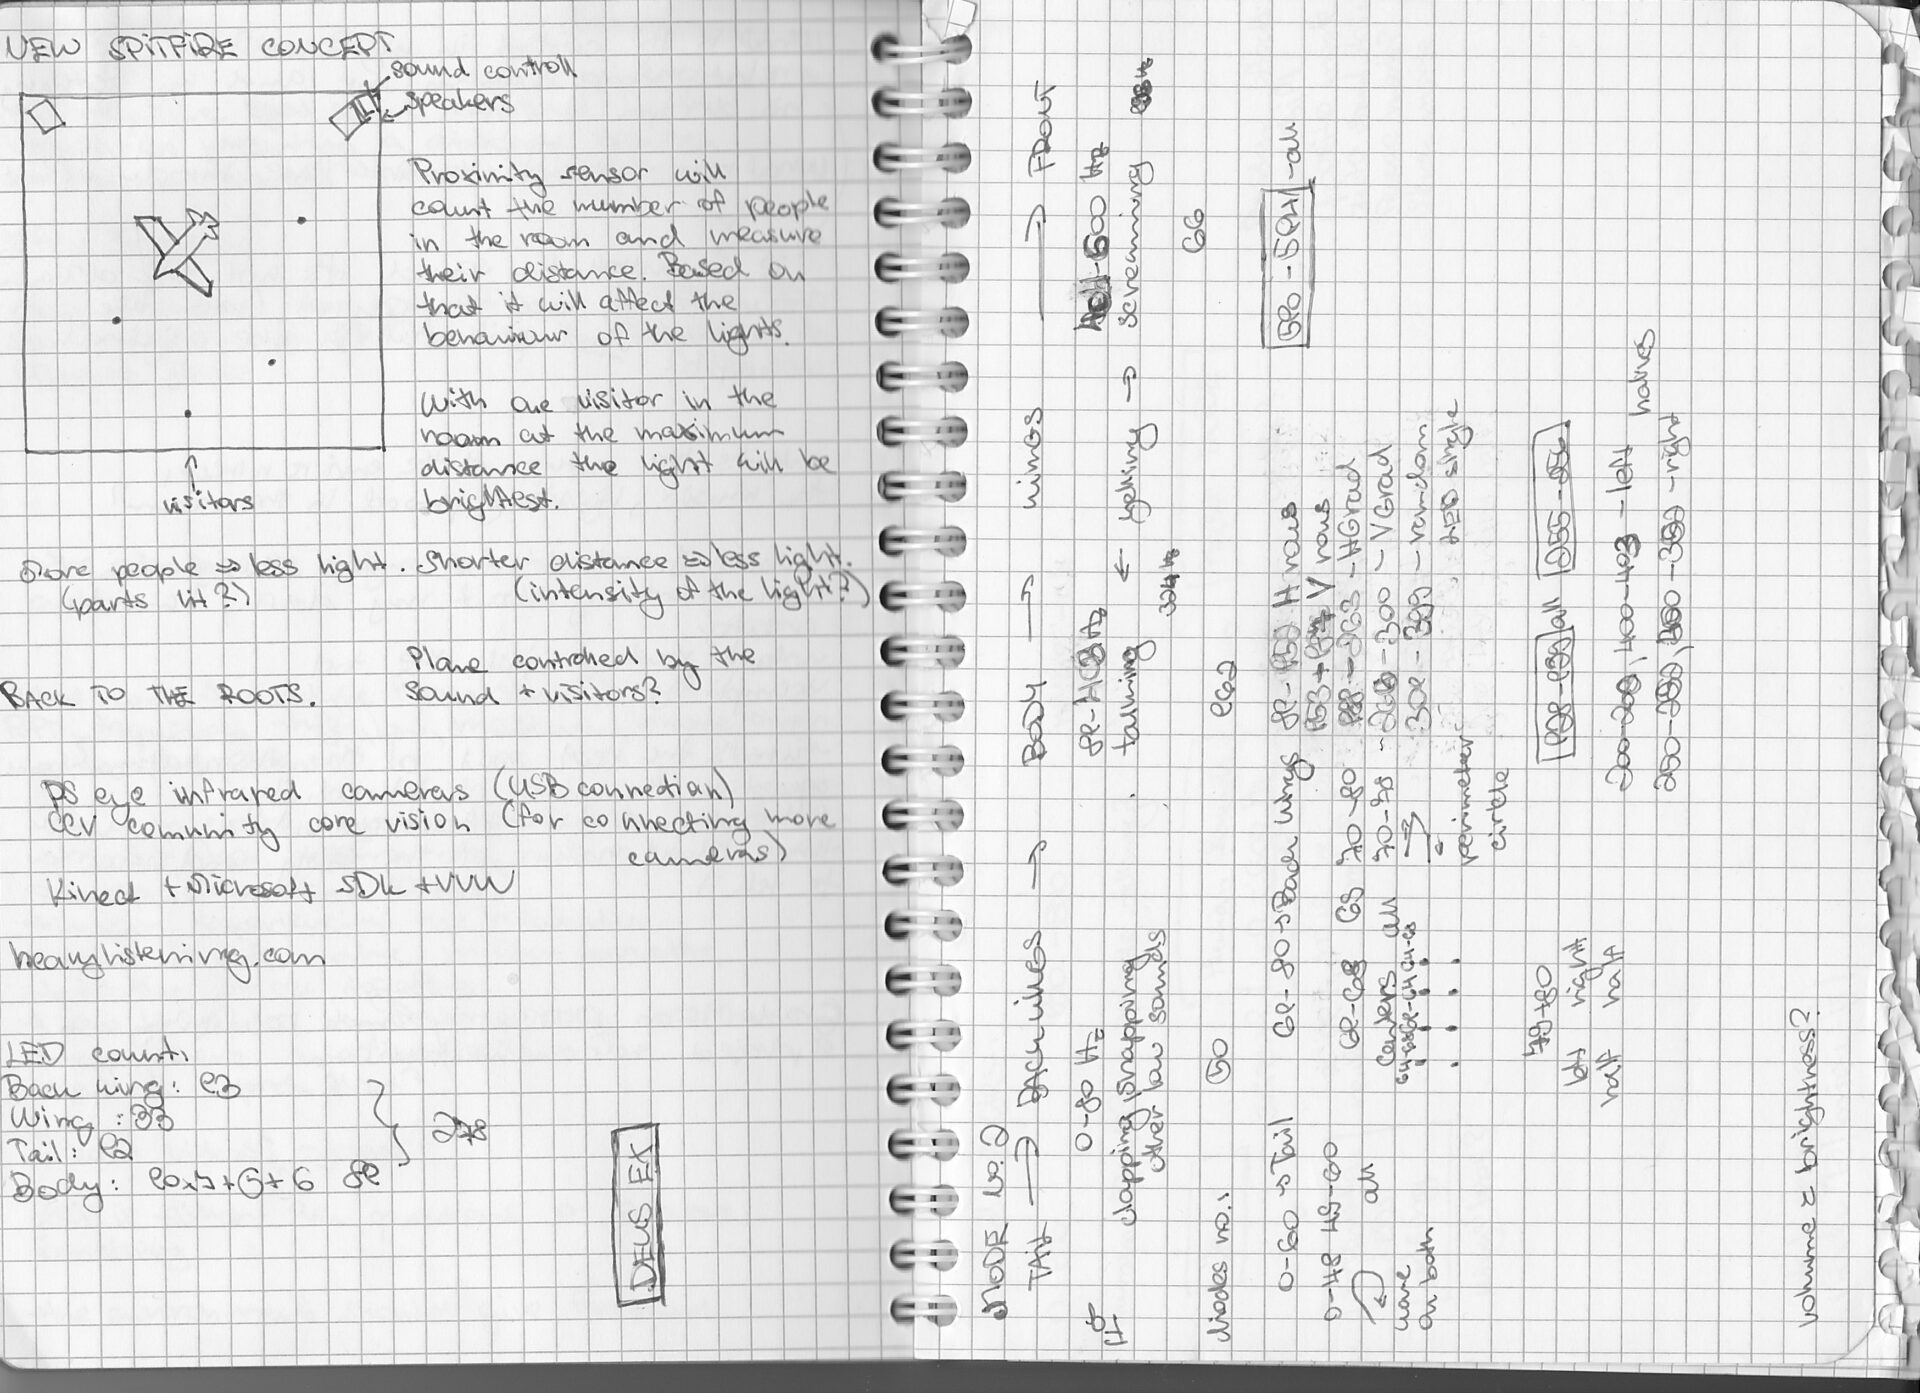
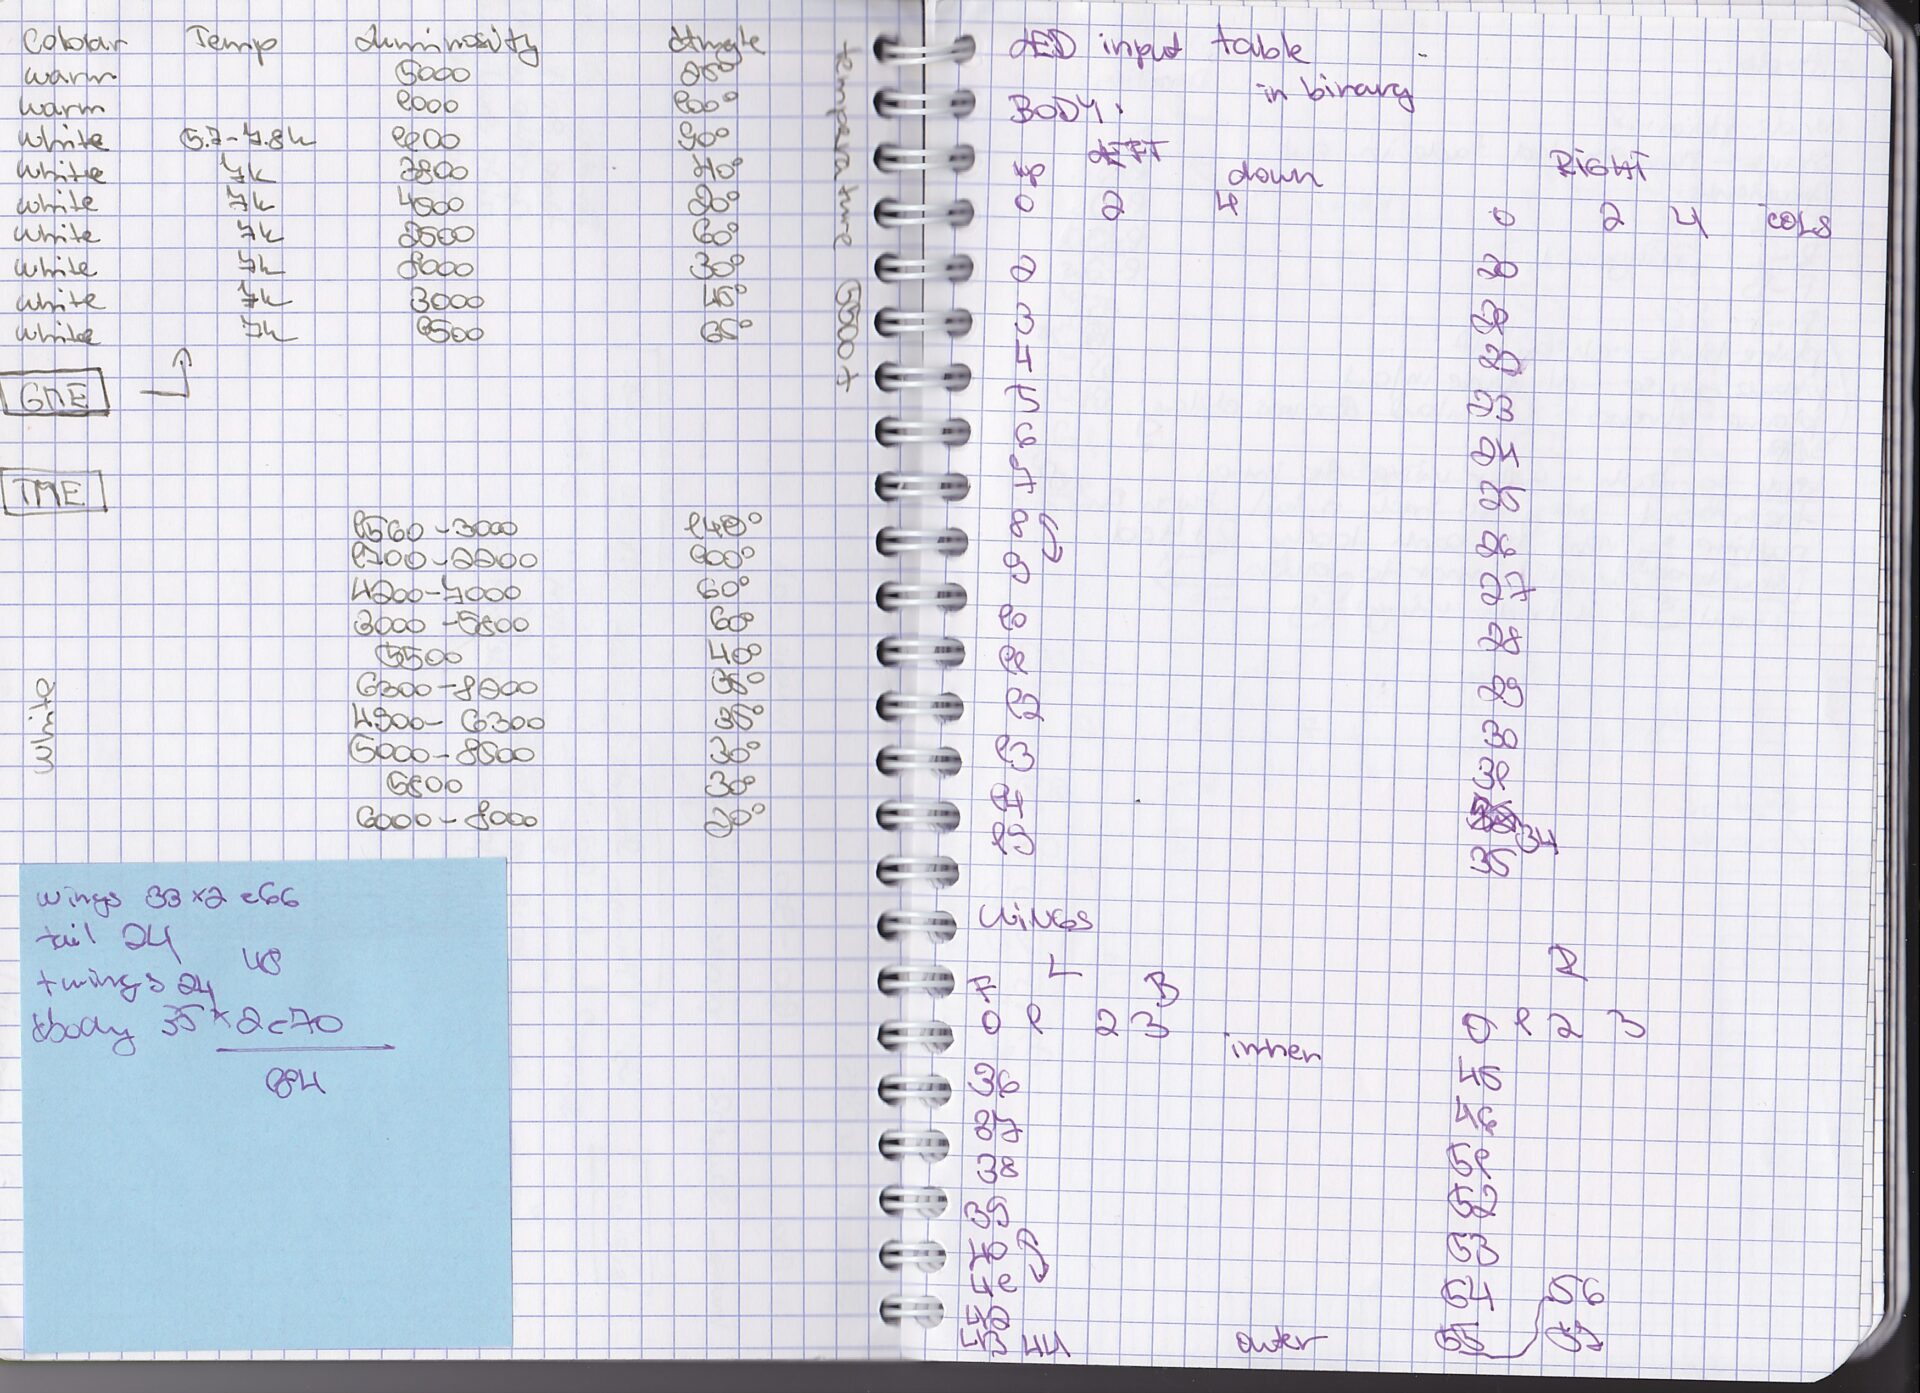
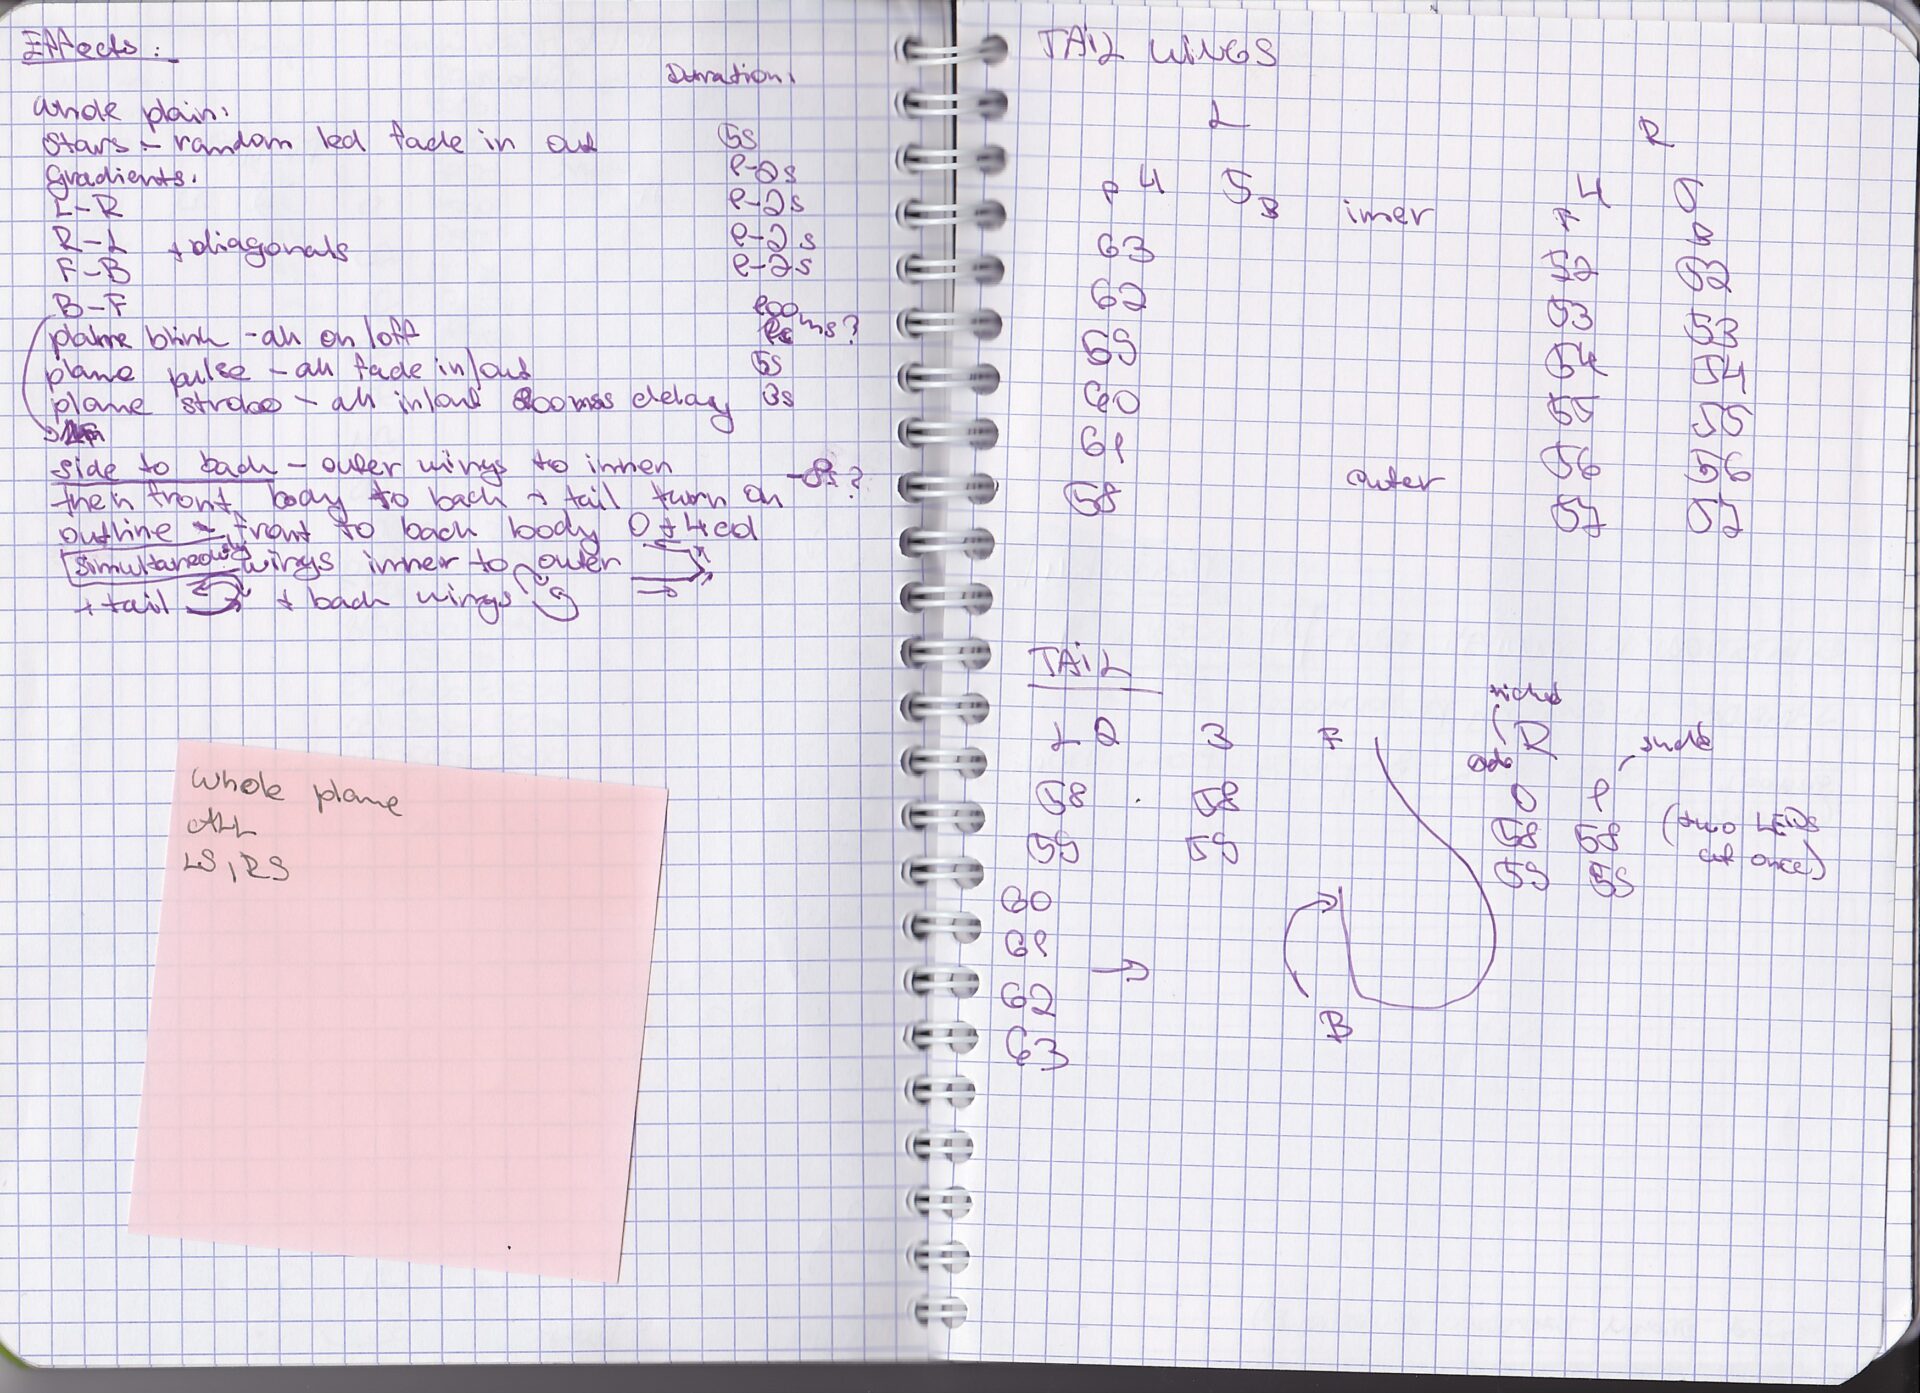
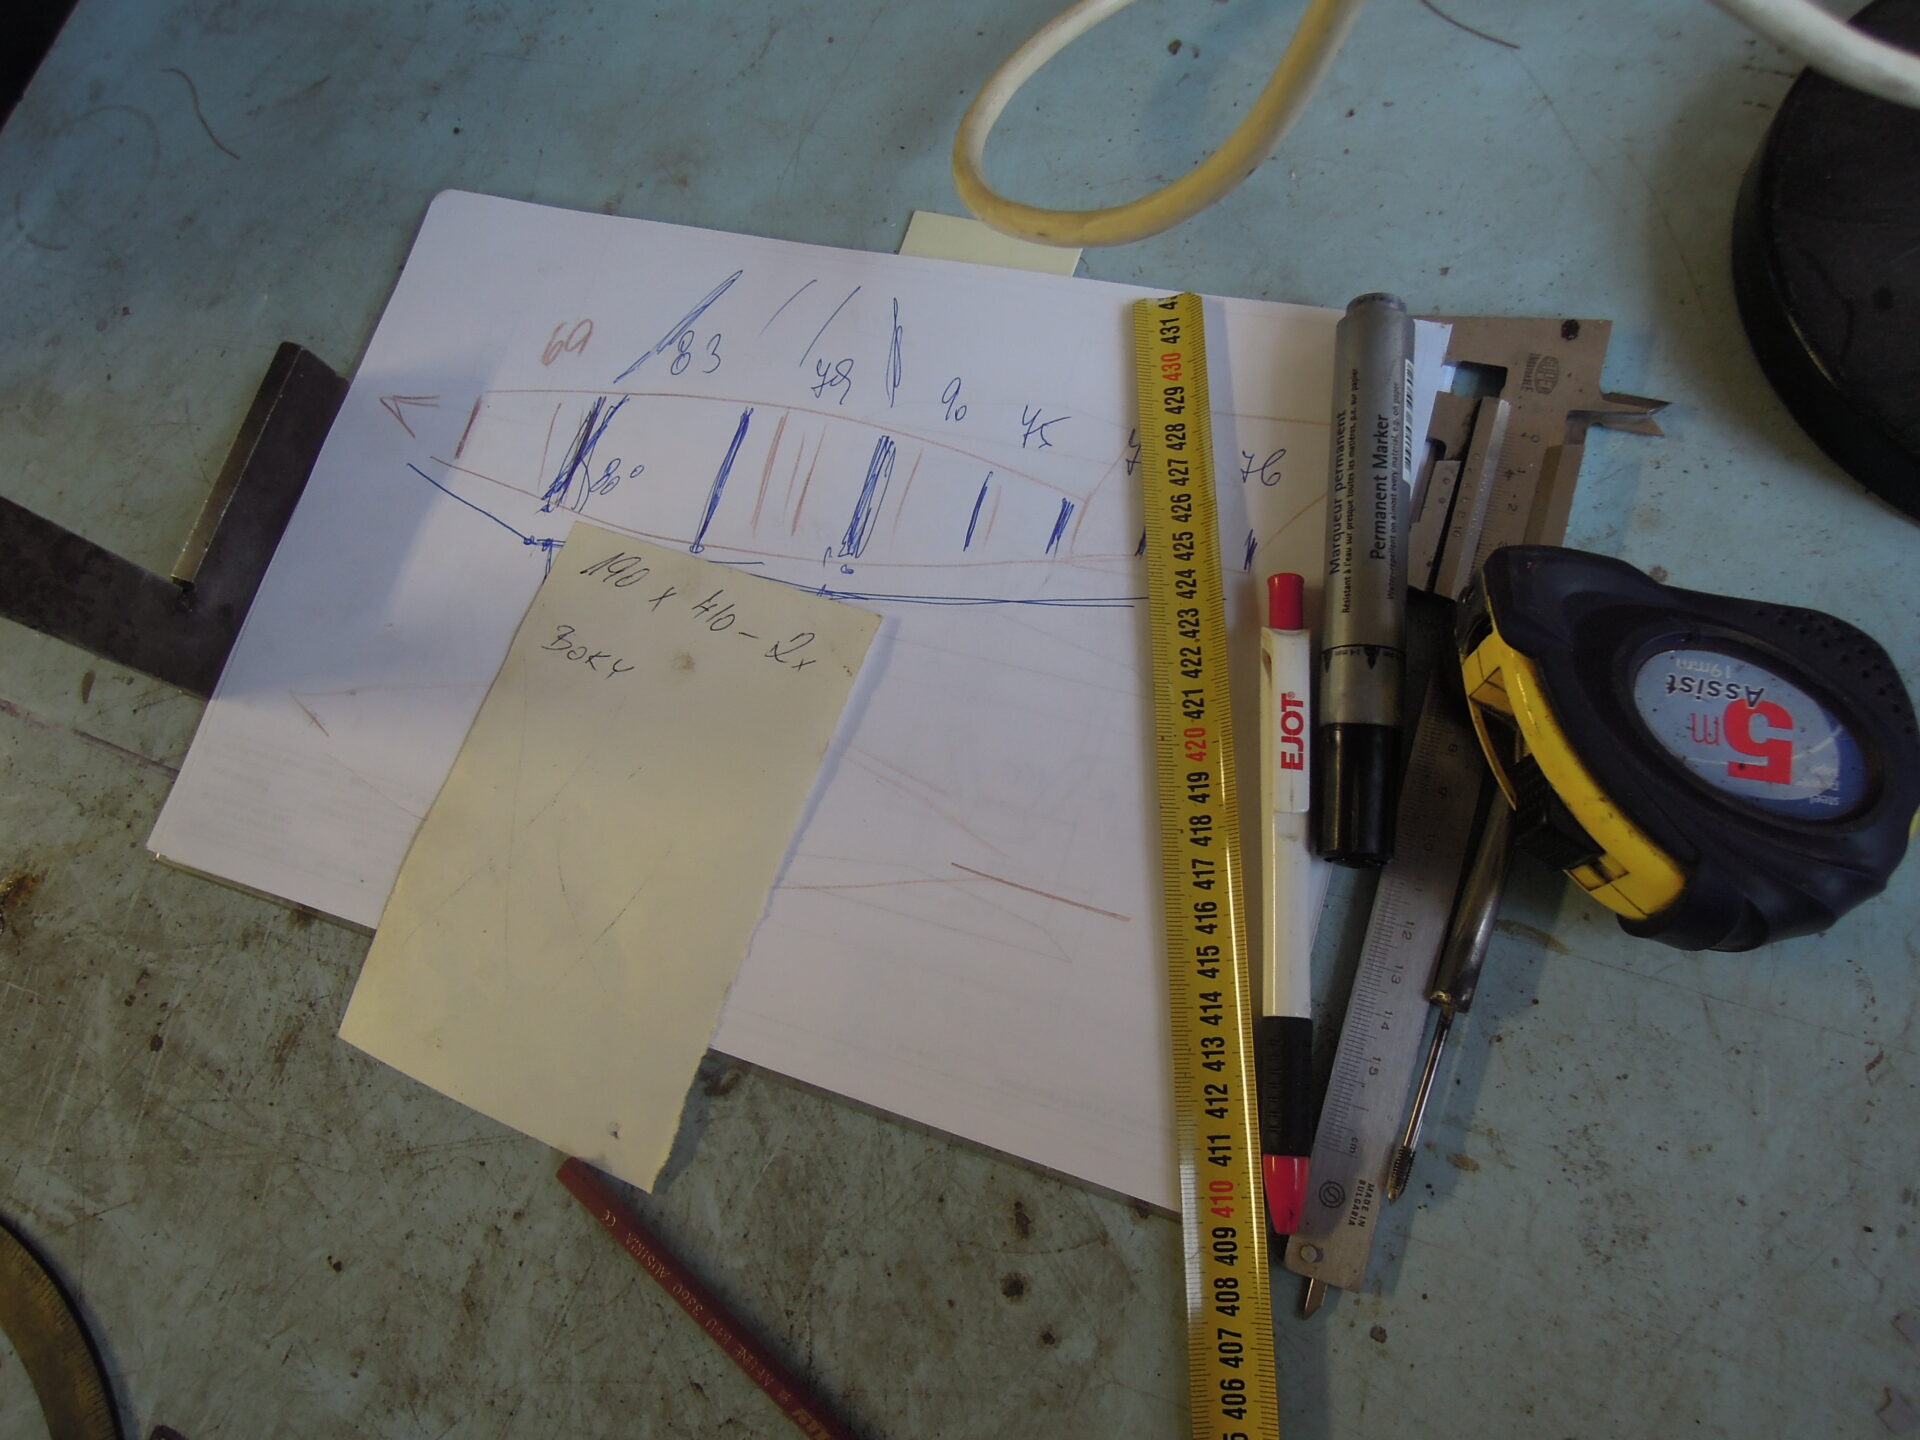
Continued with sketches of how the new model could look like and adding more technical specifications as the project went by.
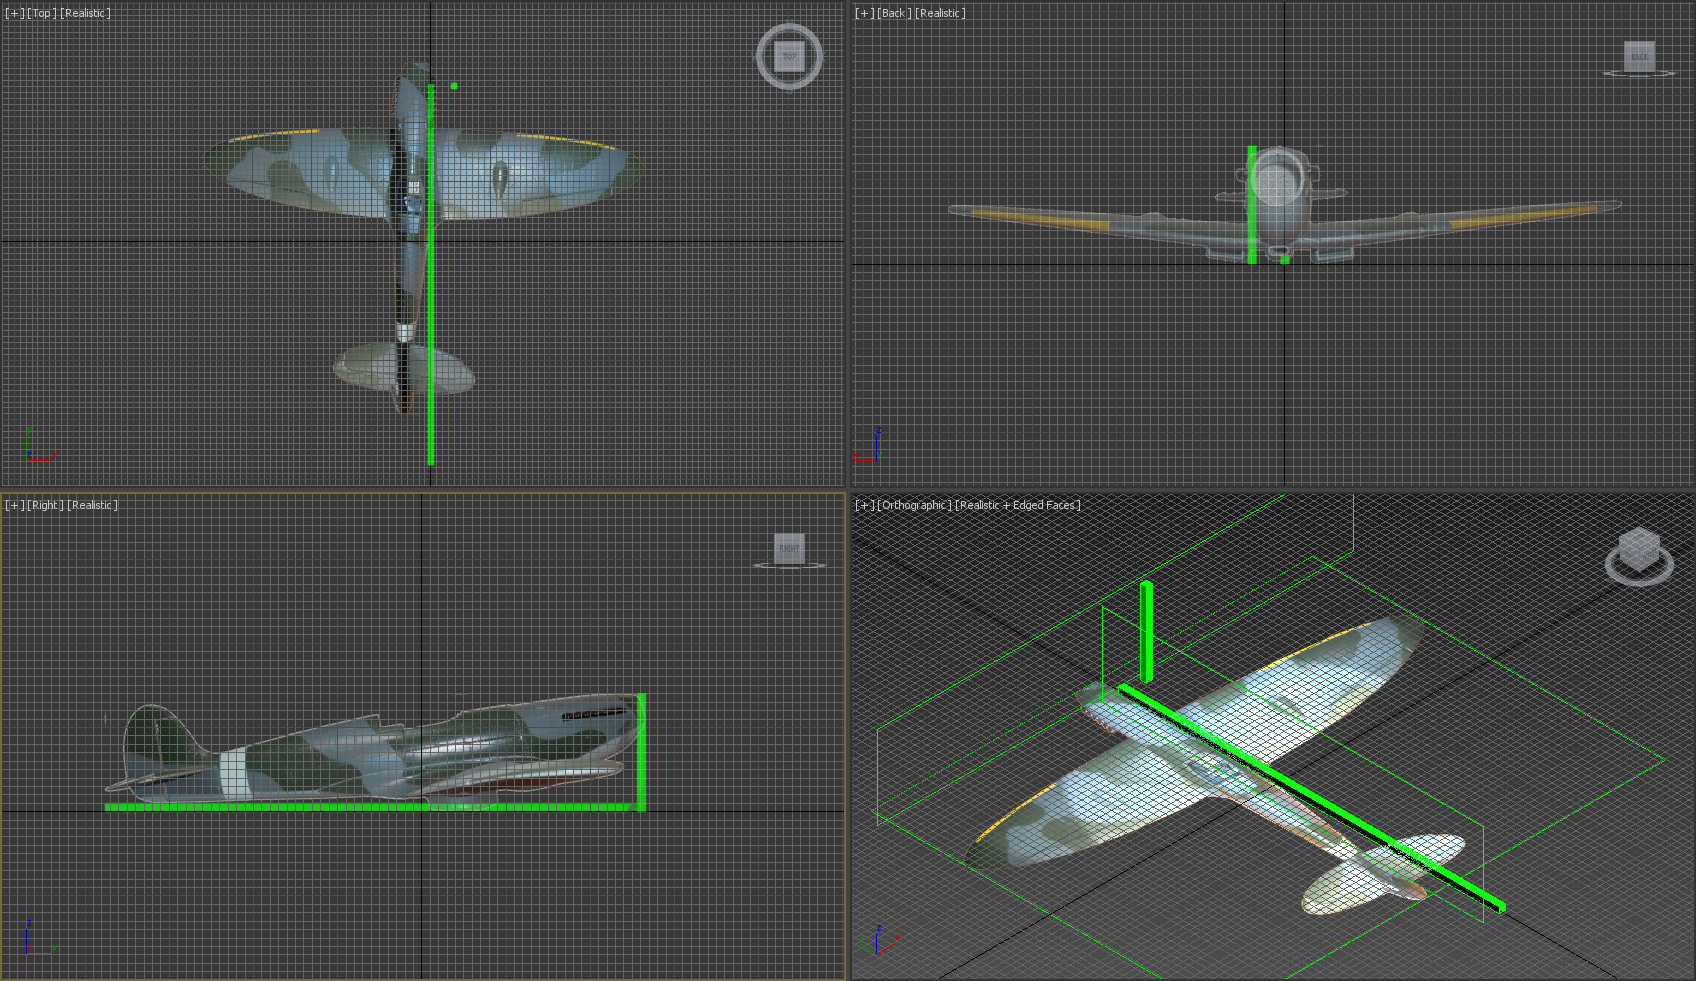
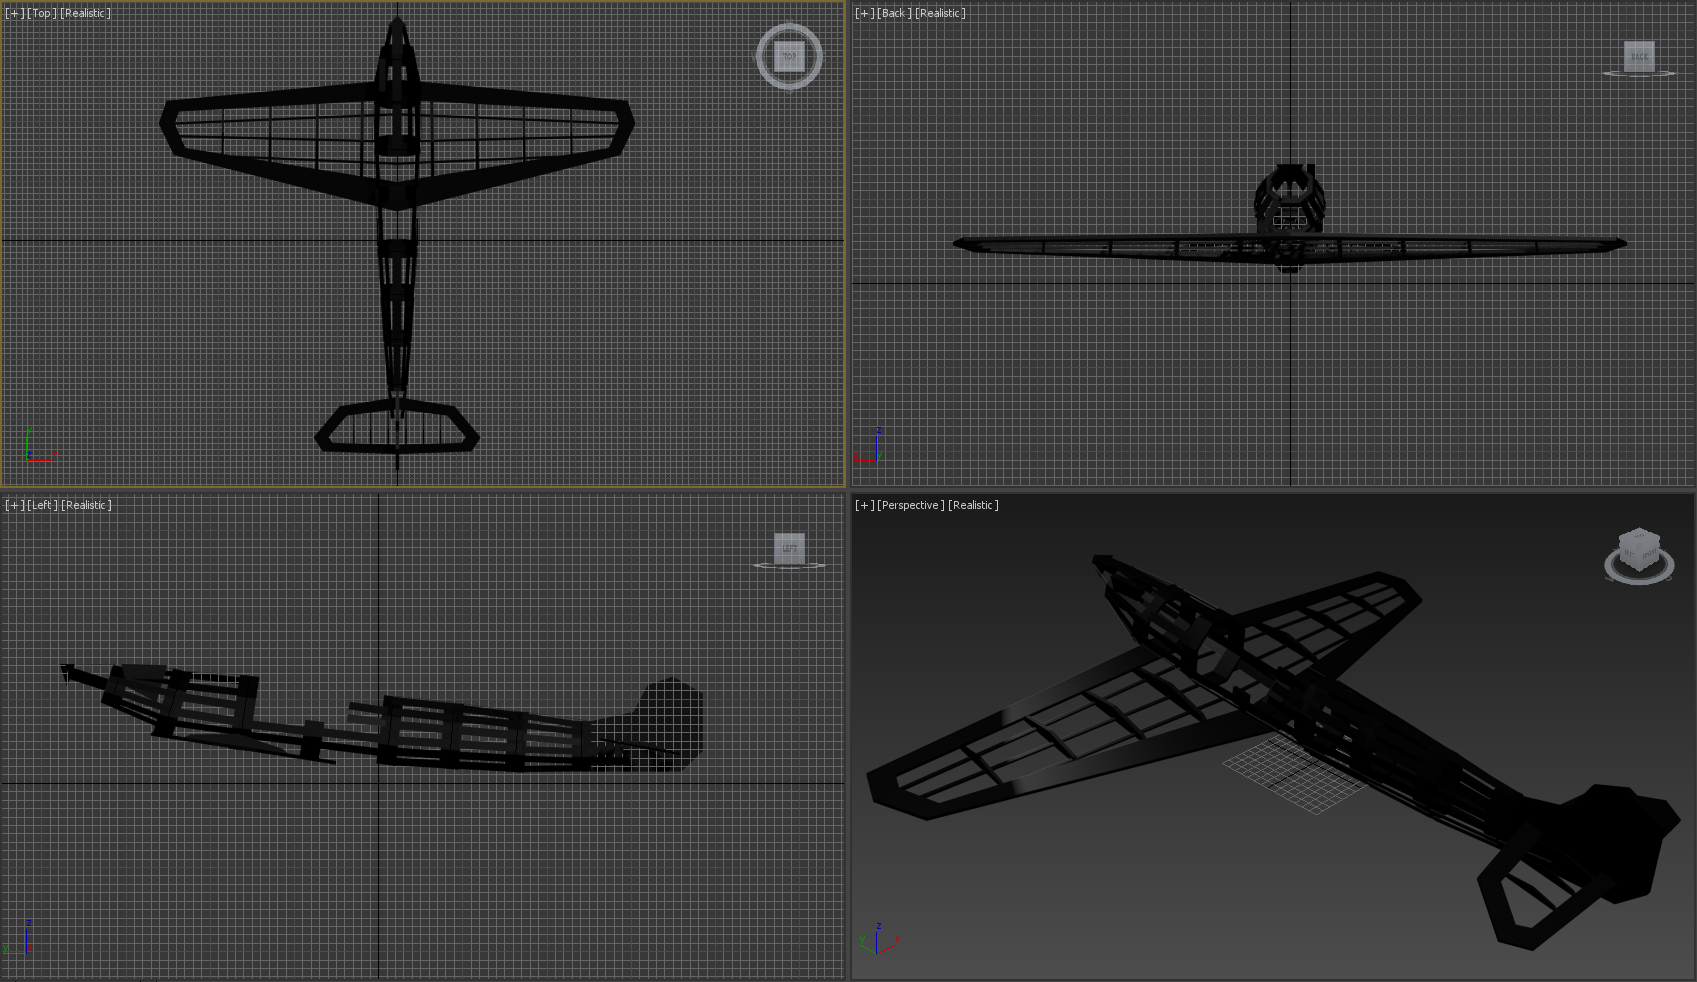
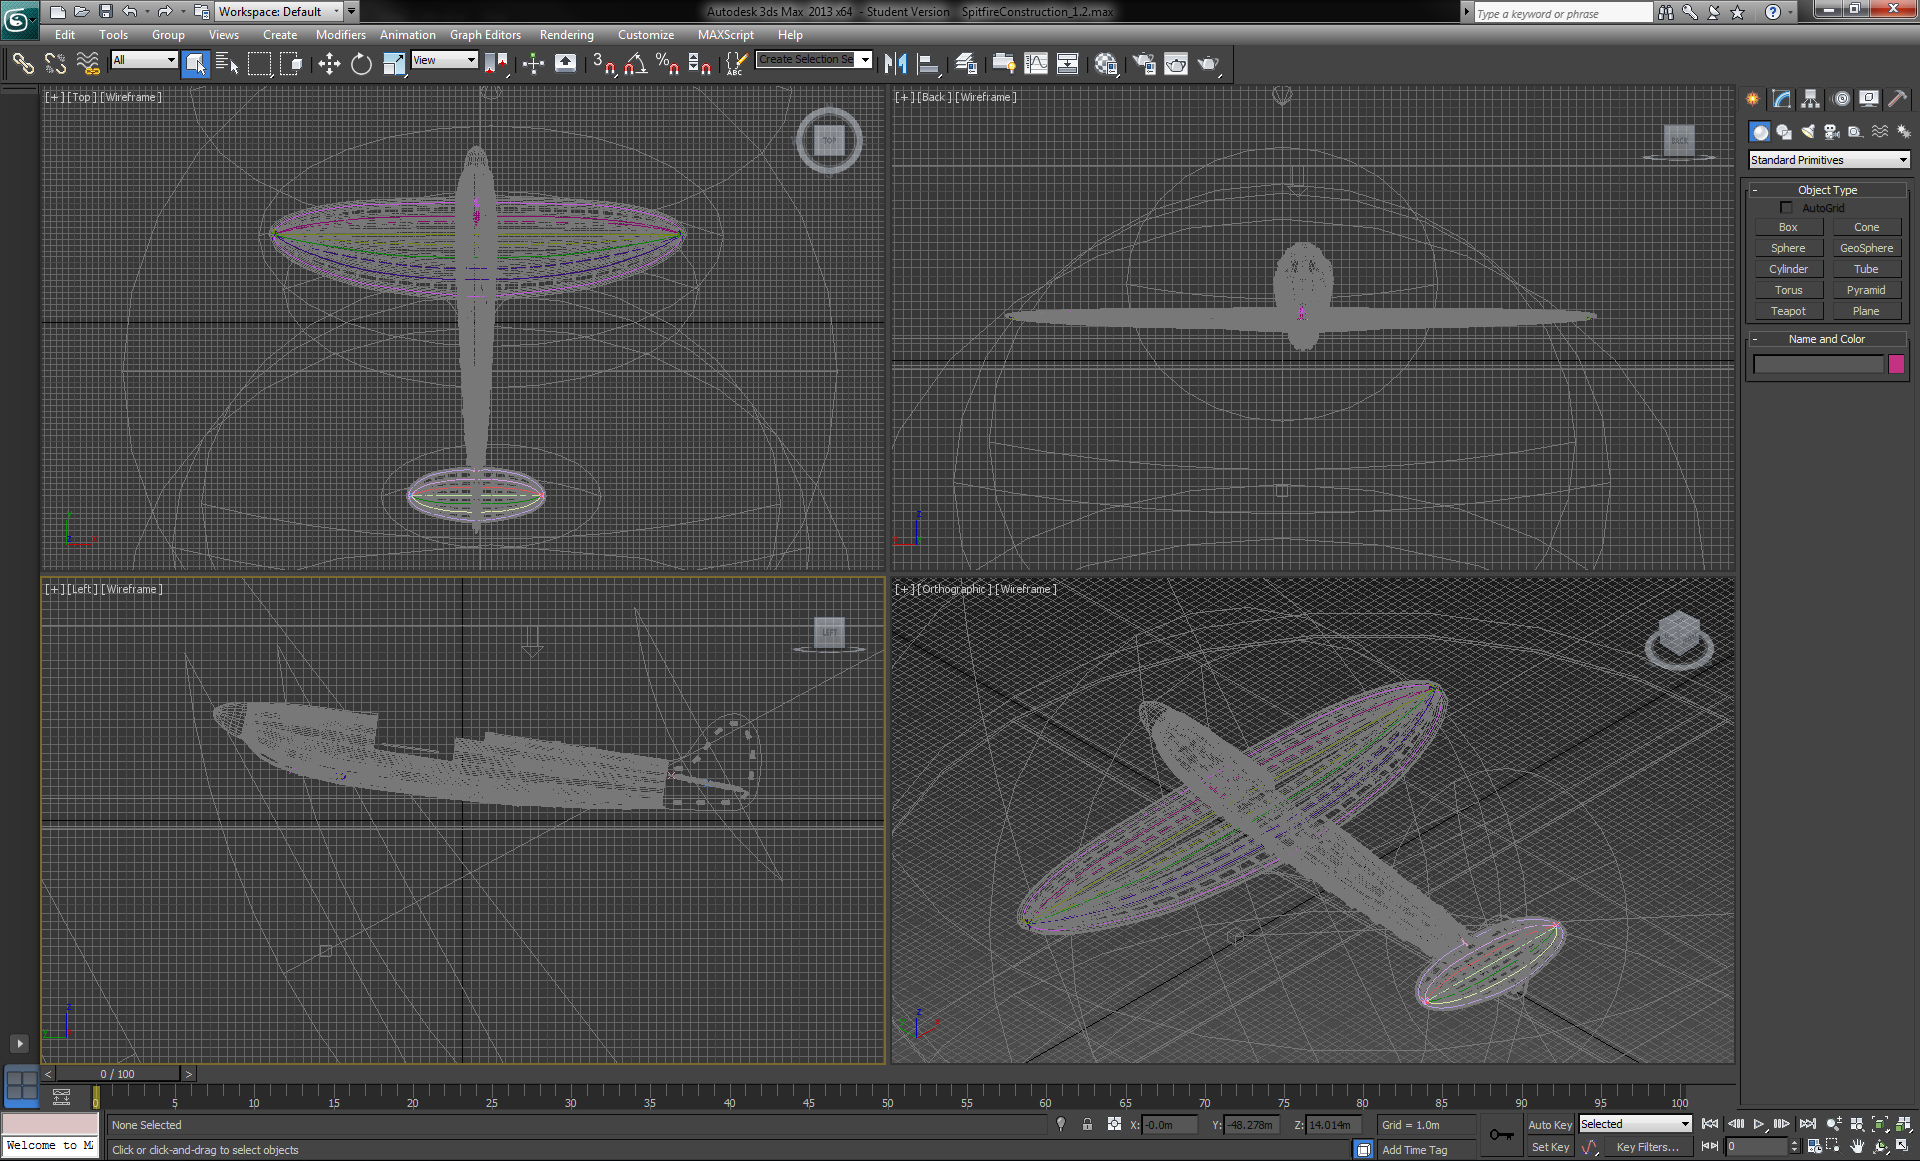
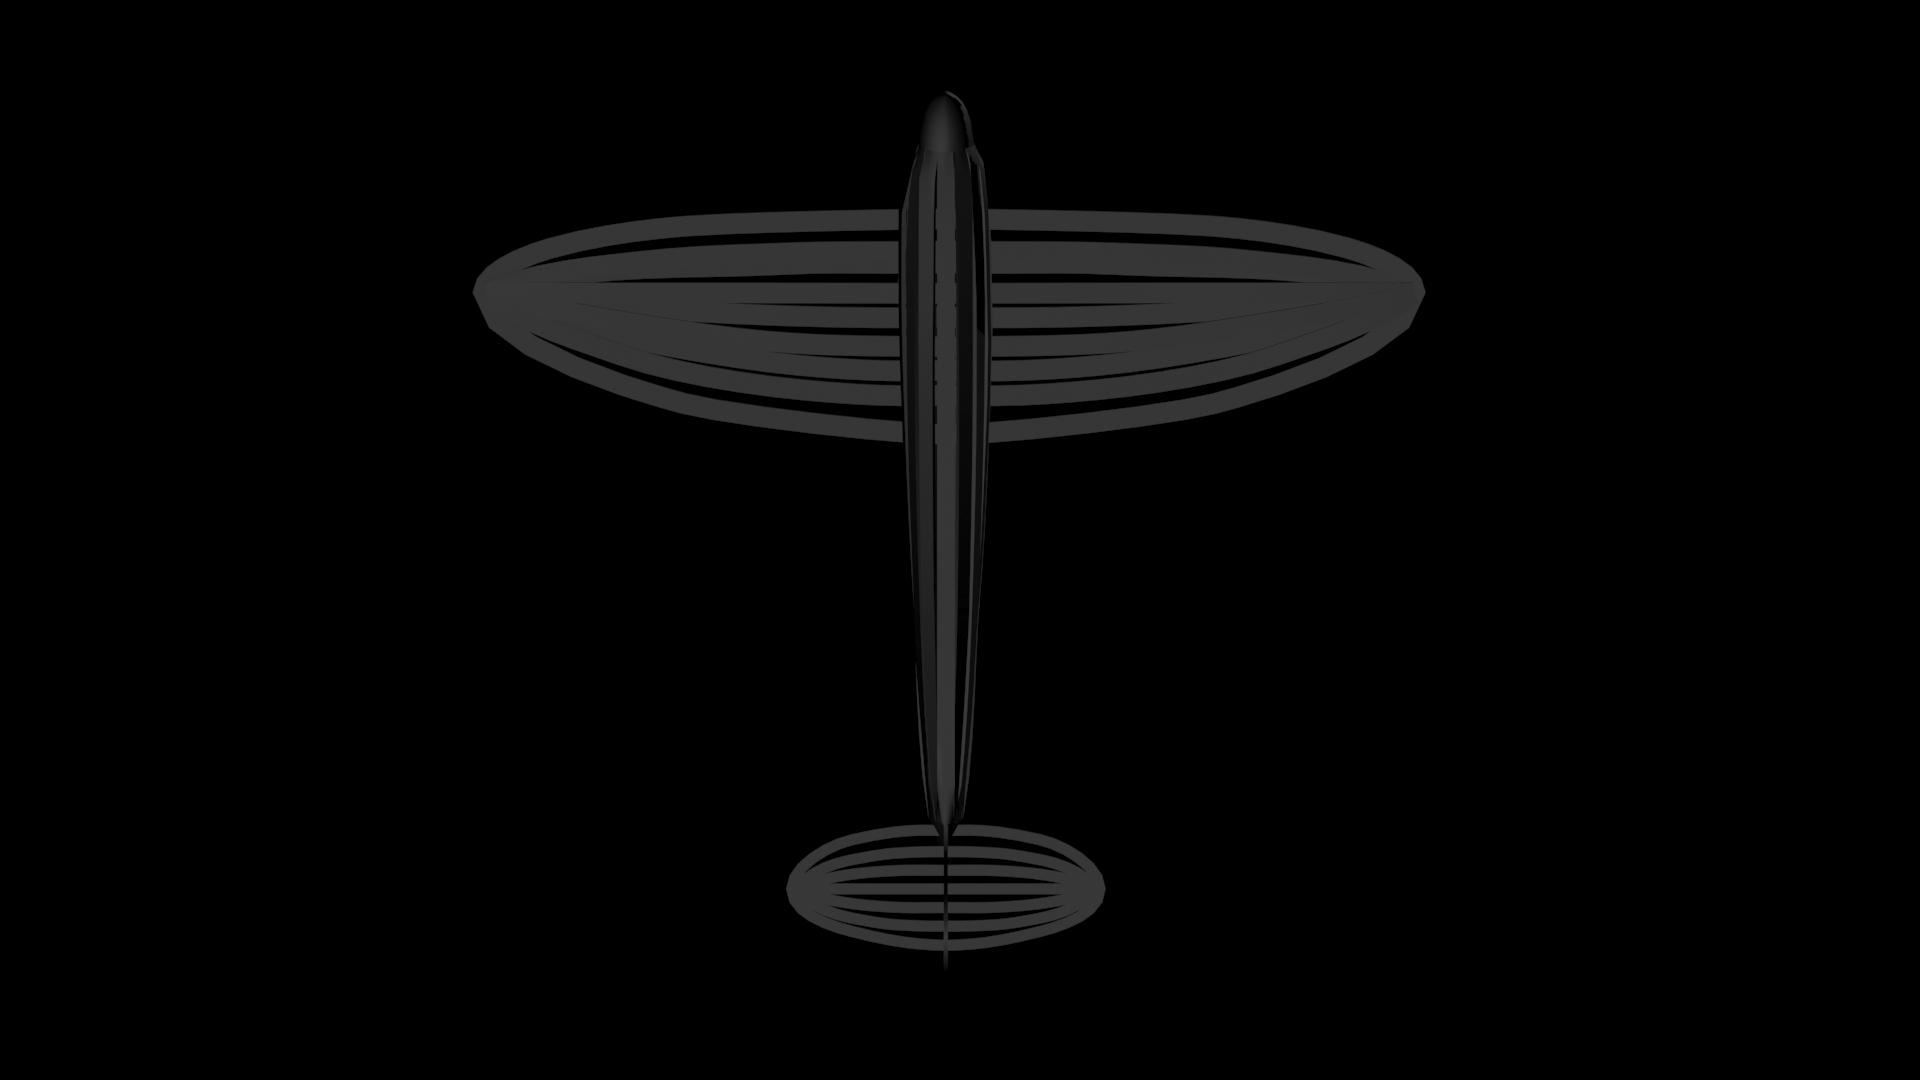
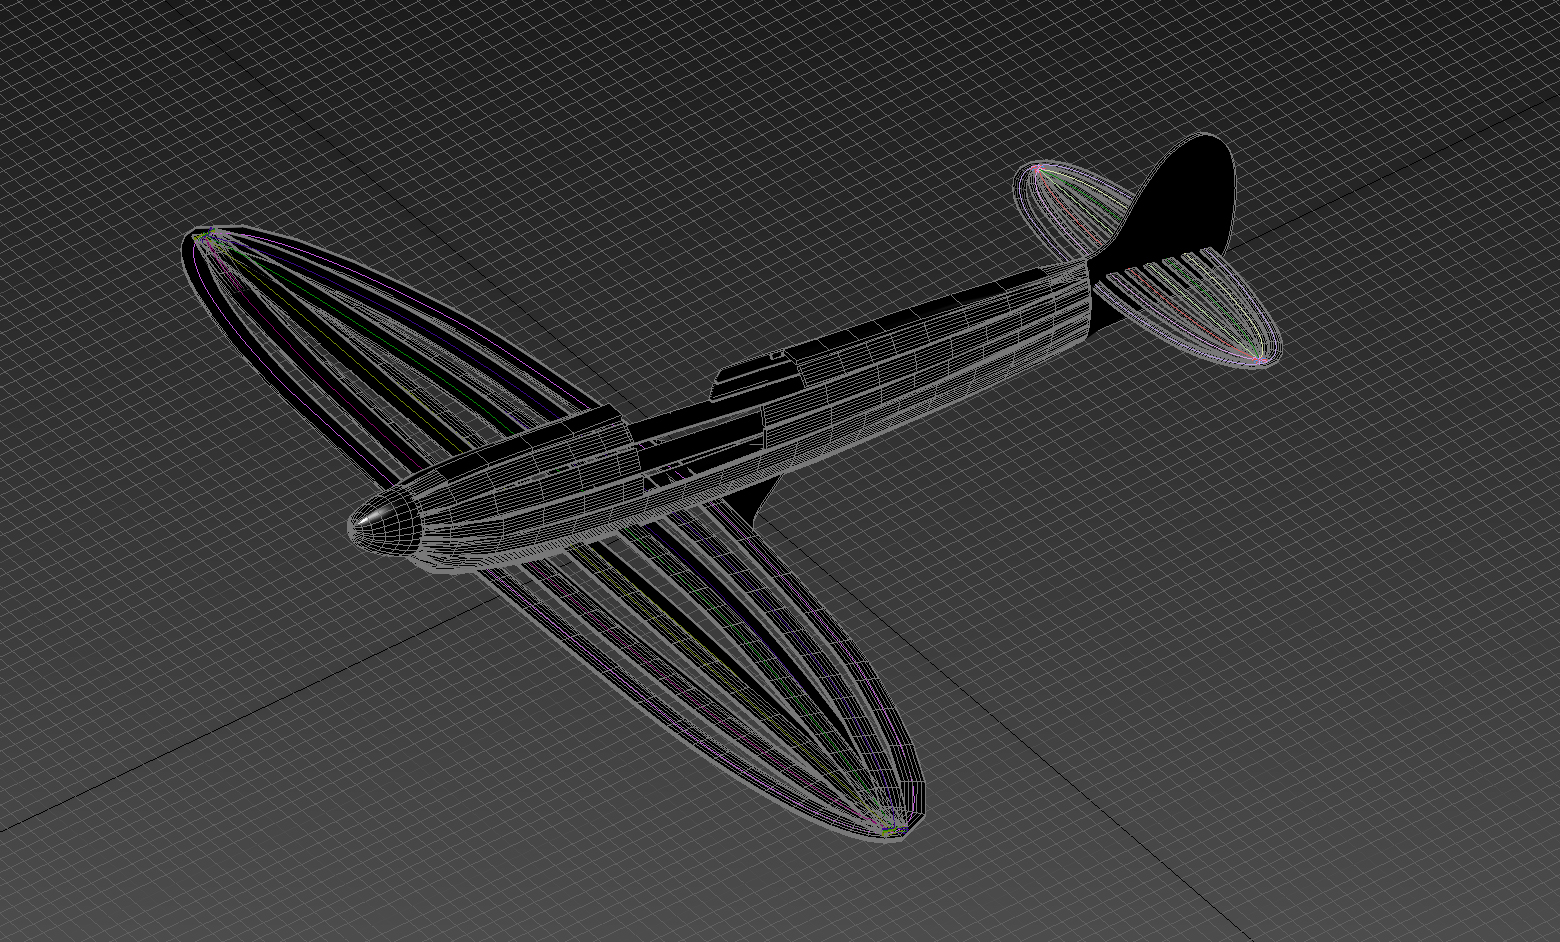
Based on the photos of the real model and my sketches I’ve started to build the 3D model in 3DS Max.
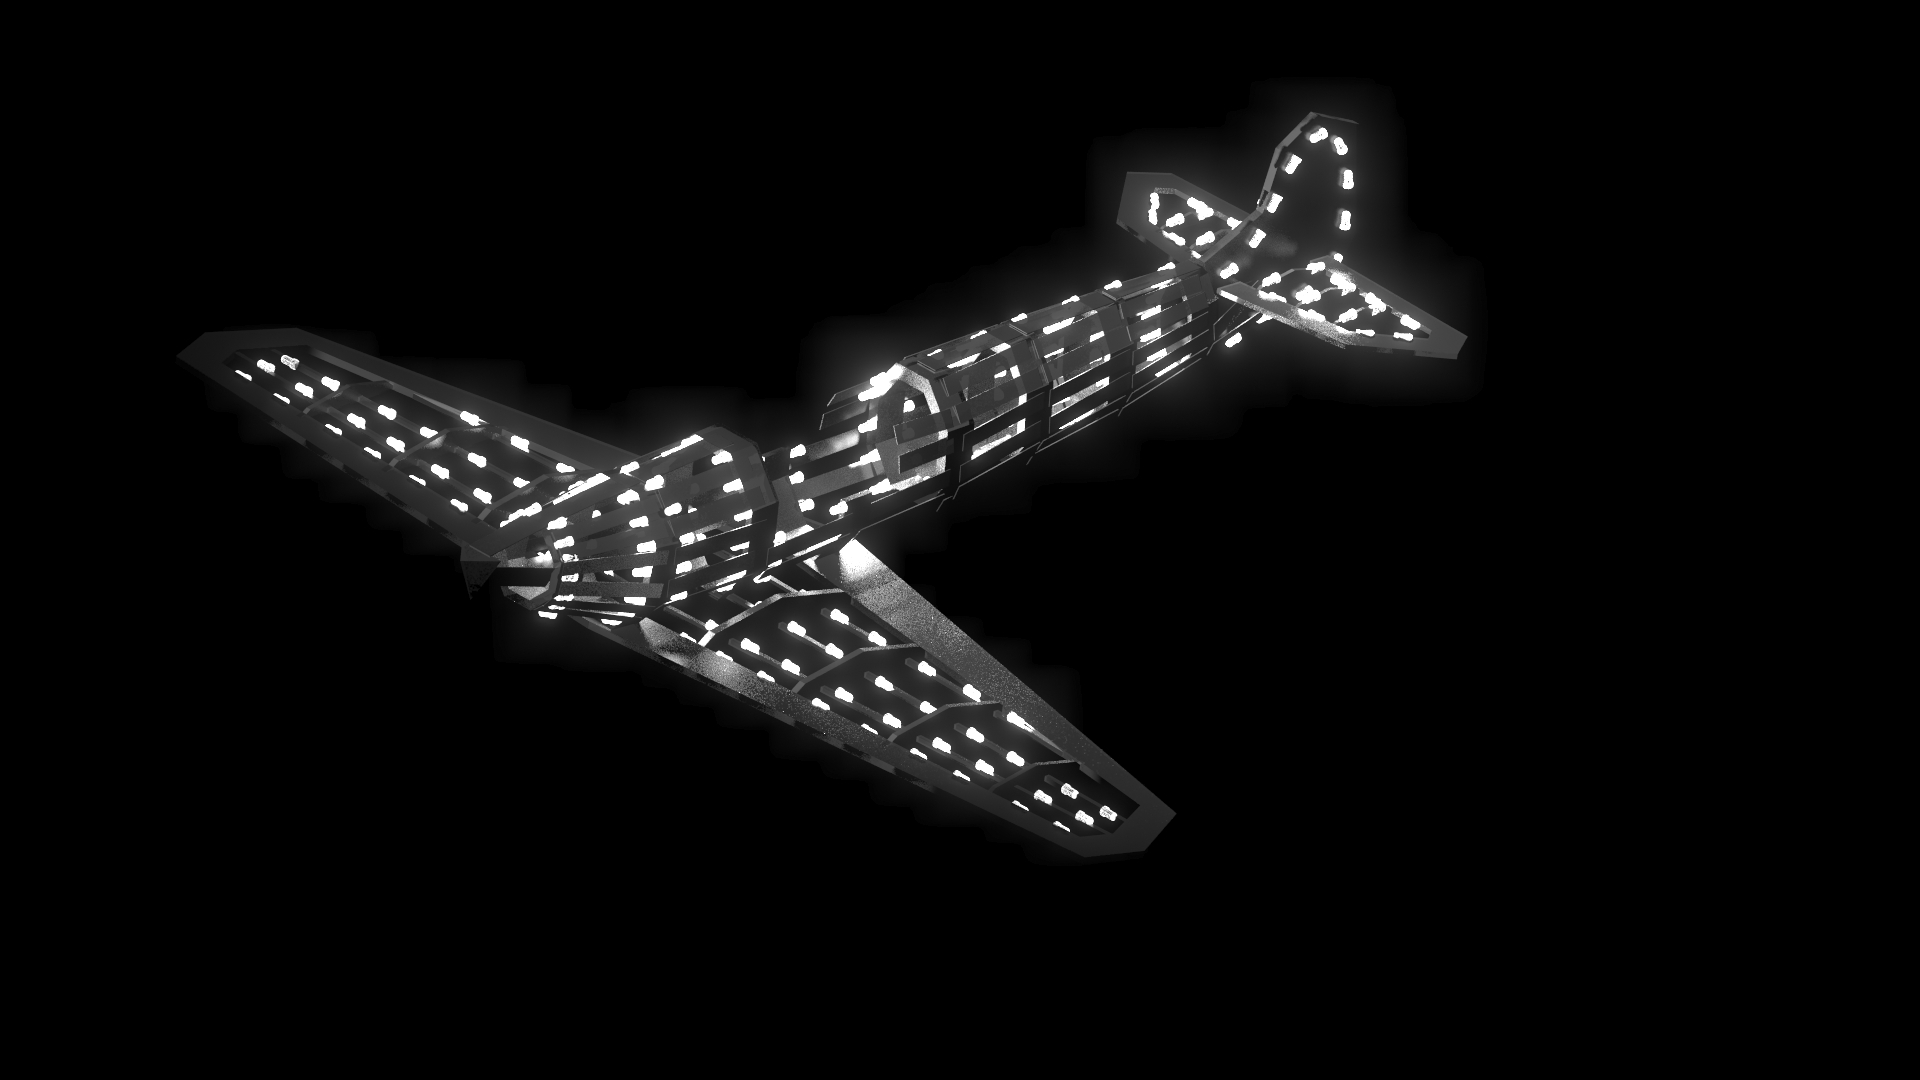
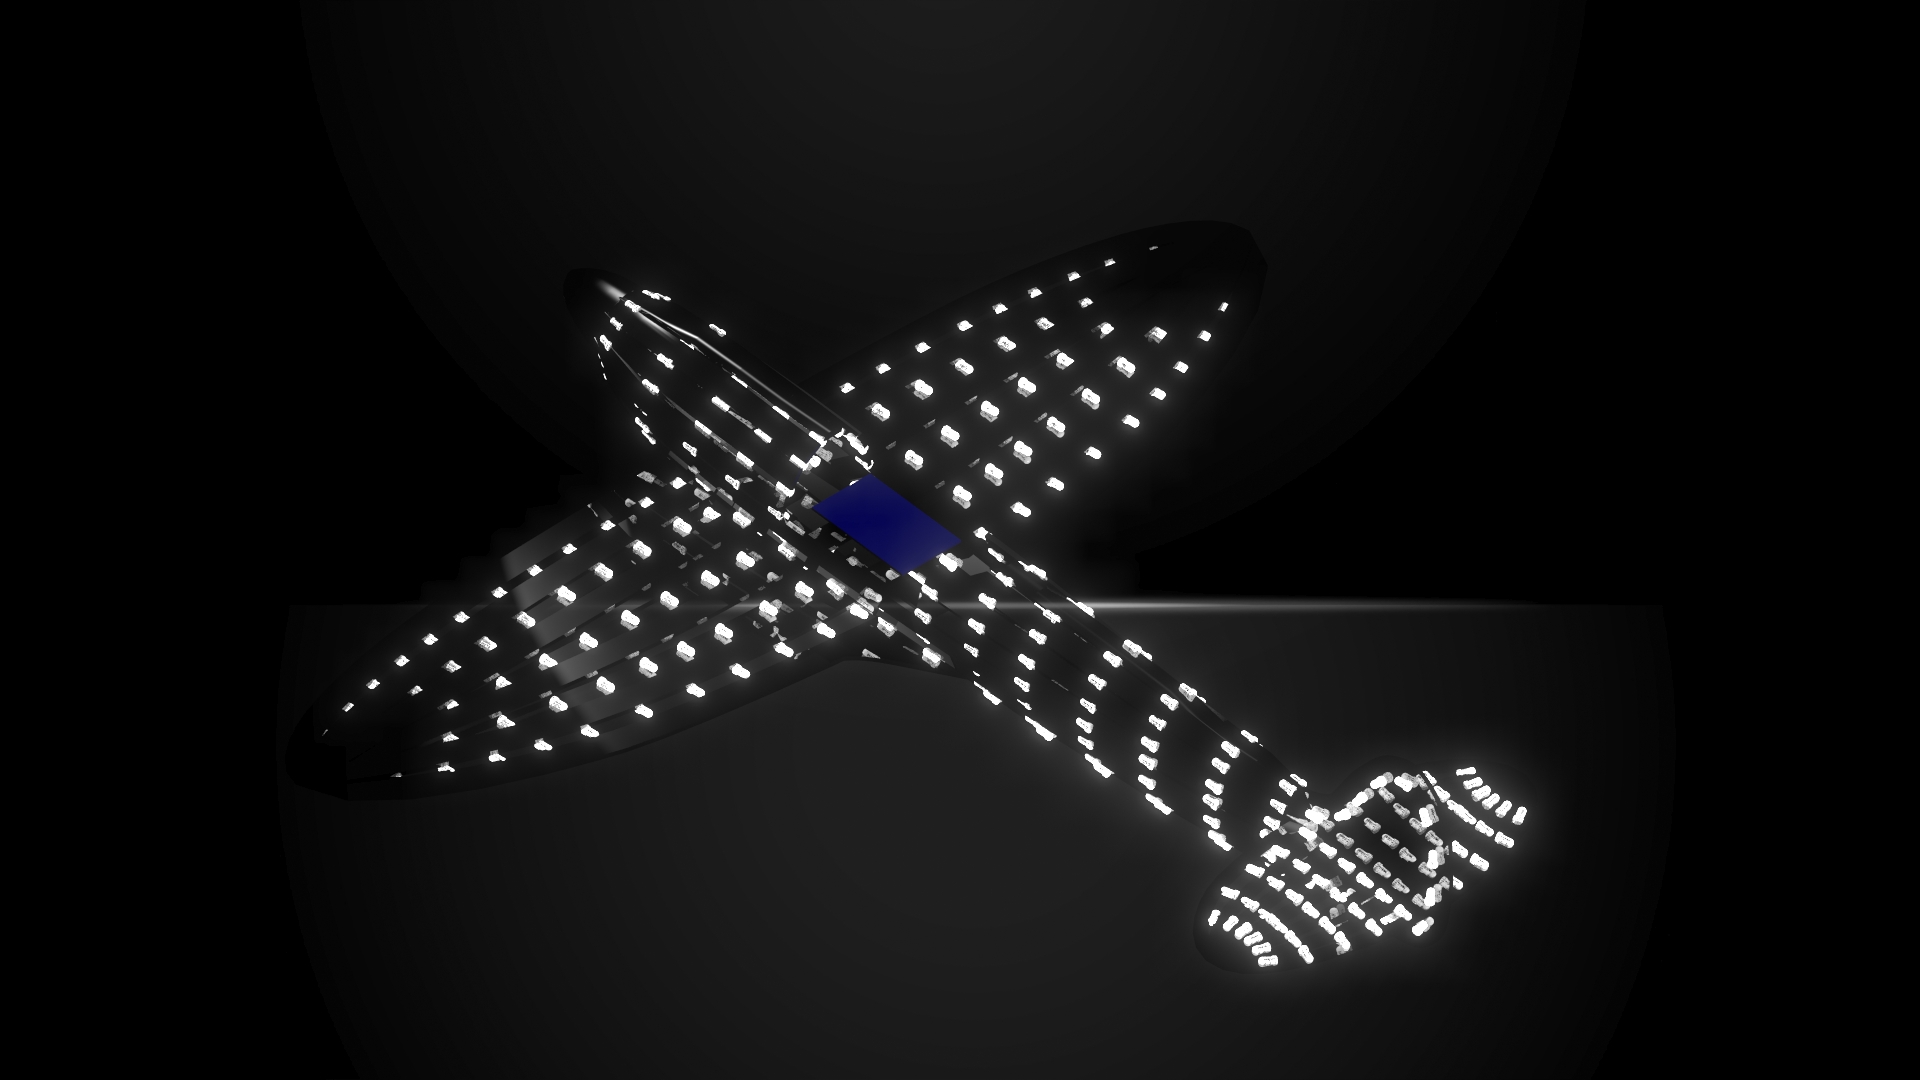
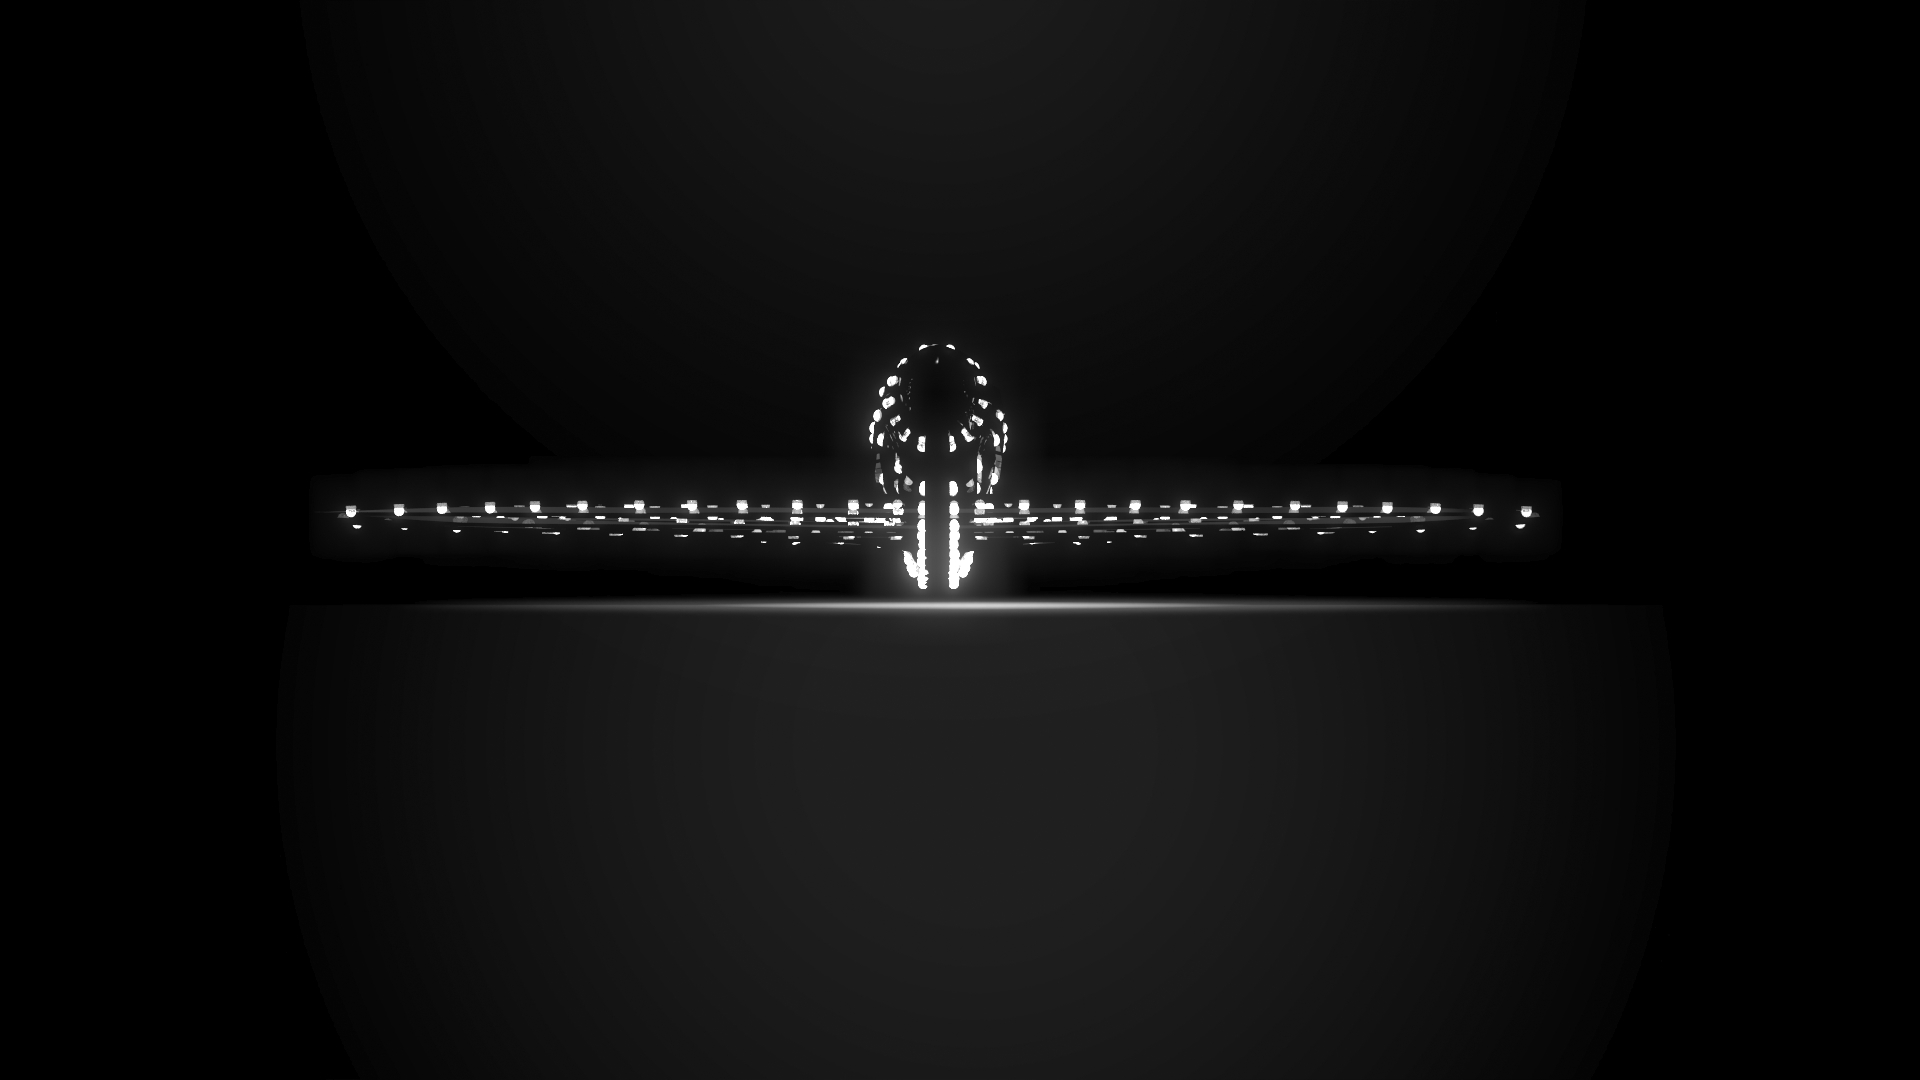
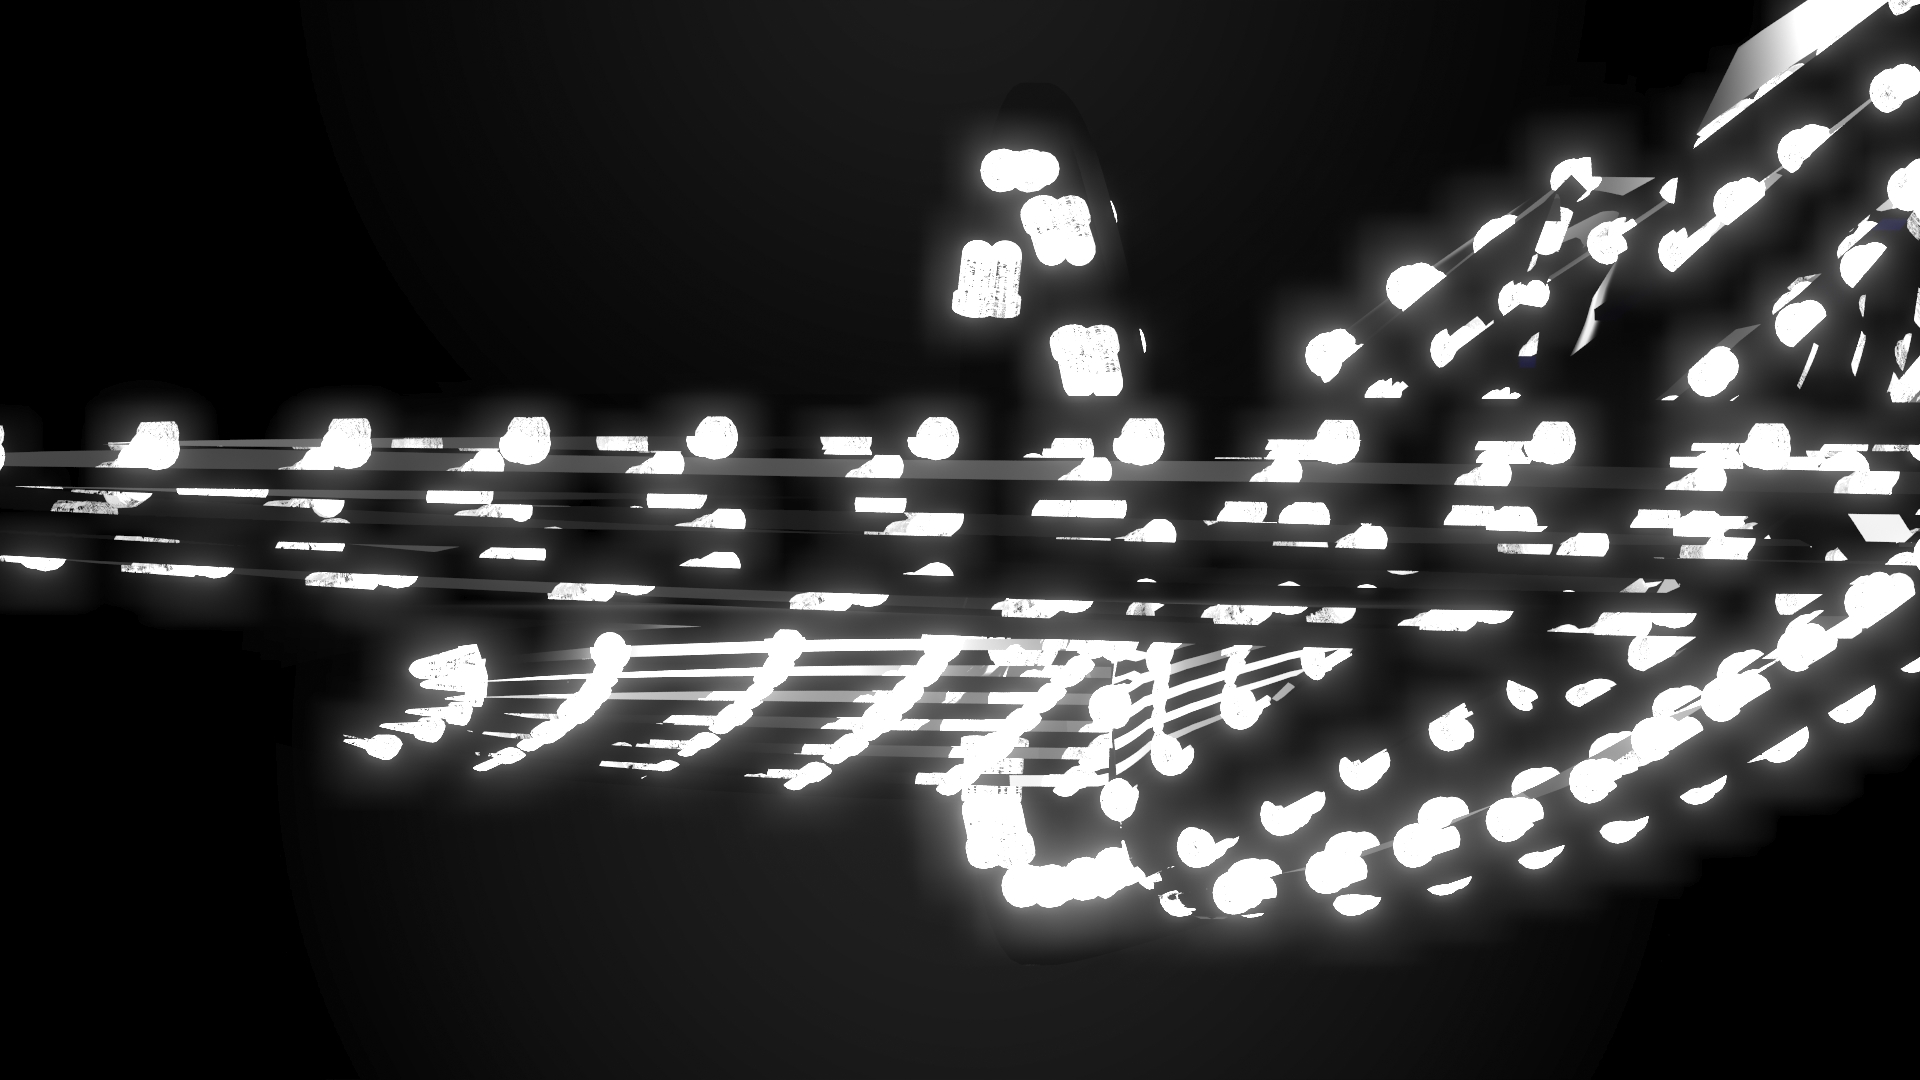
After the basic model has been created, I’ve added LED lights to test how it would look in final version. Here are some renders with full textures and lighting.
Test animation of the whole model
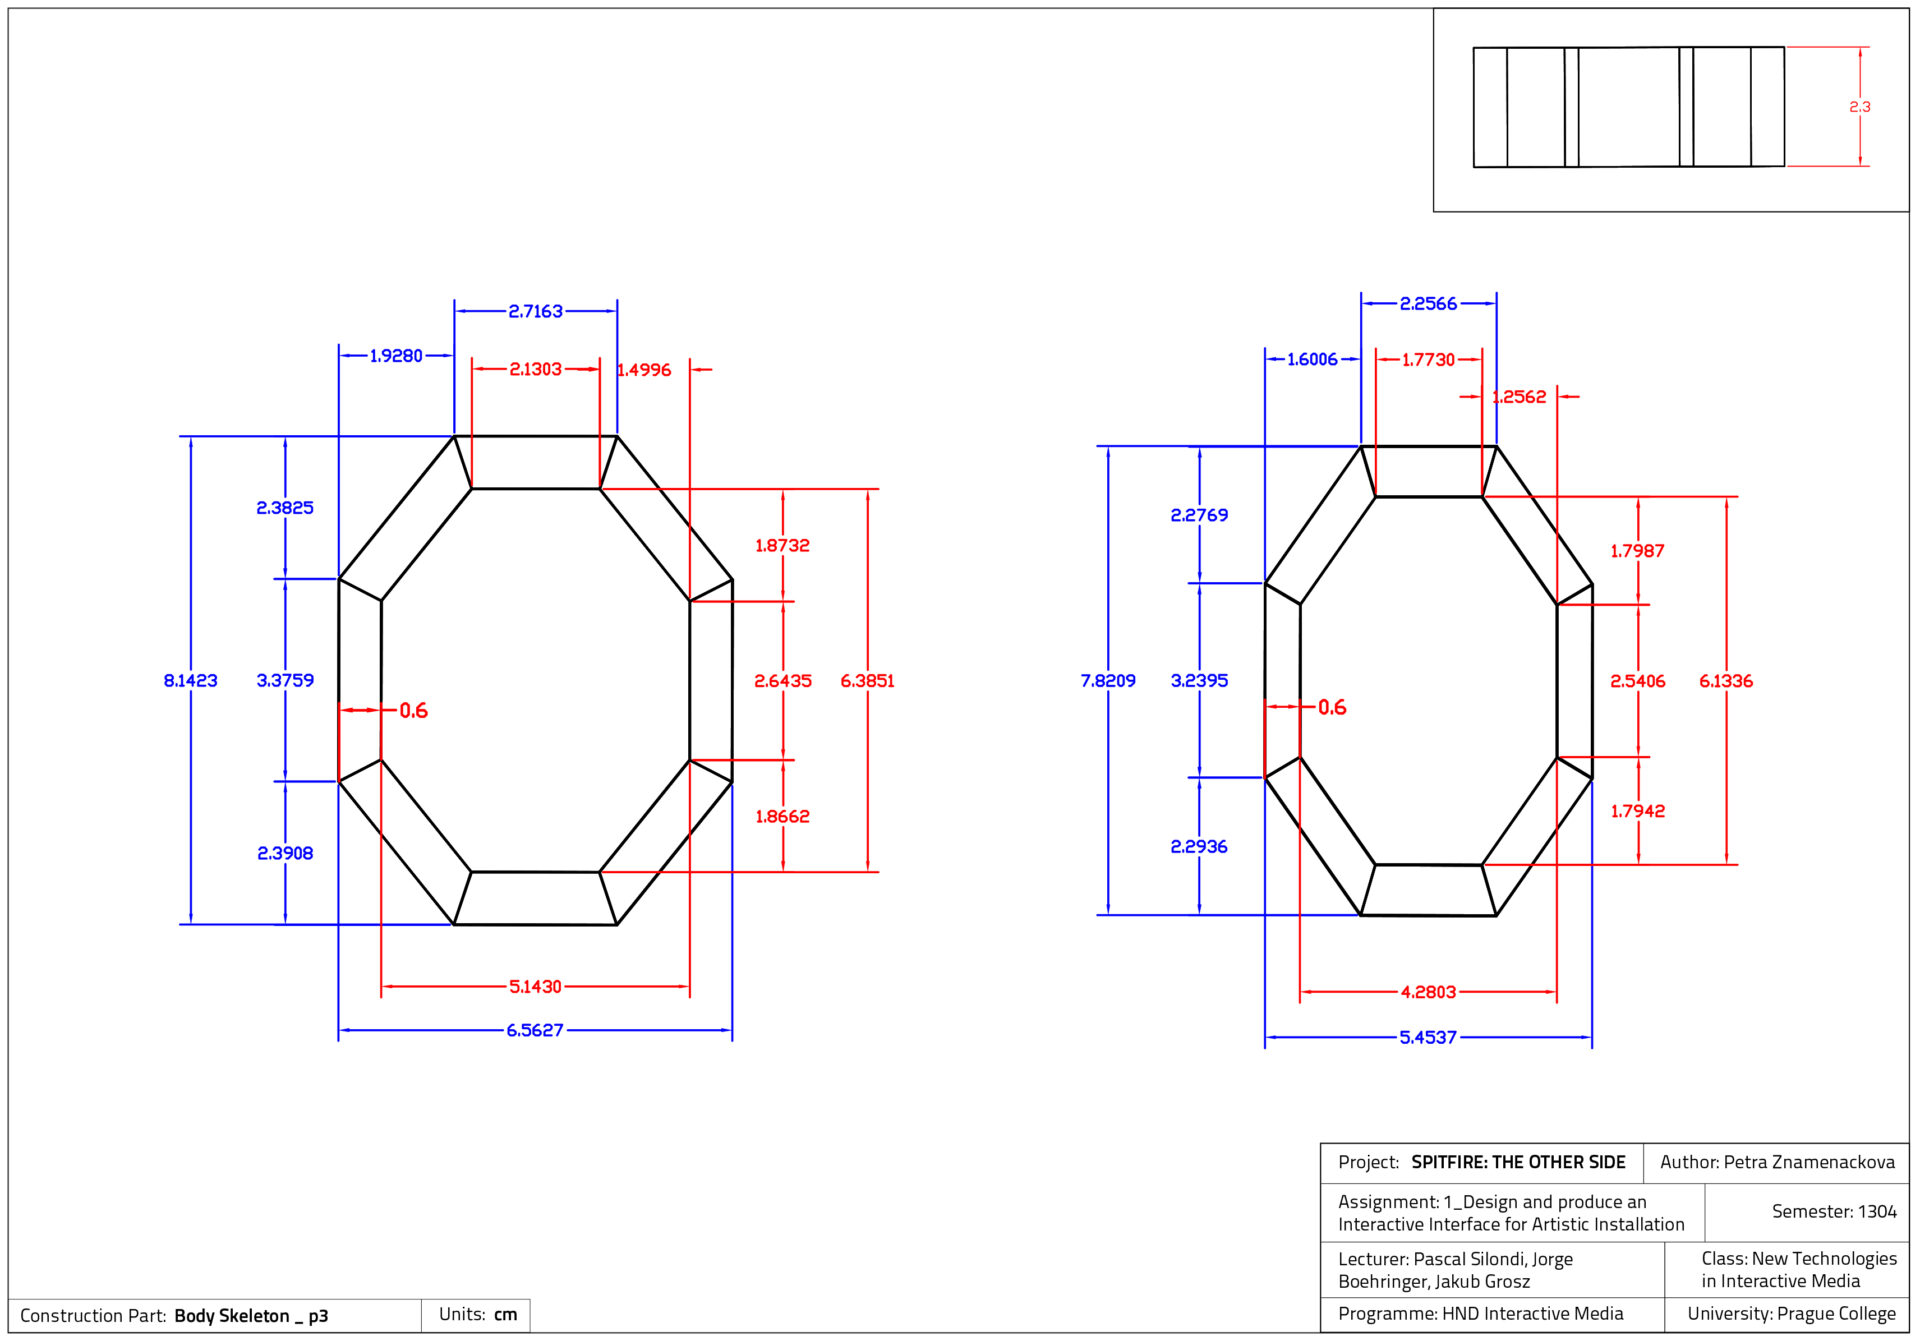
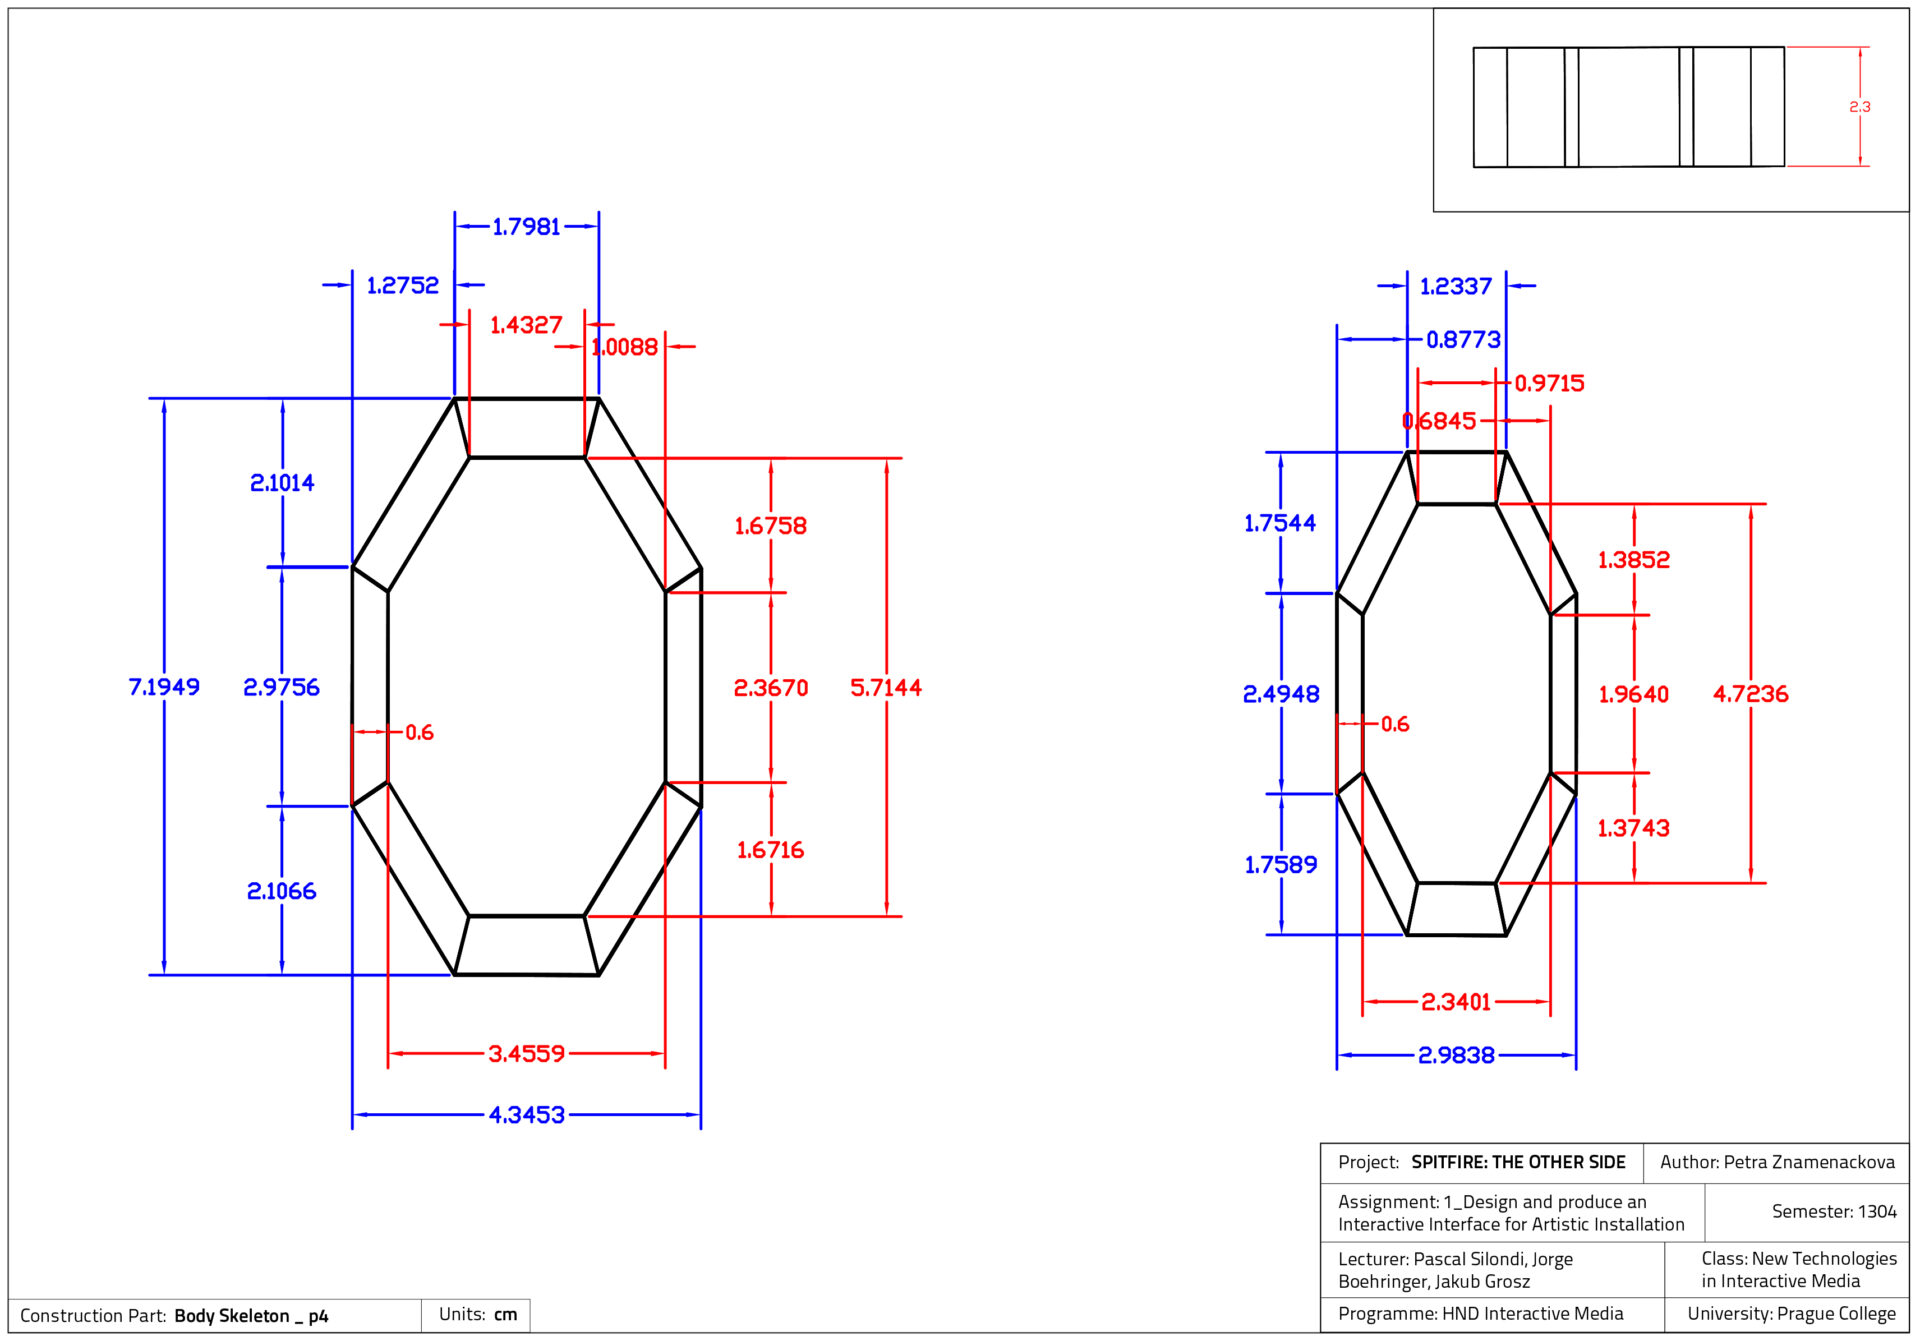
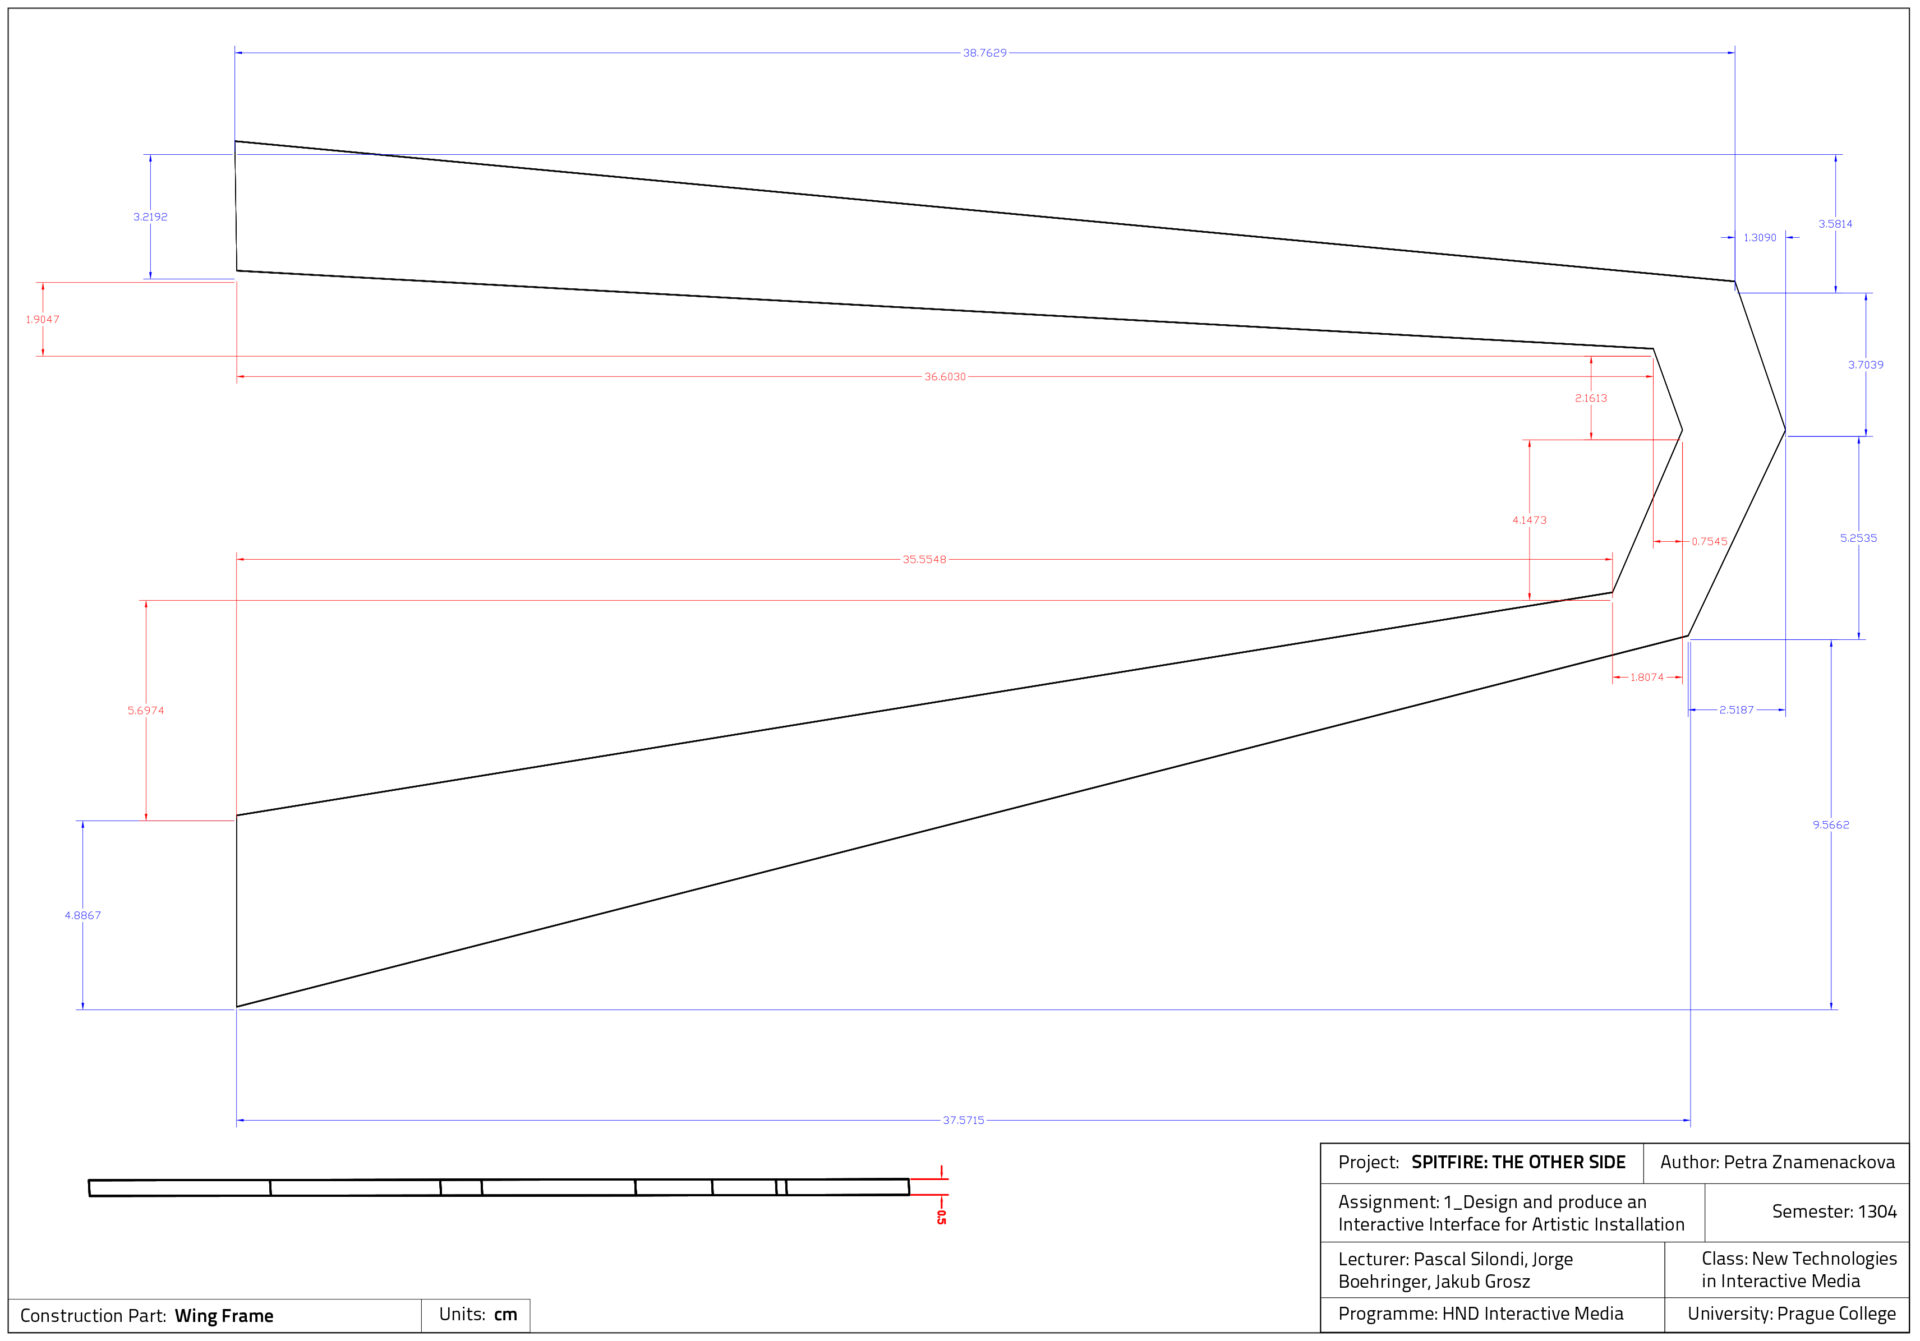
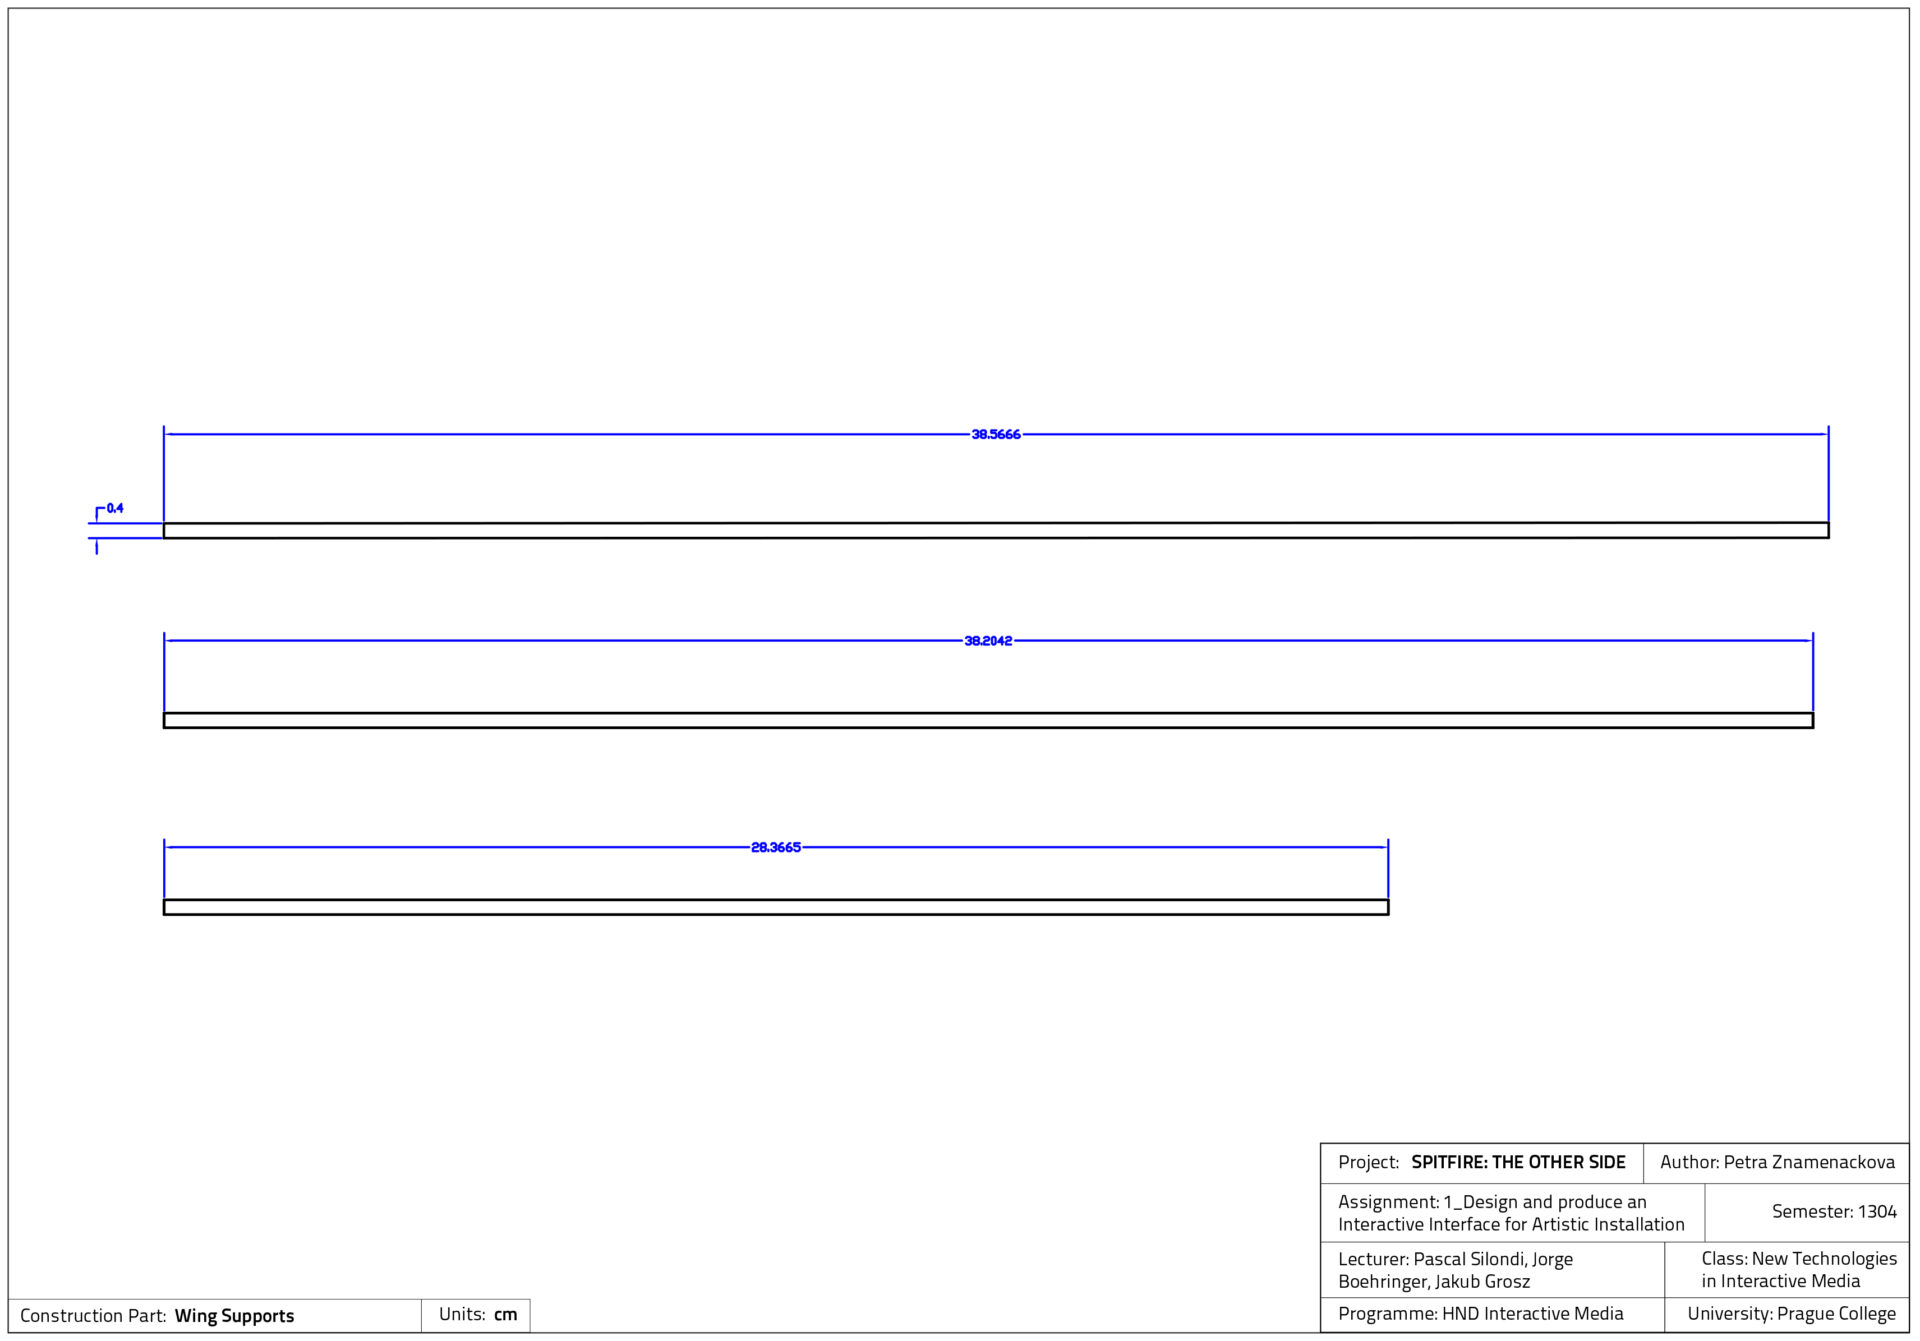
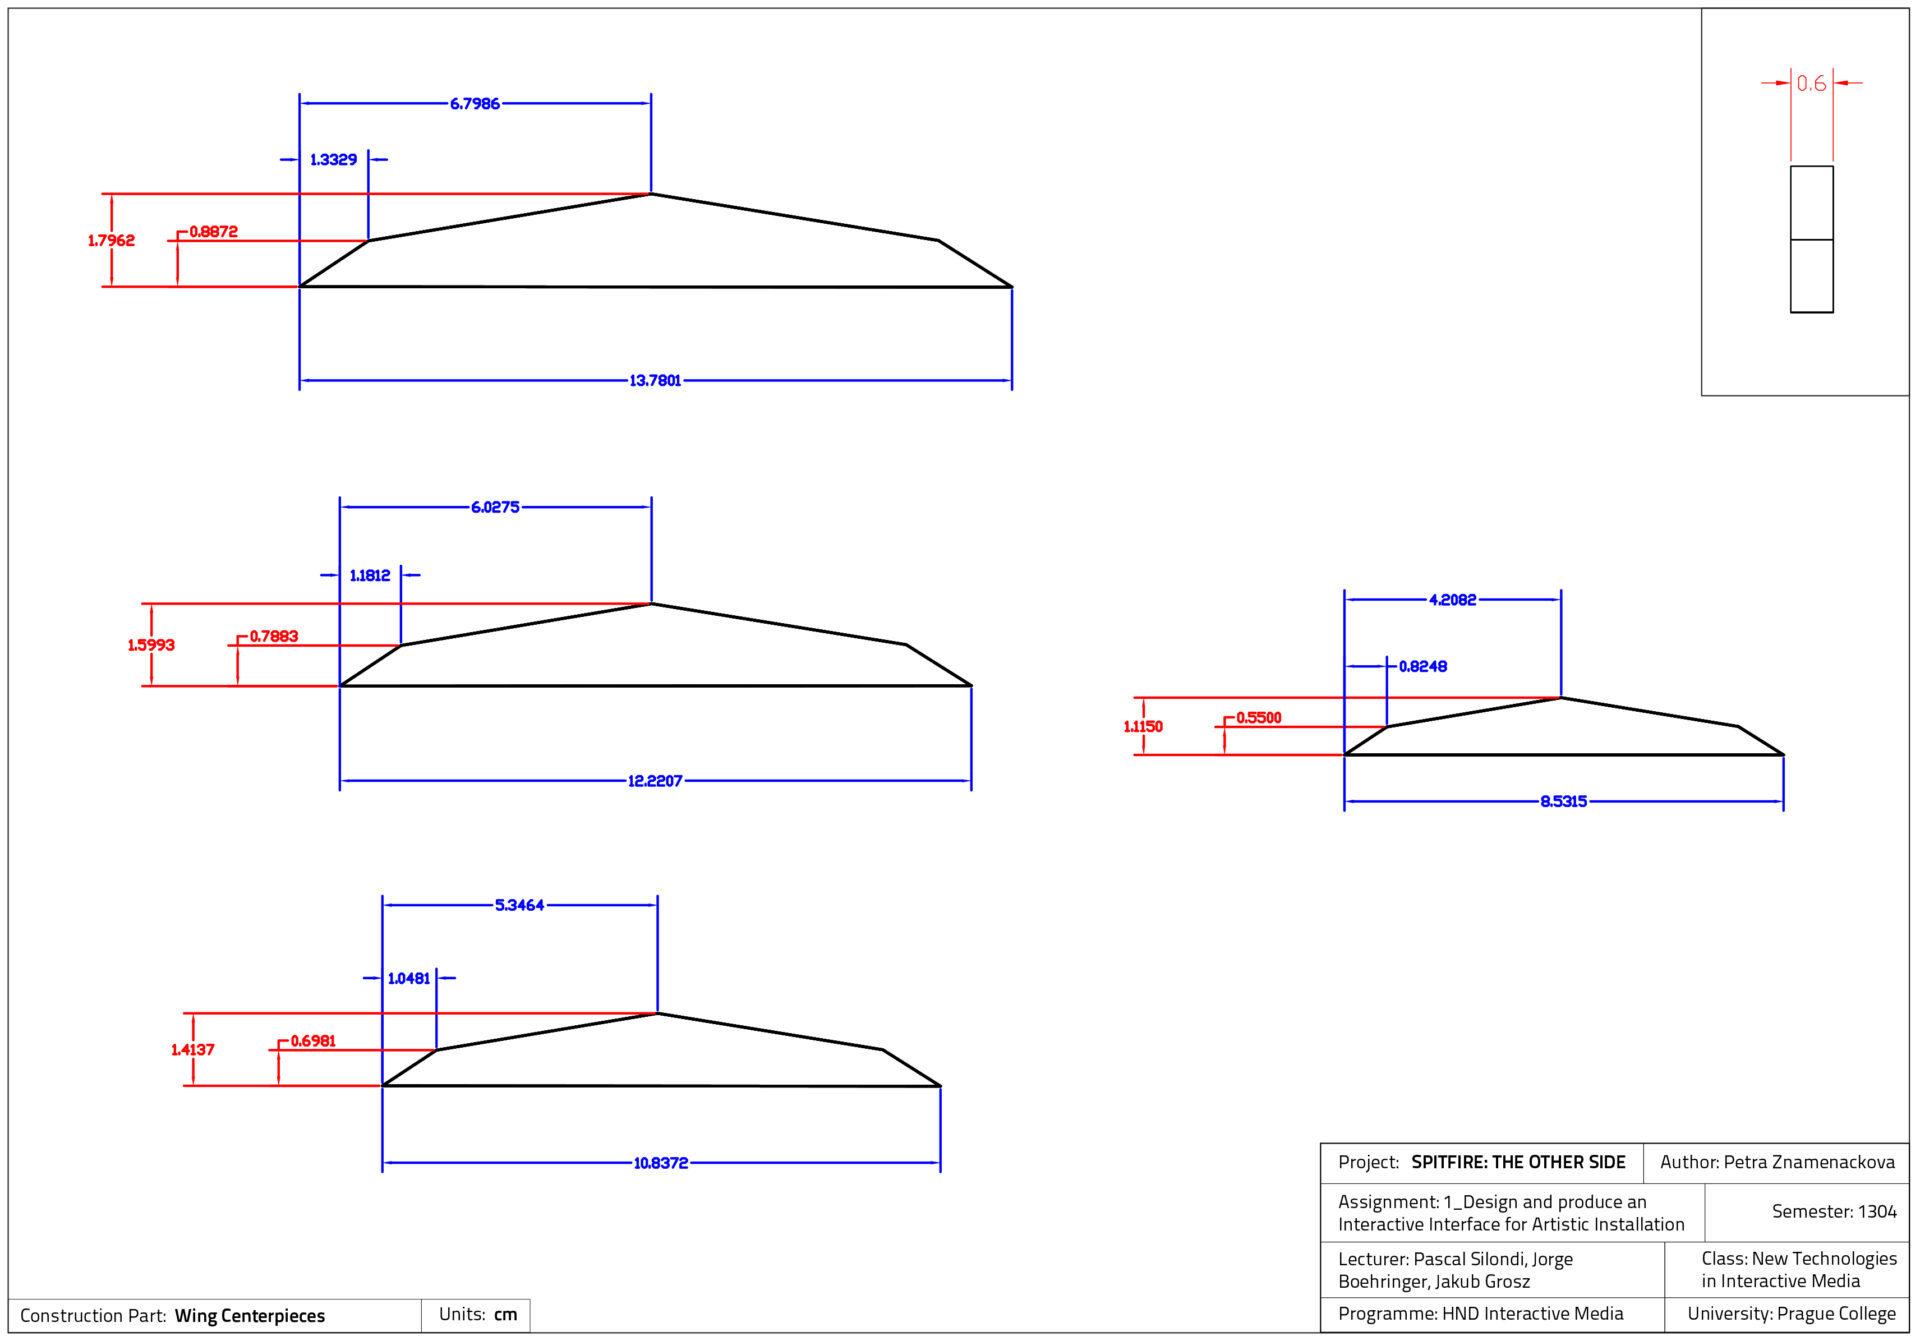
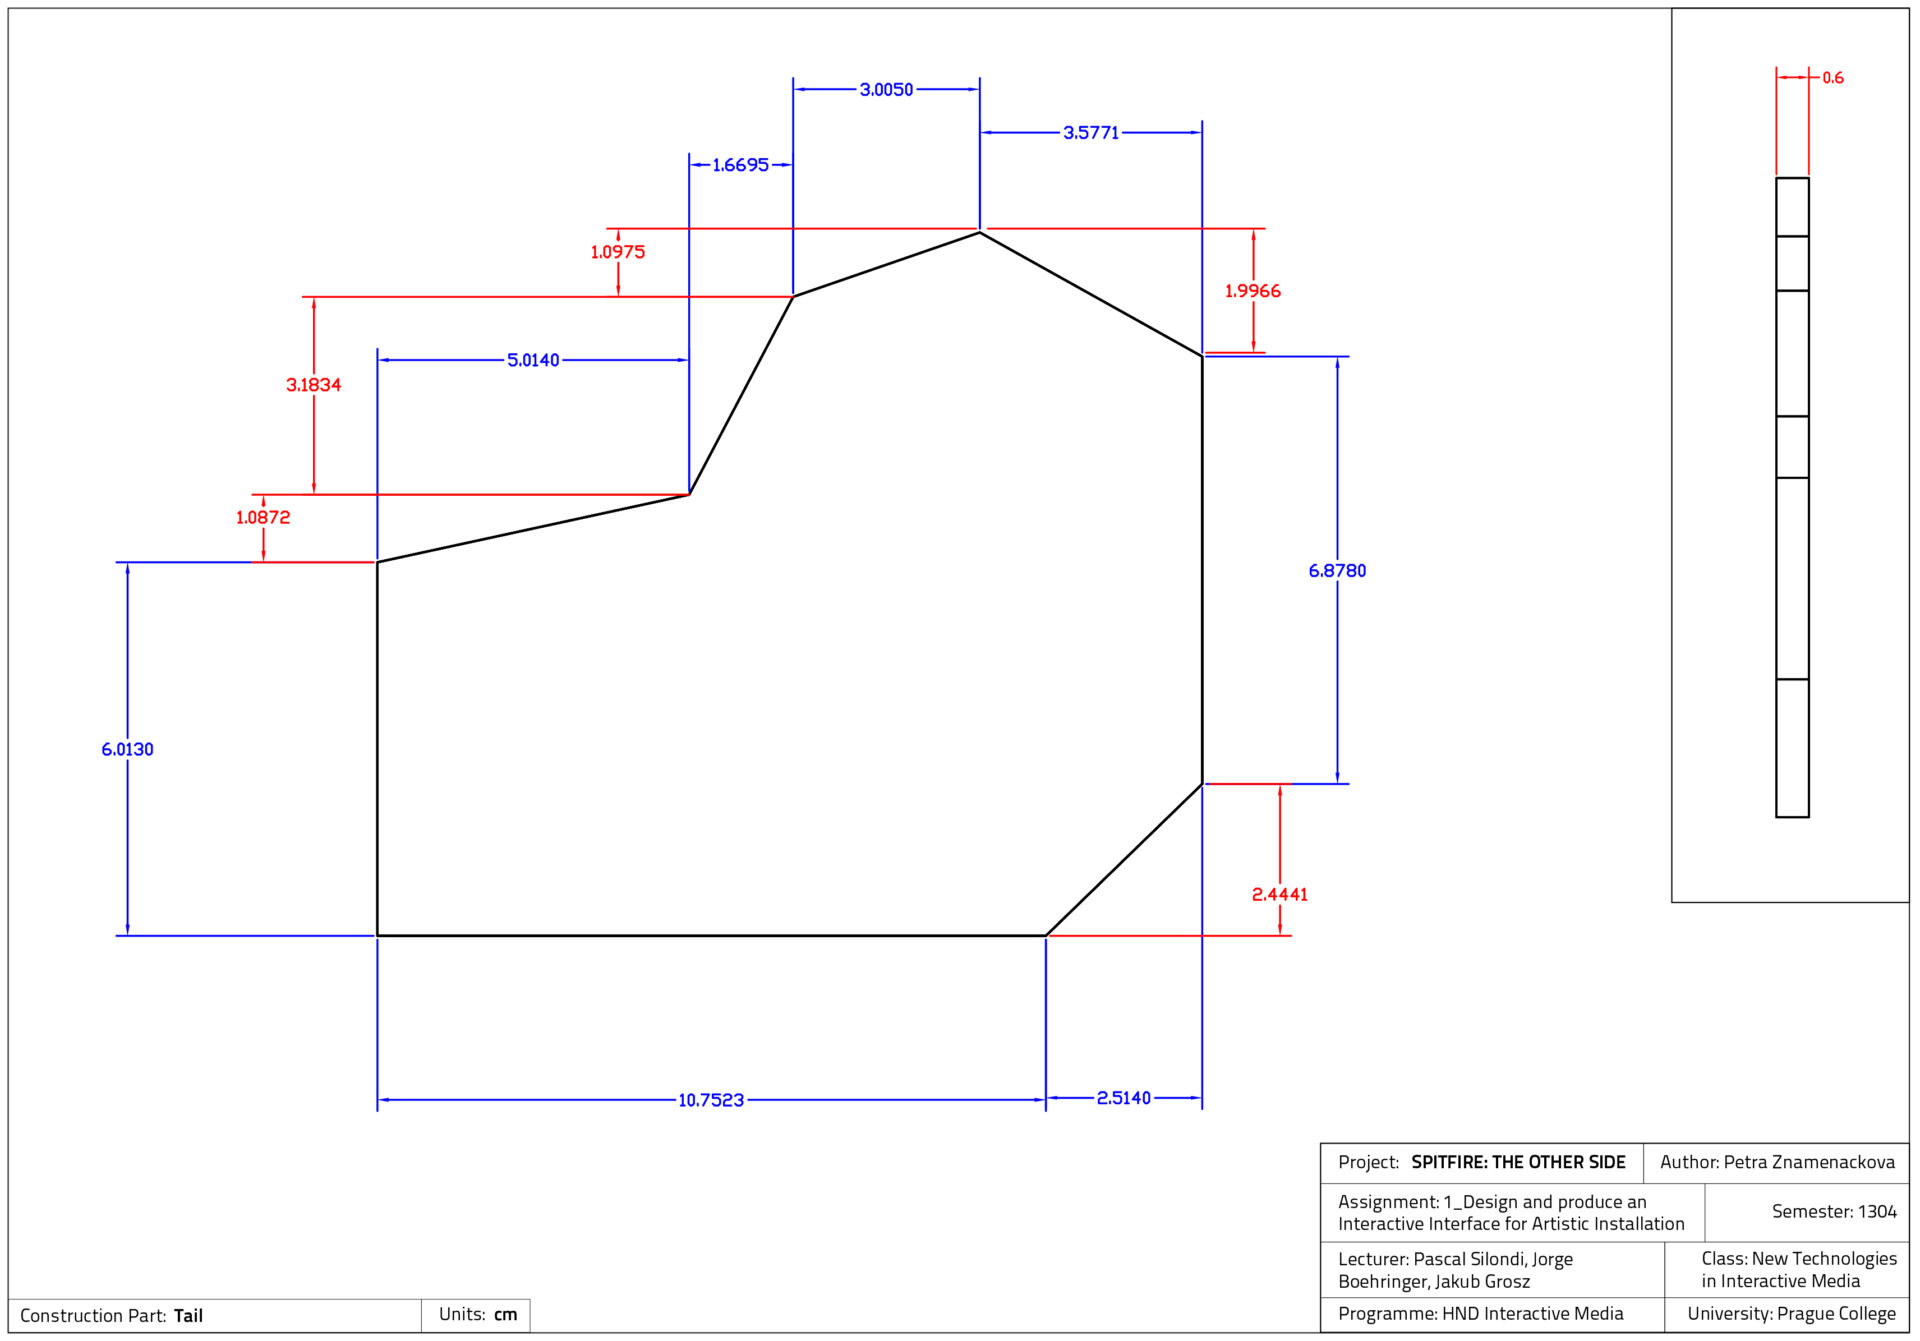
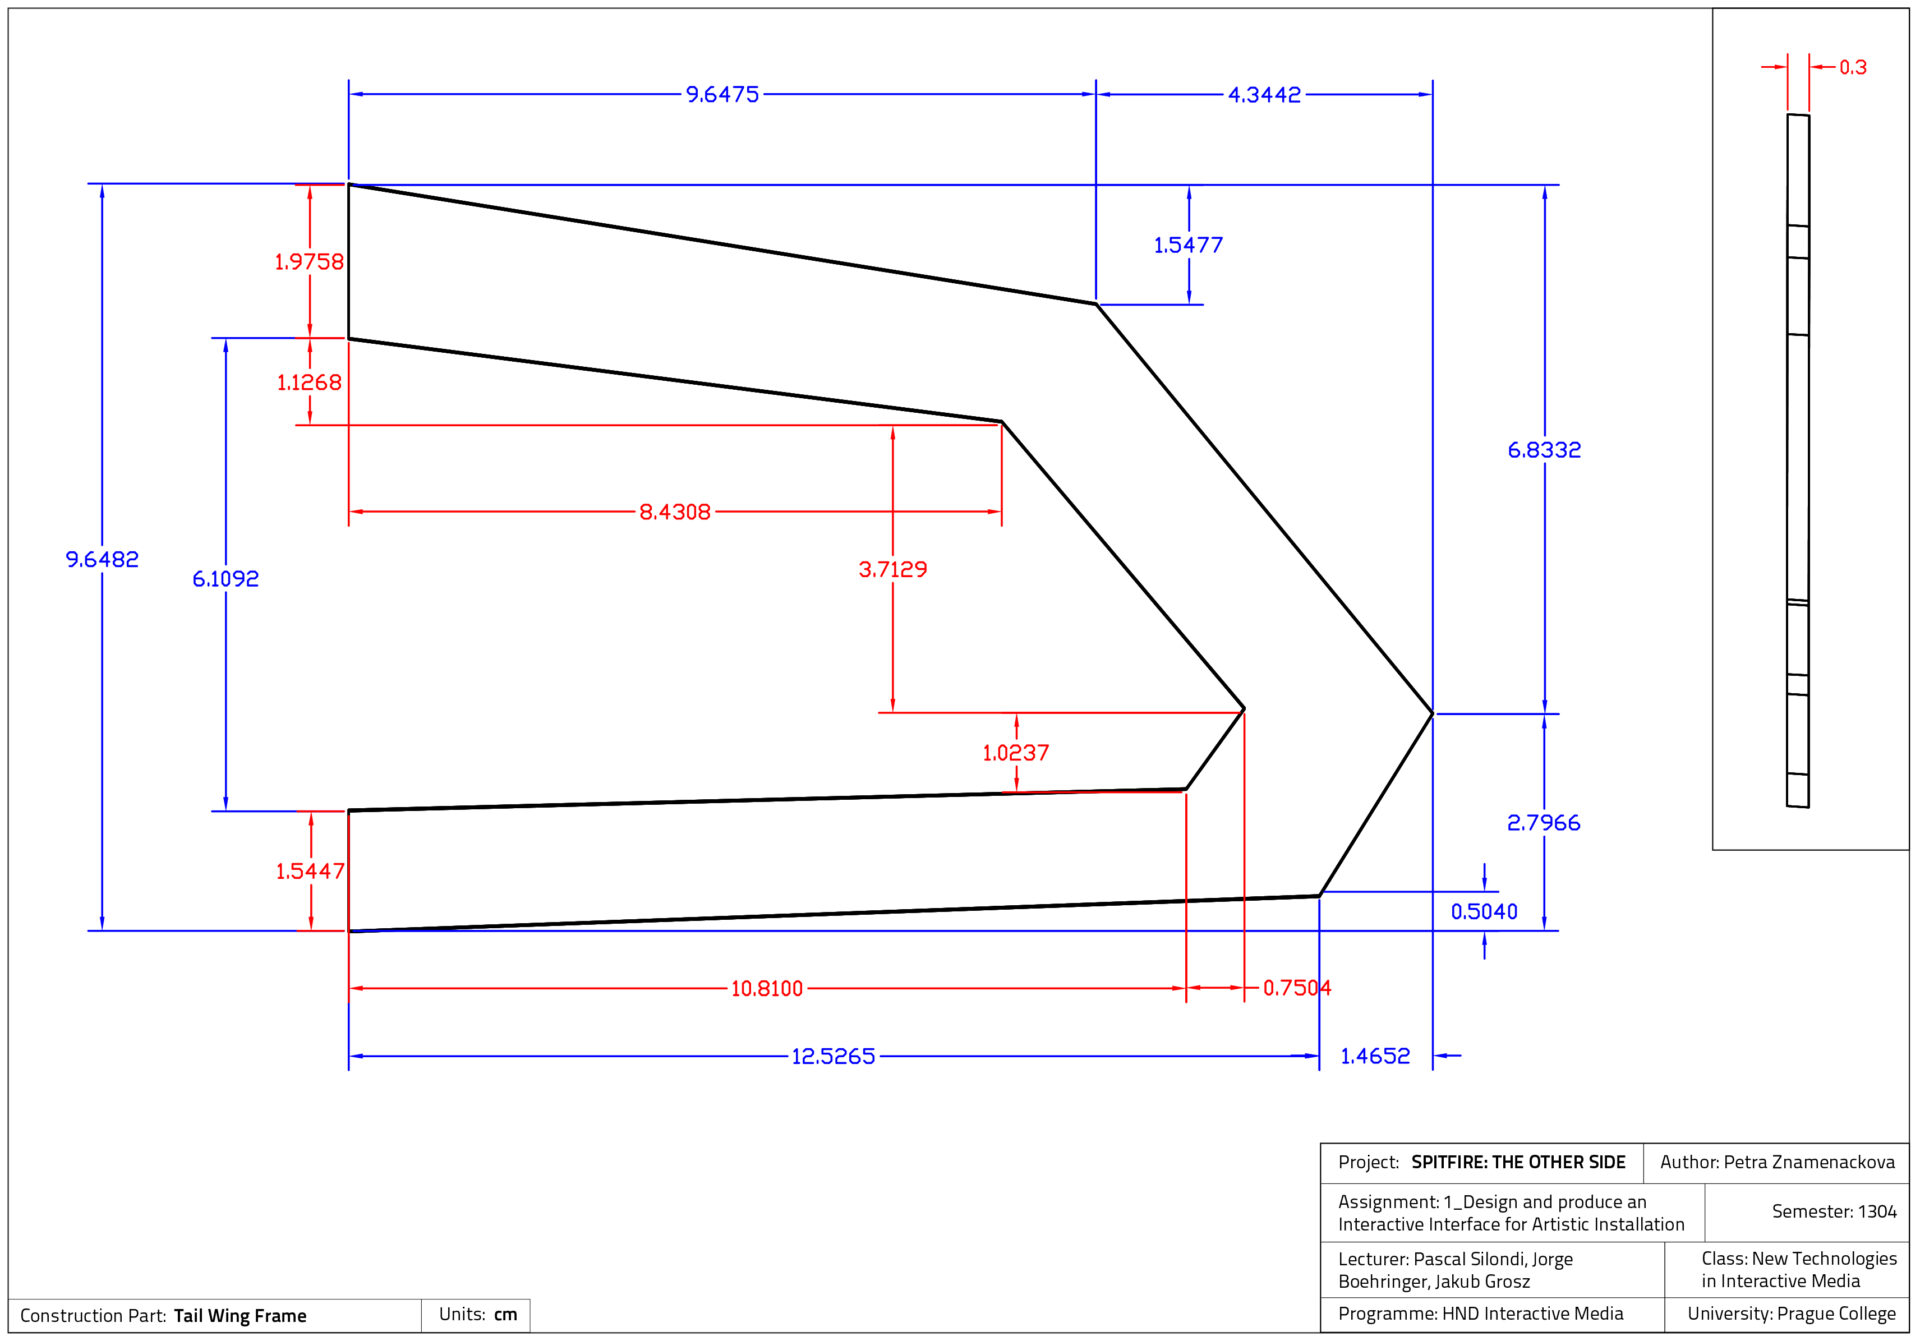
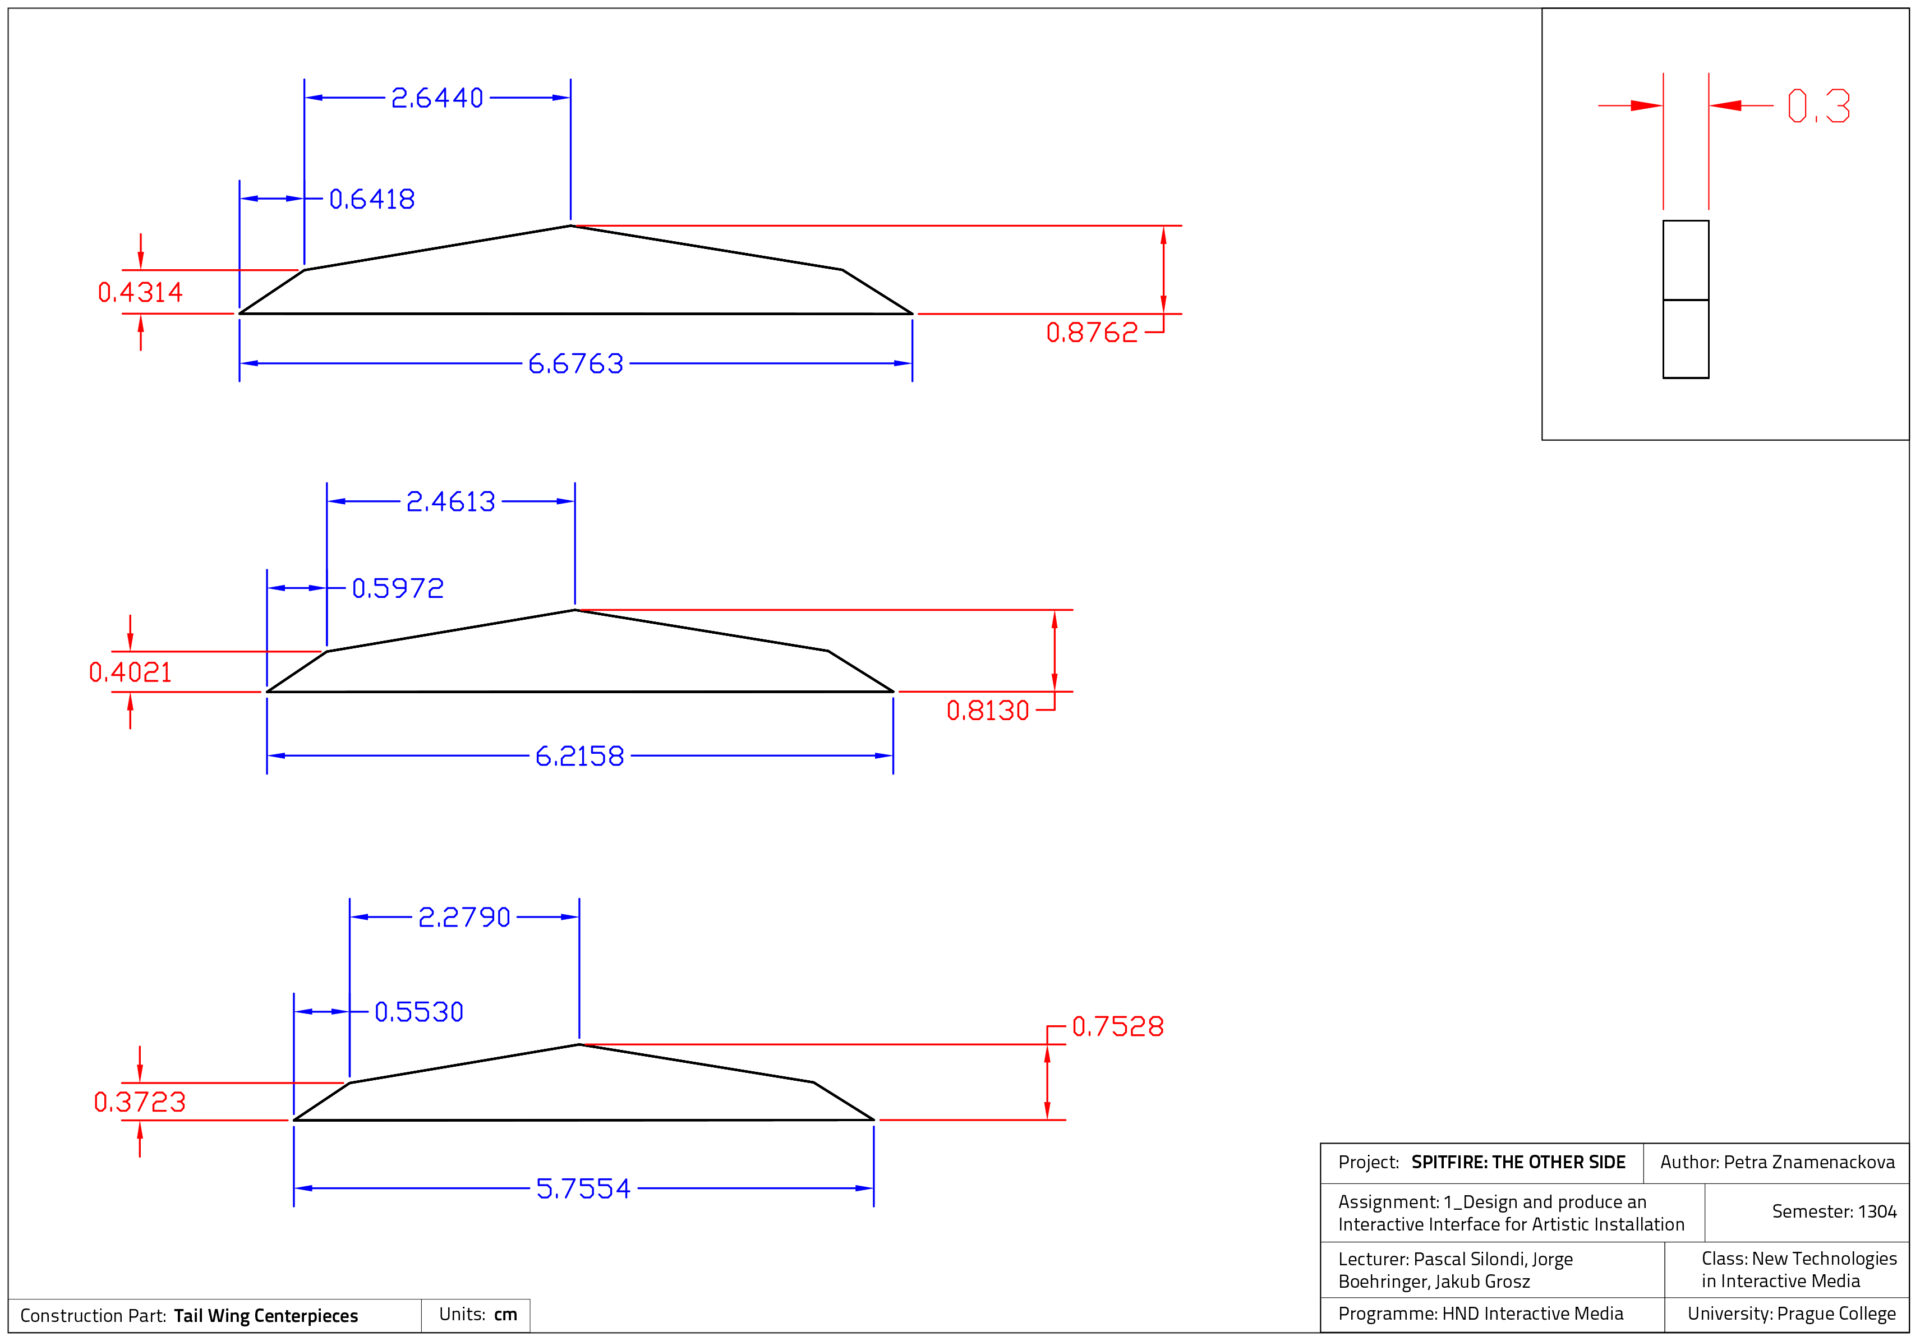
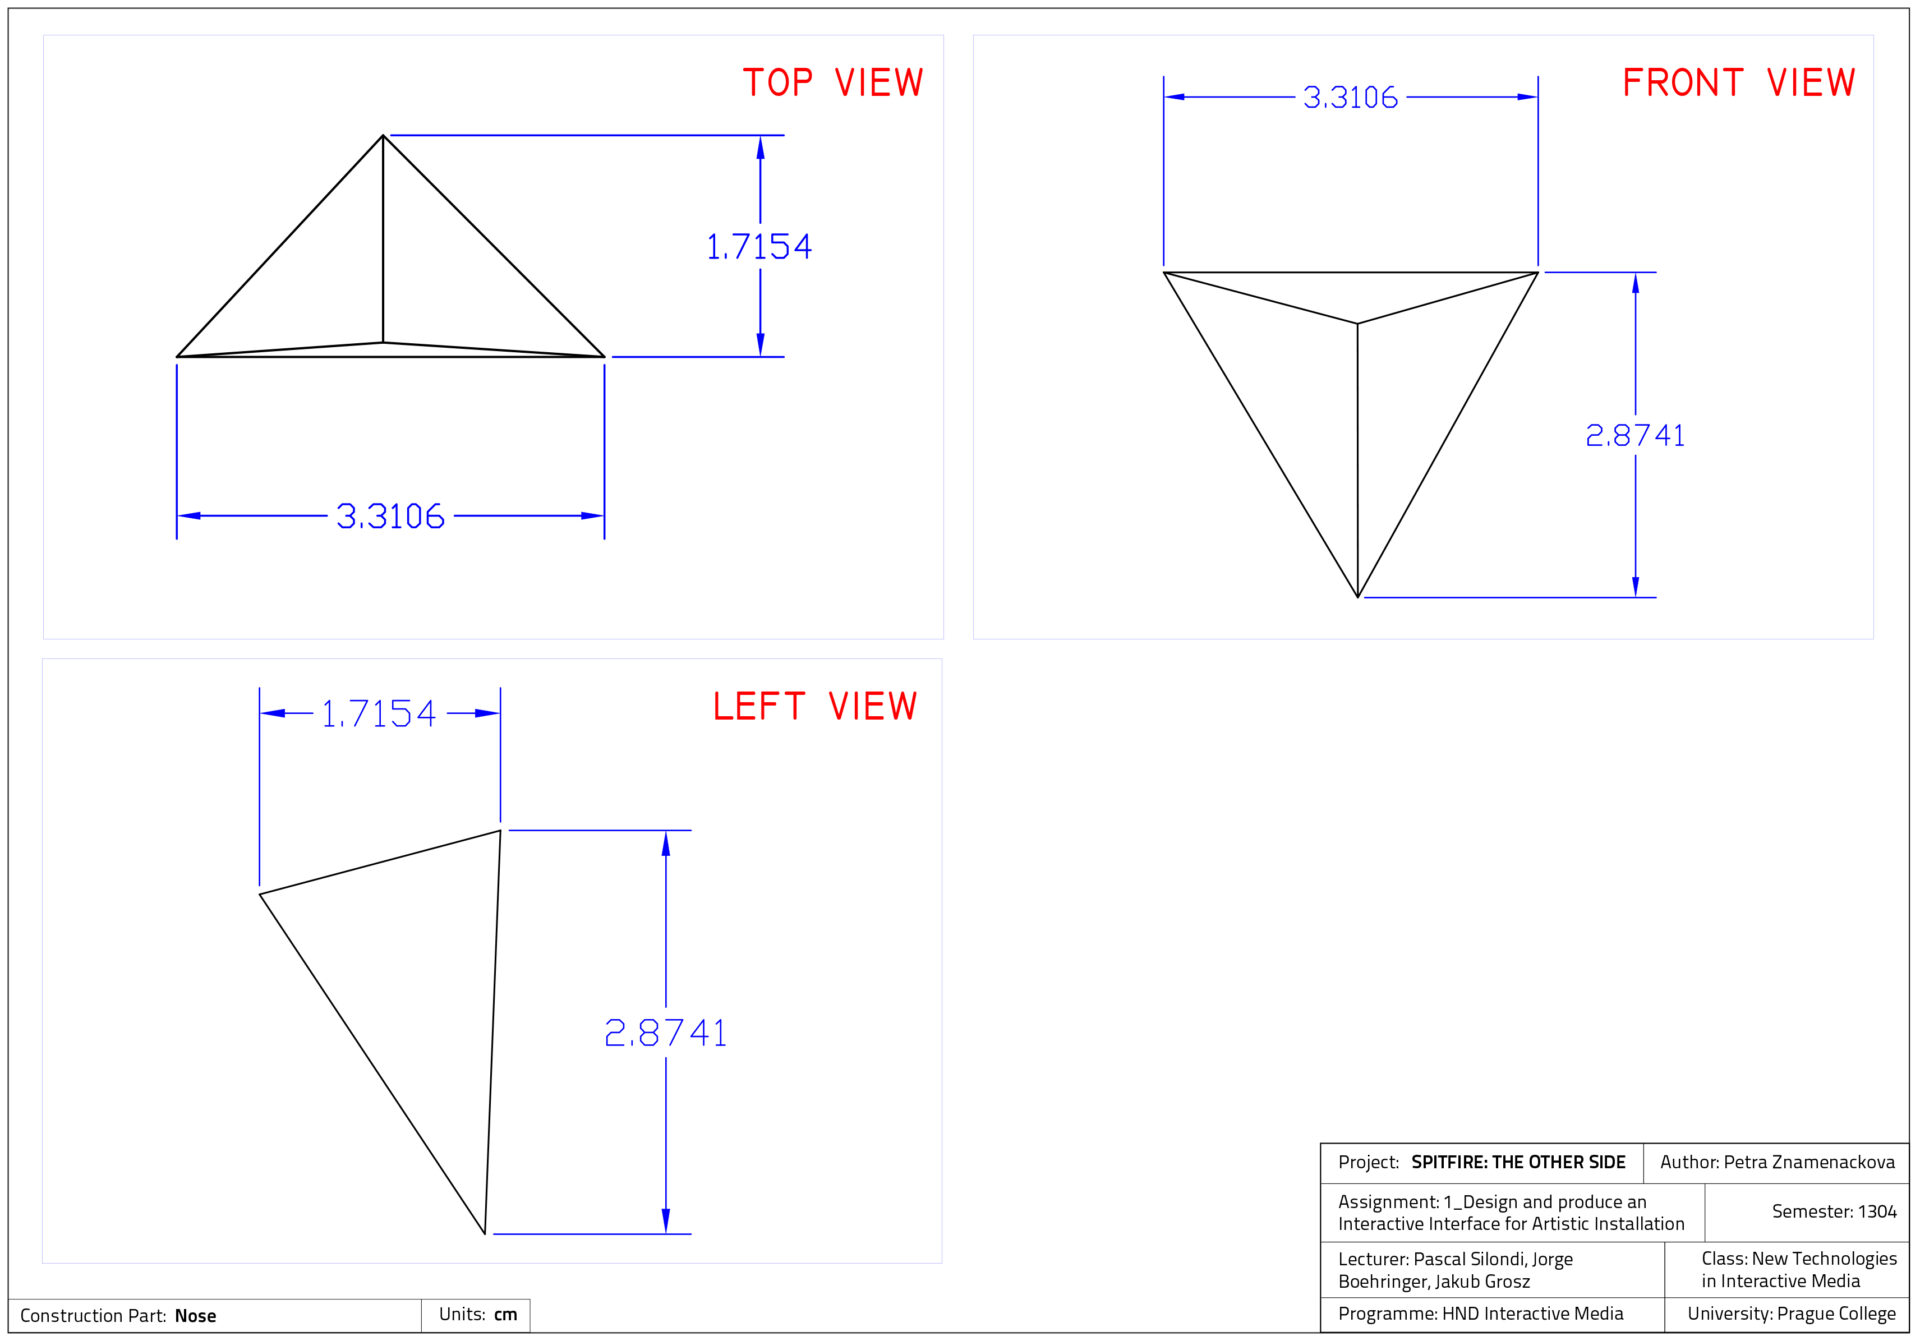
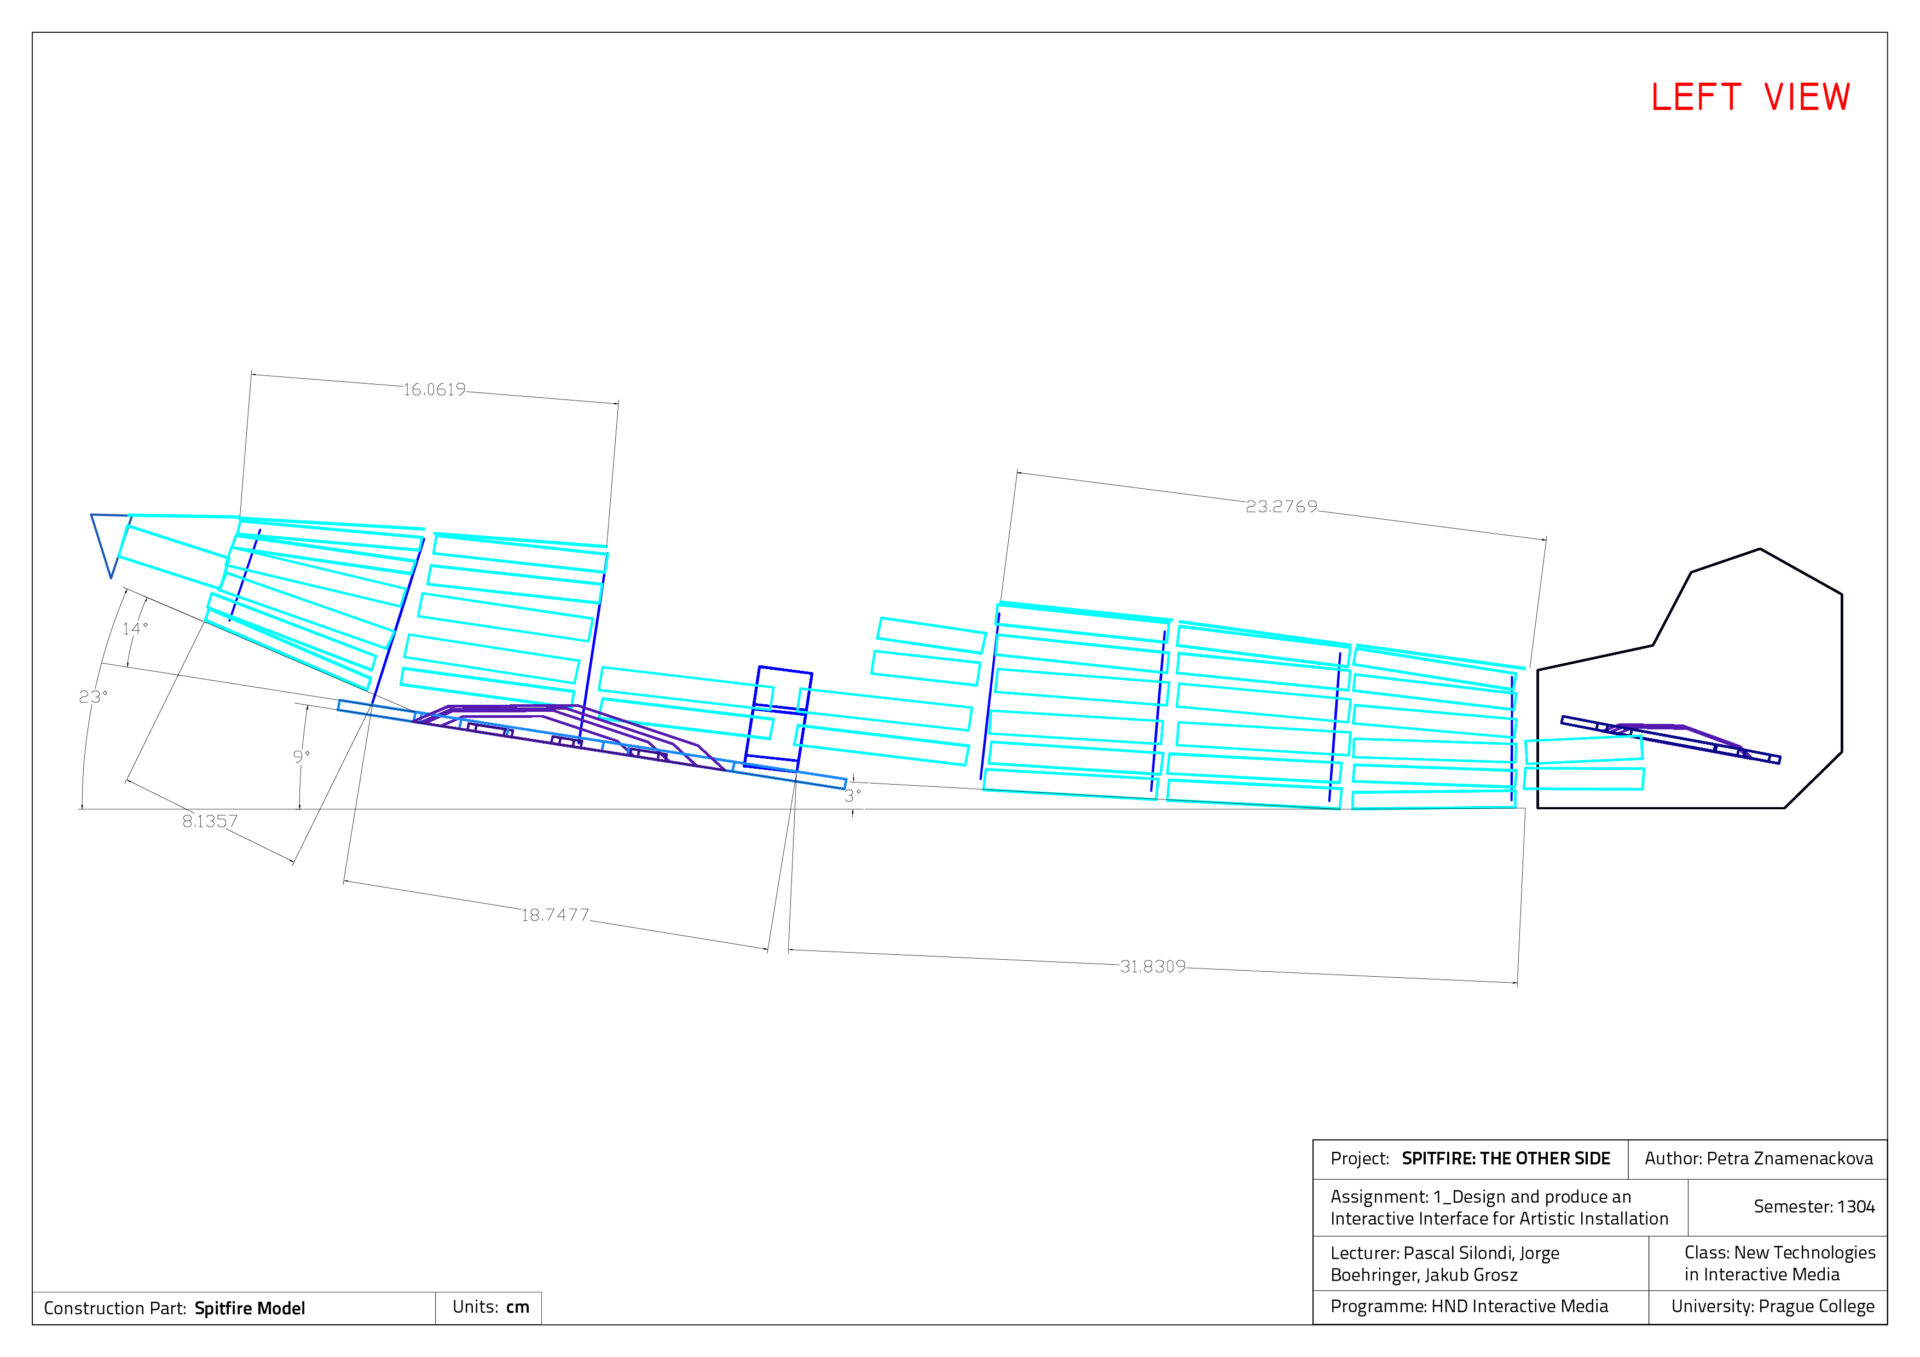
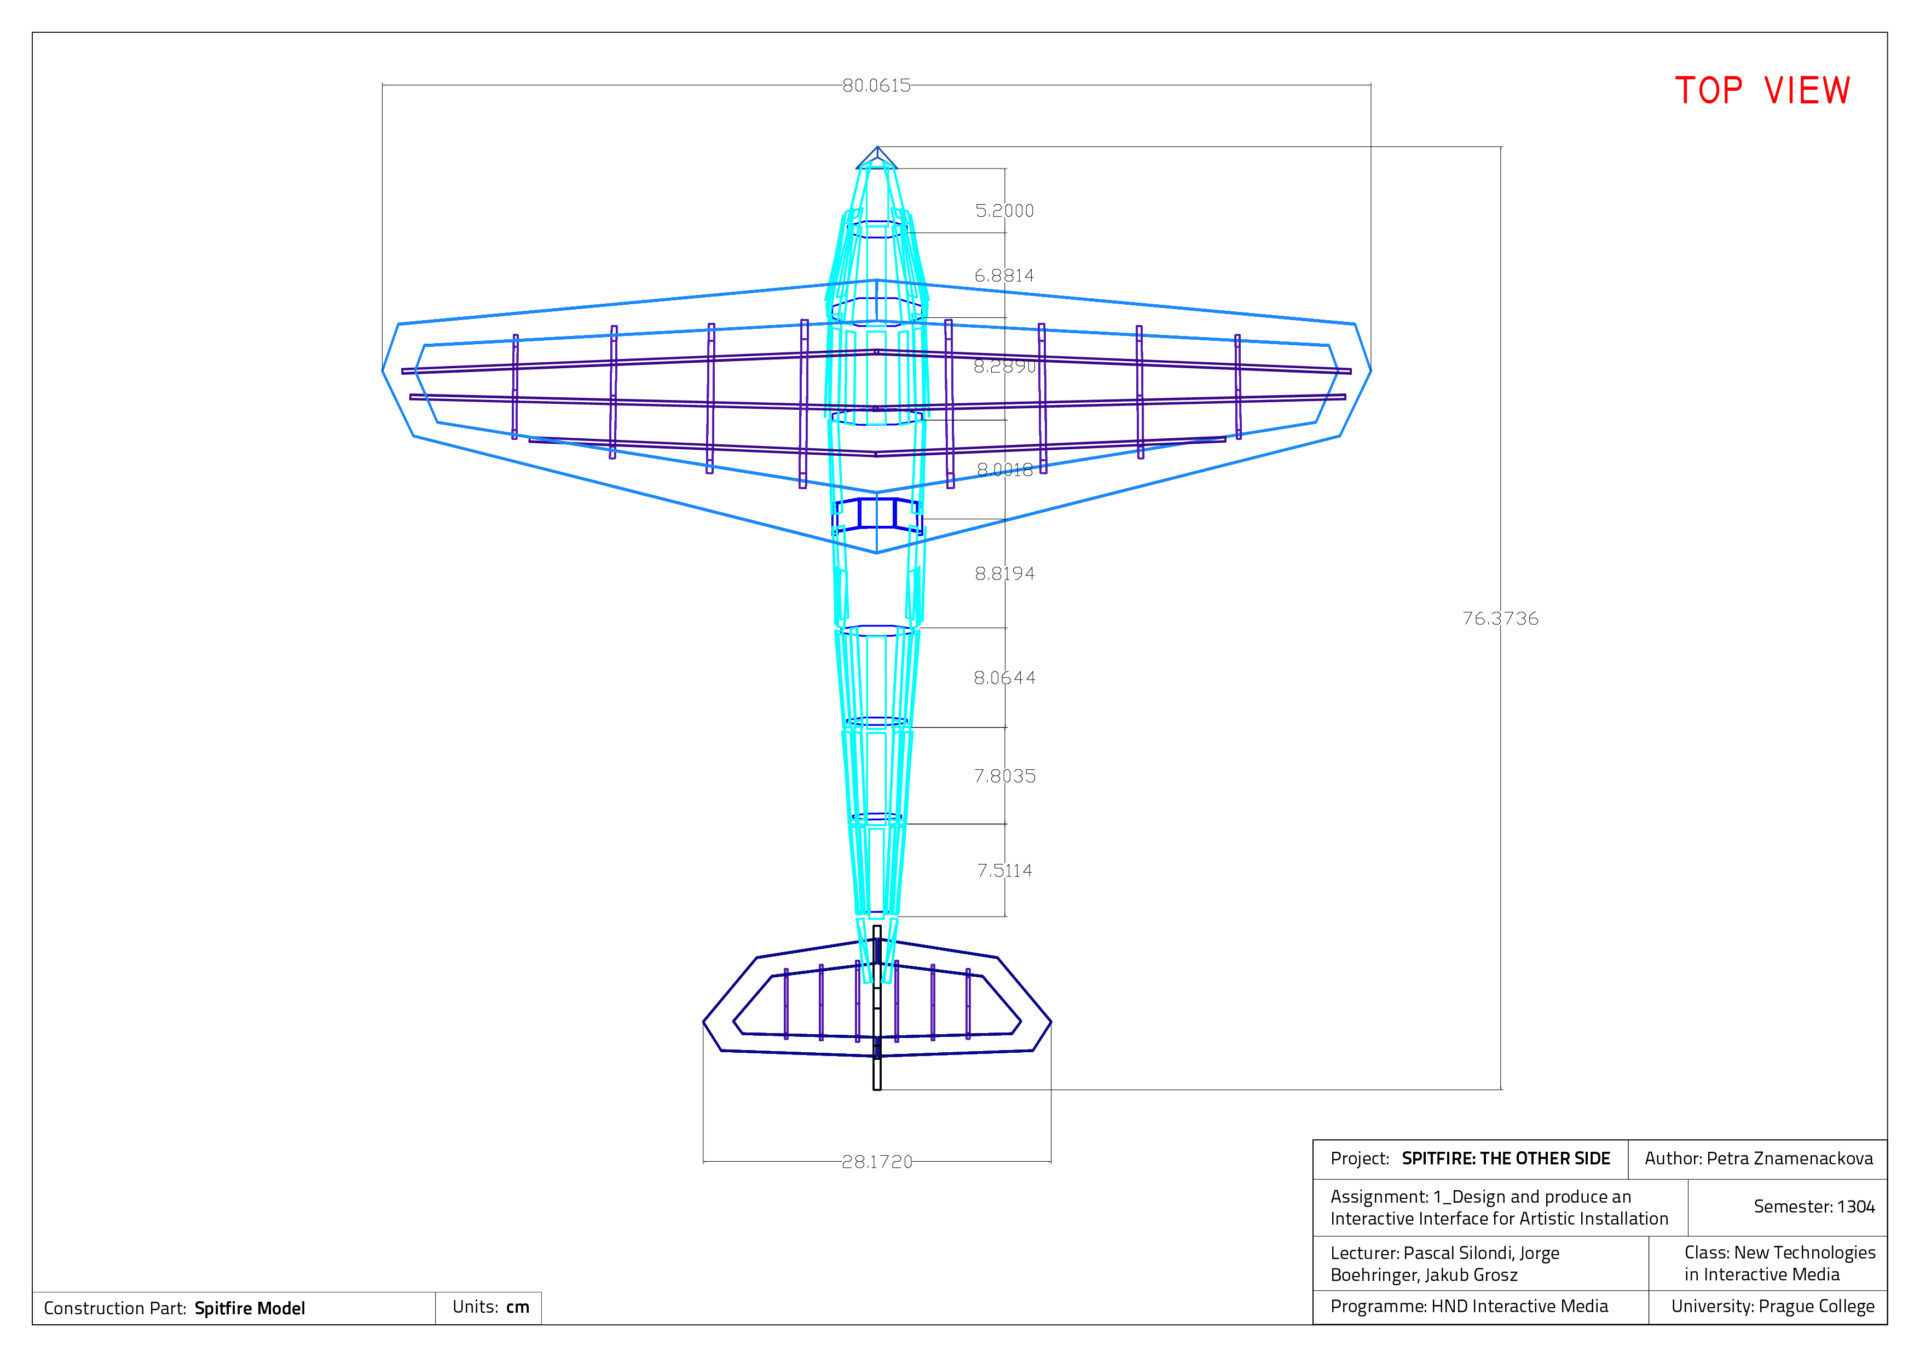
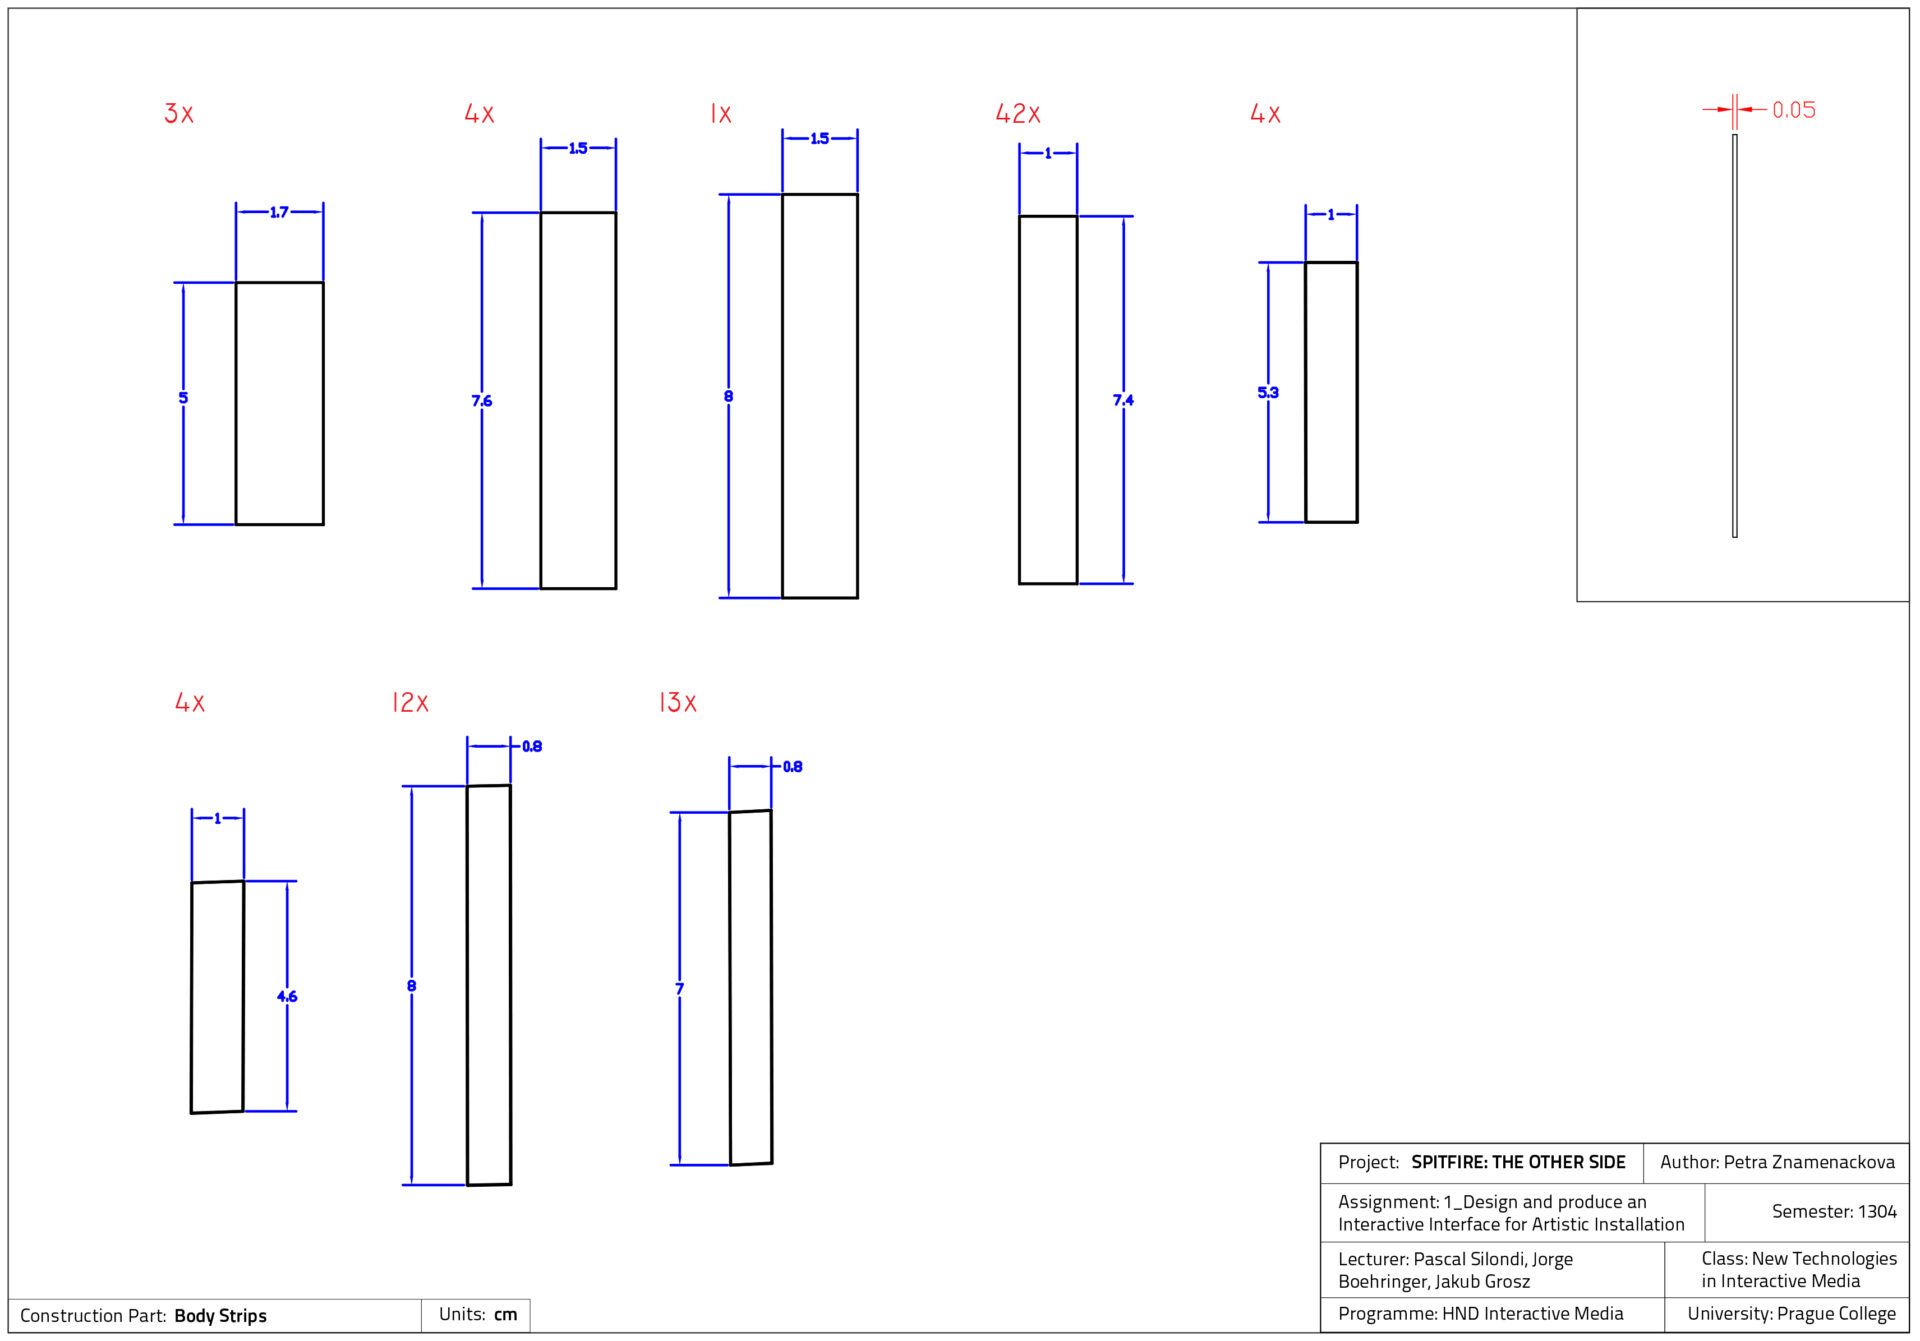
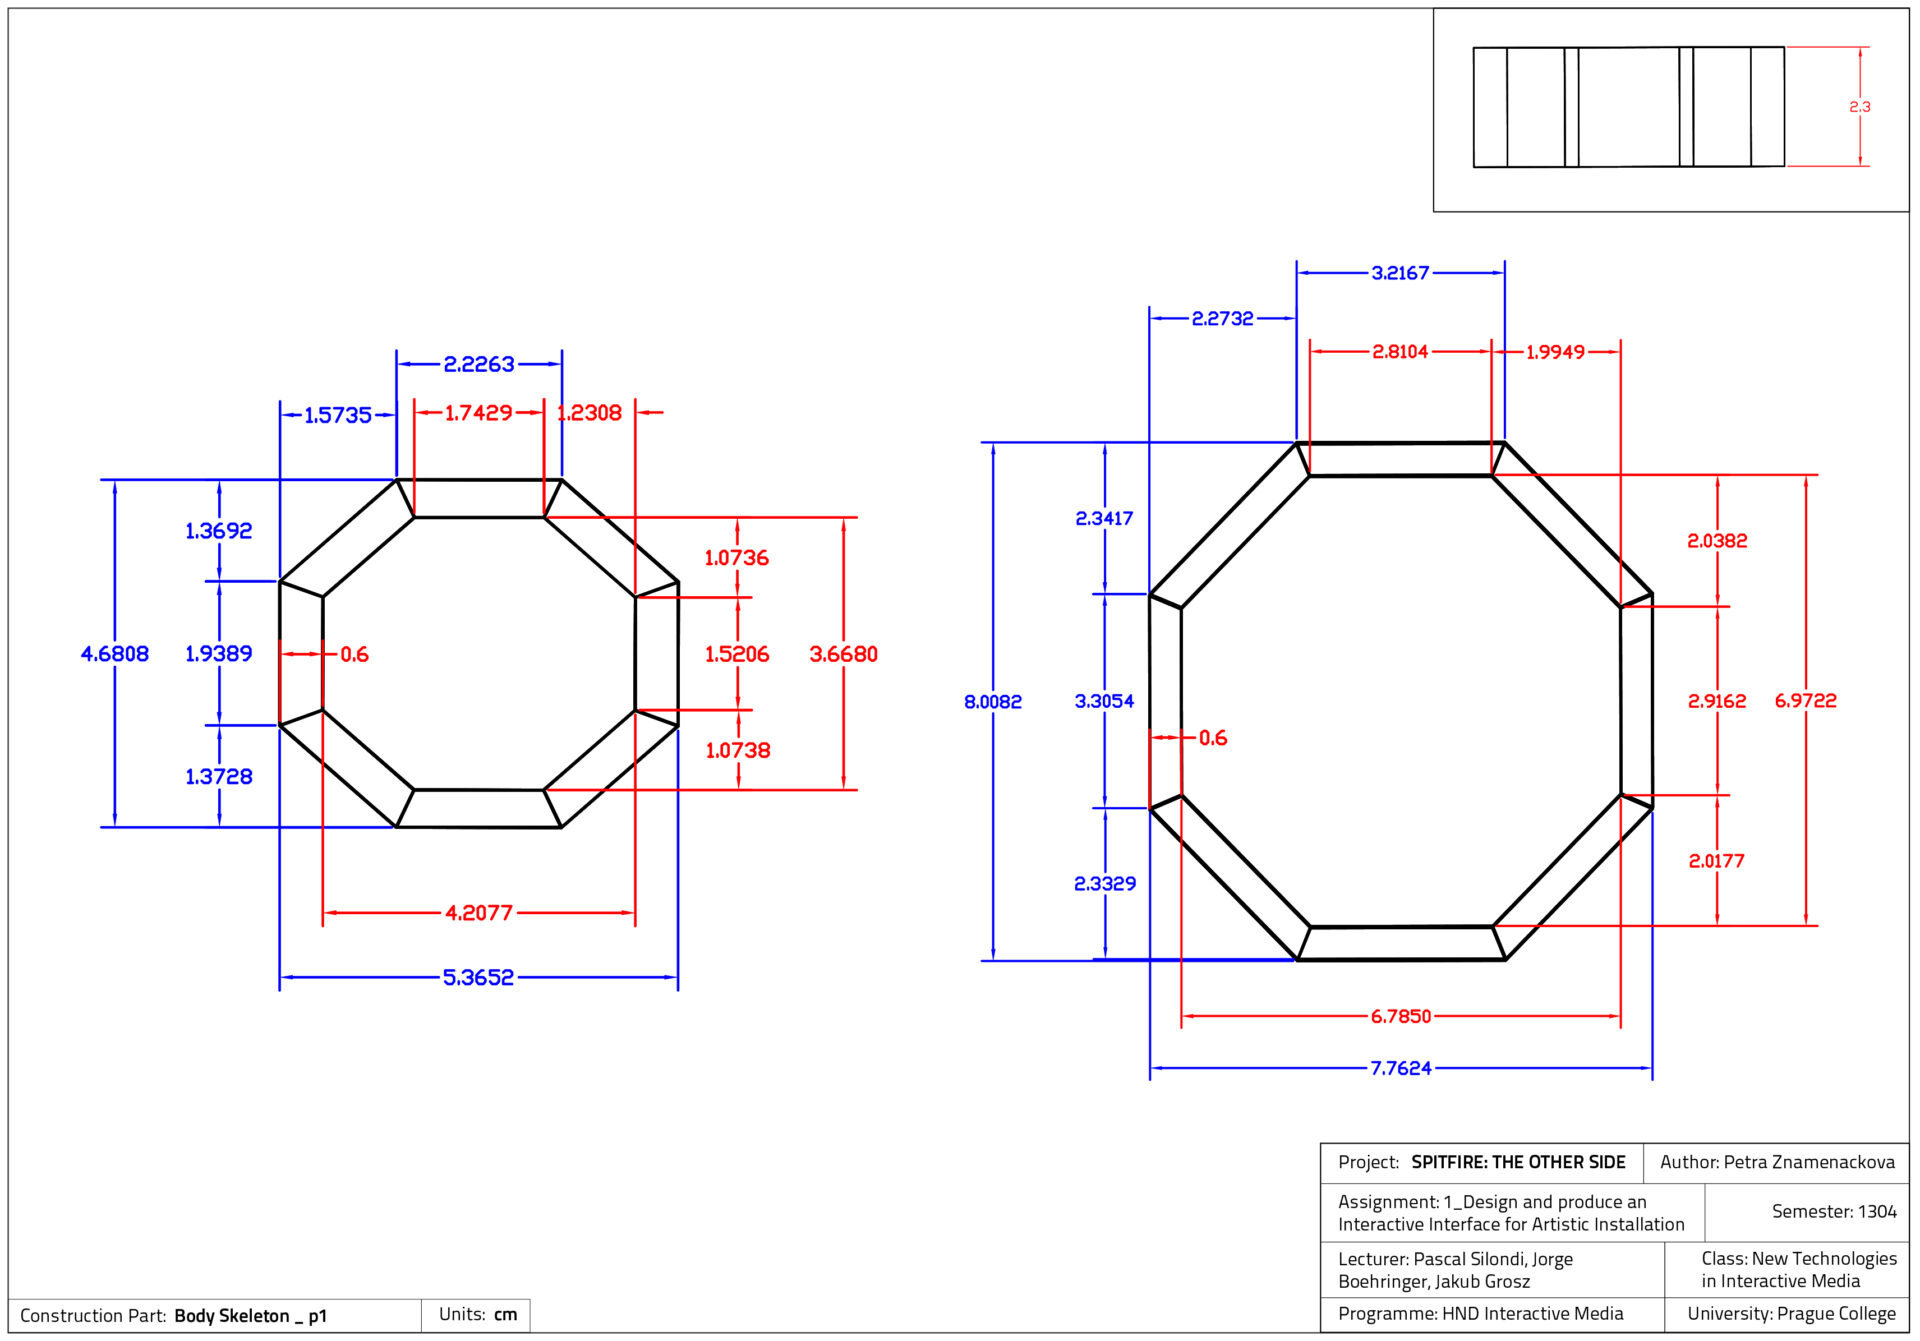
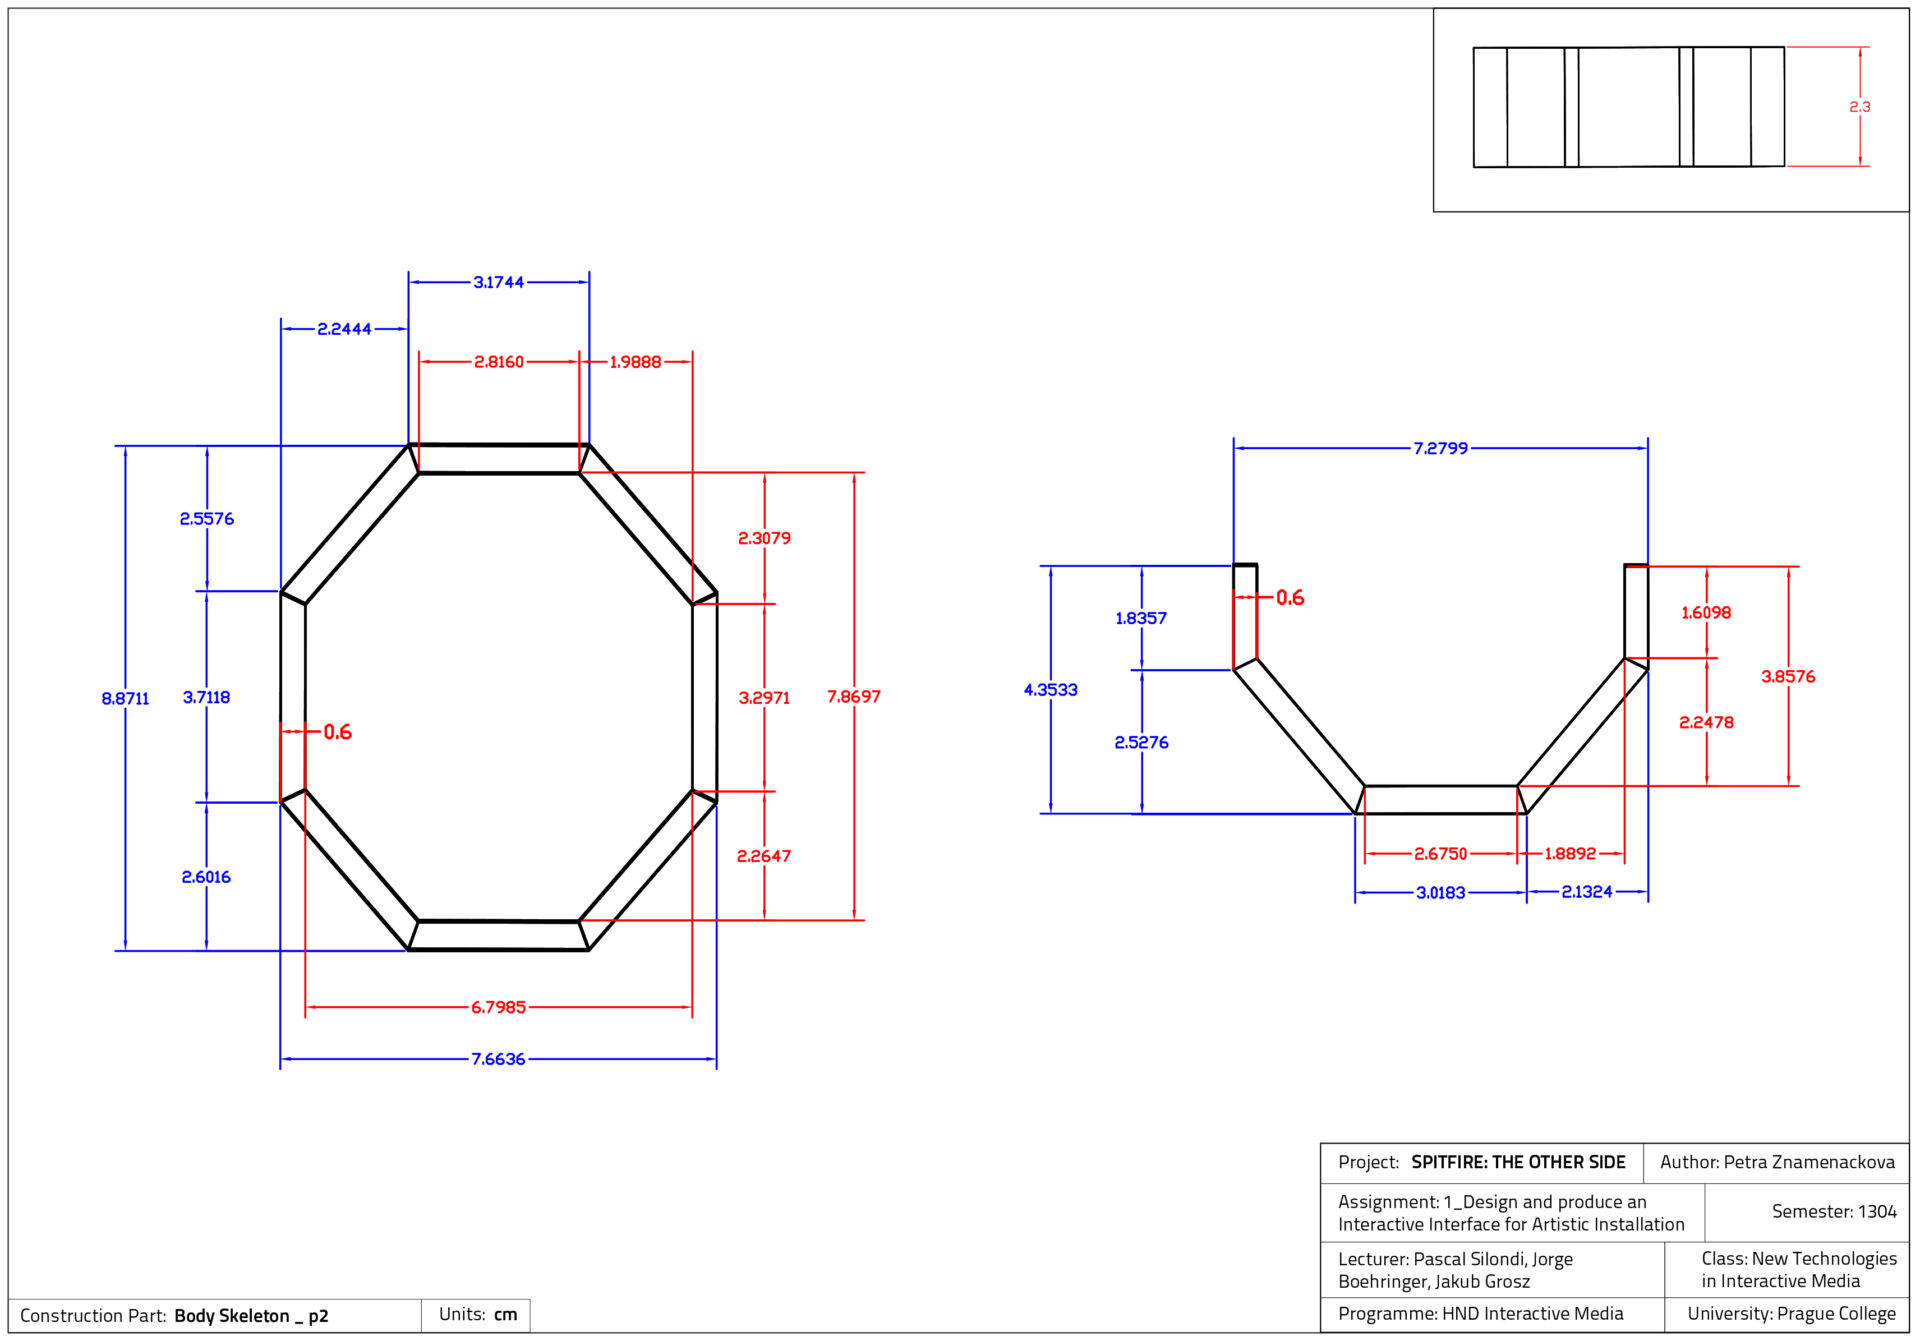
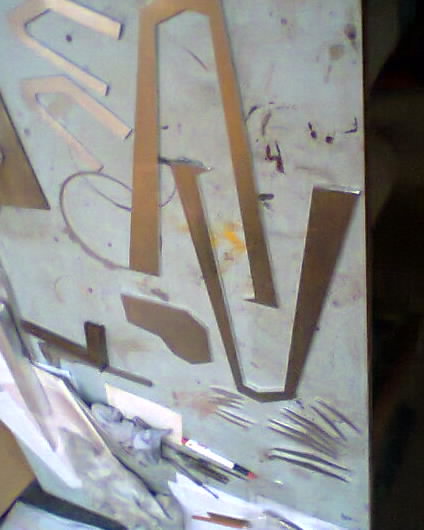
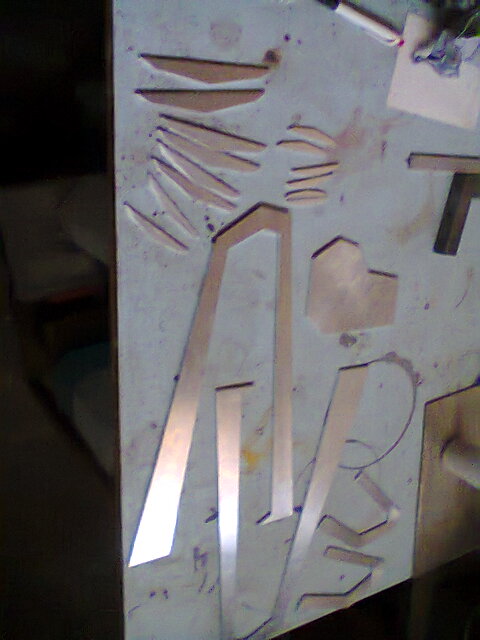
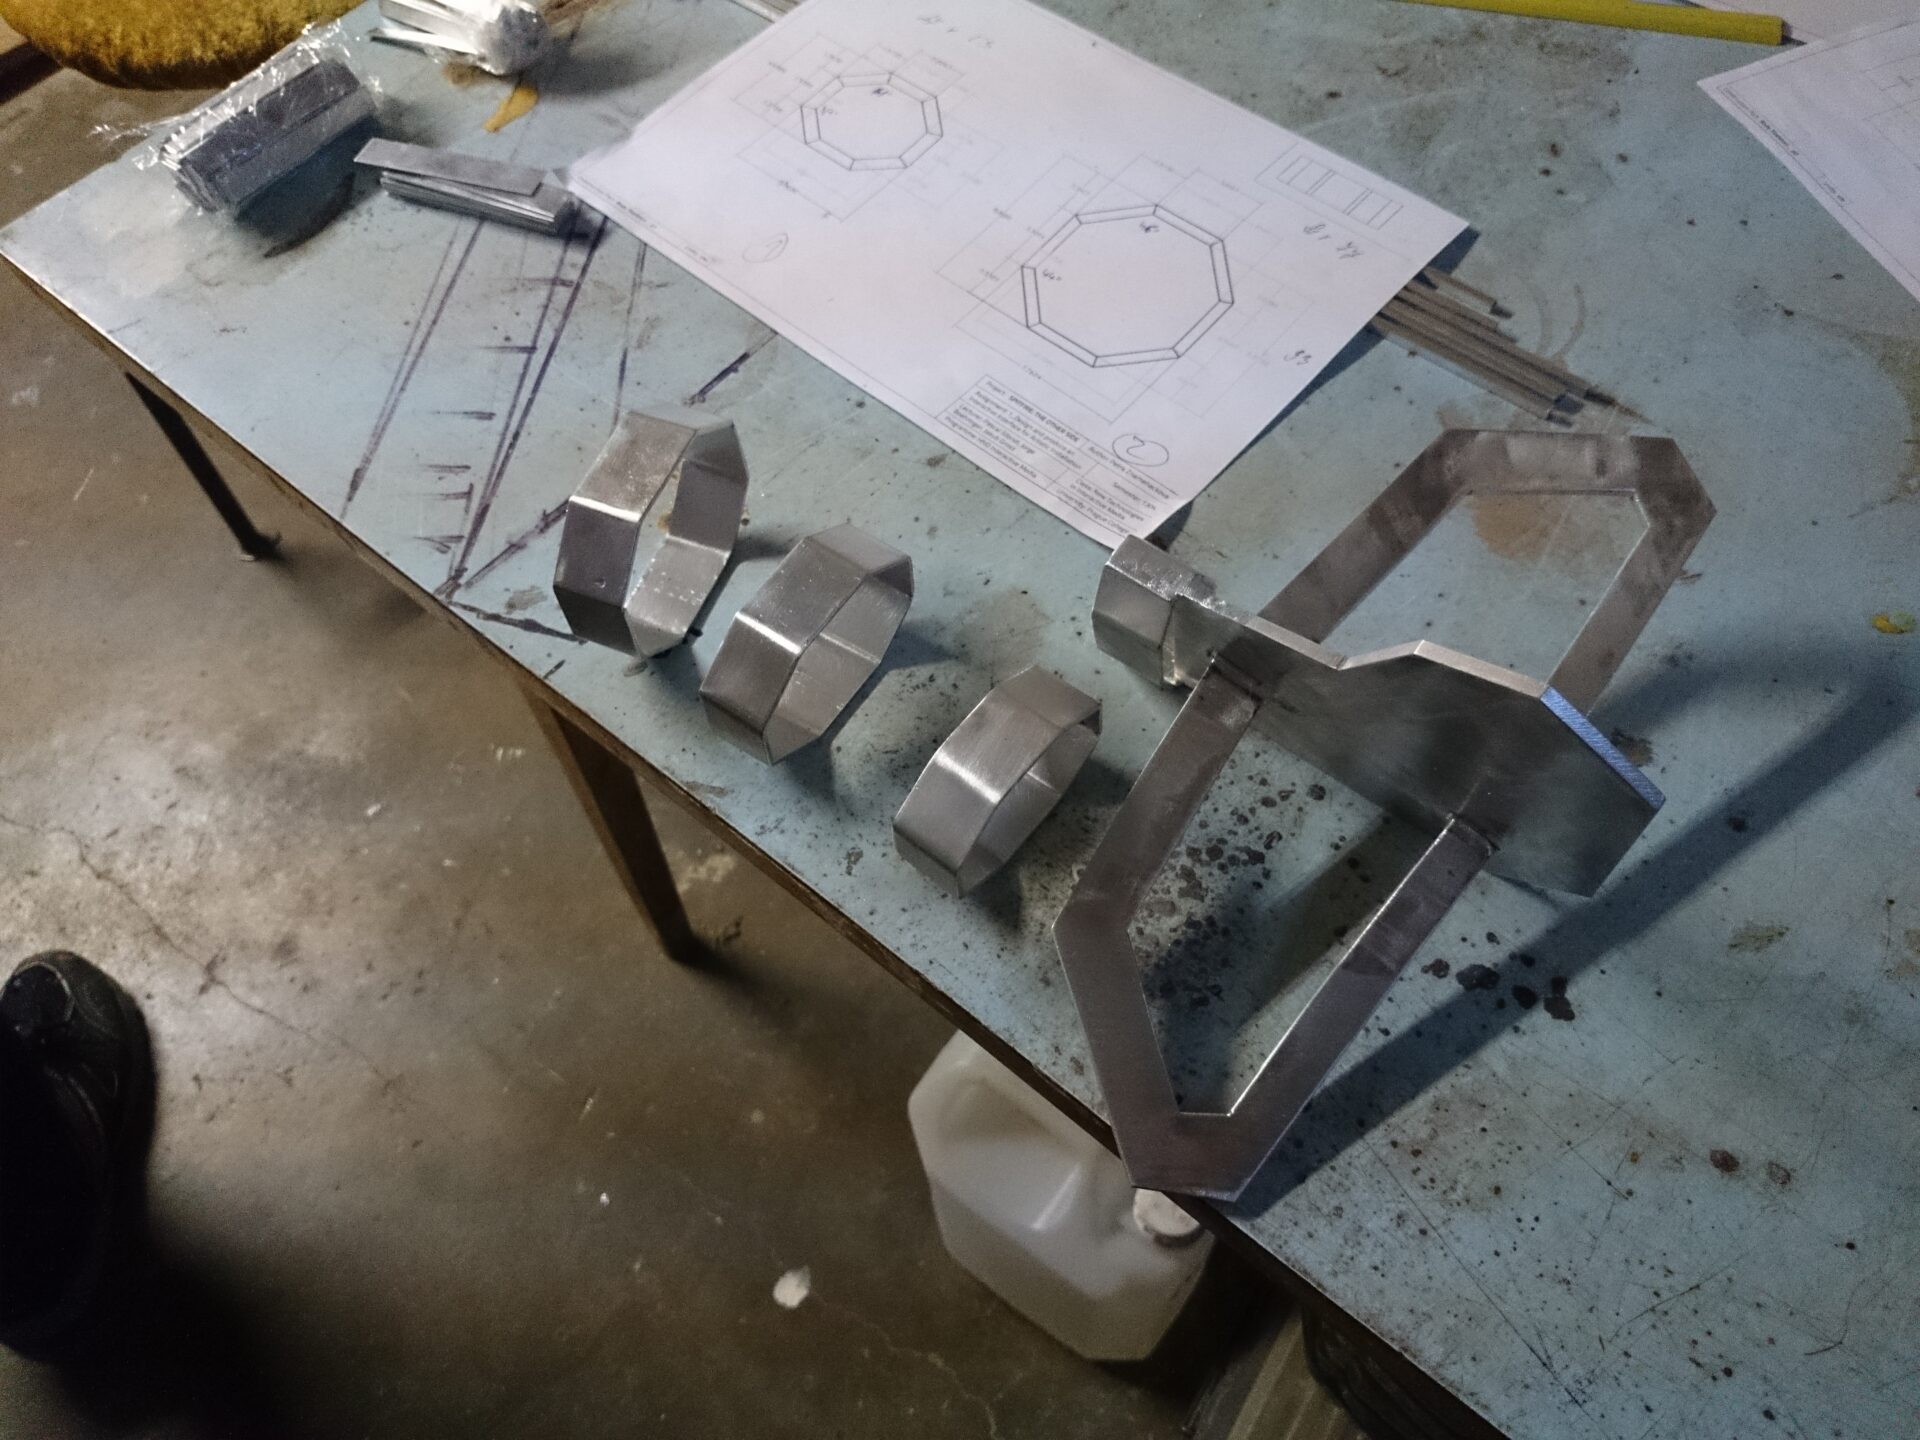
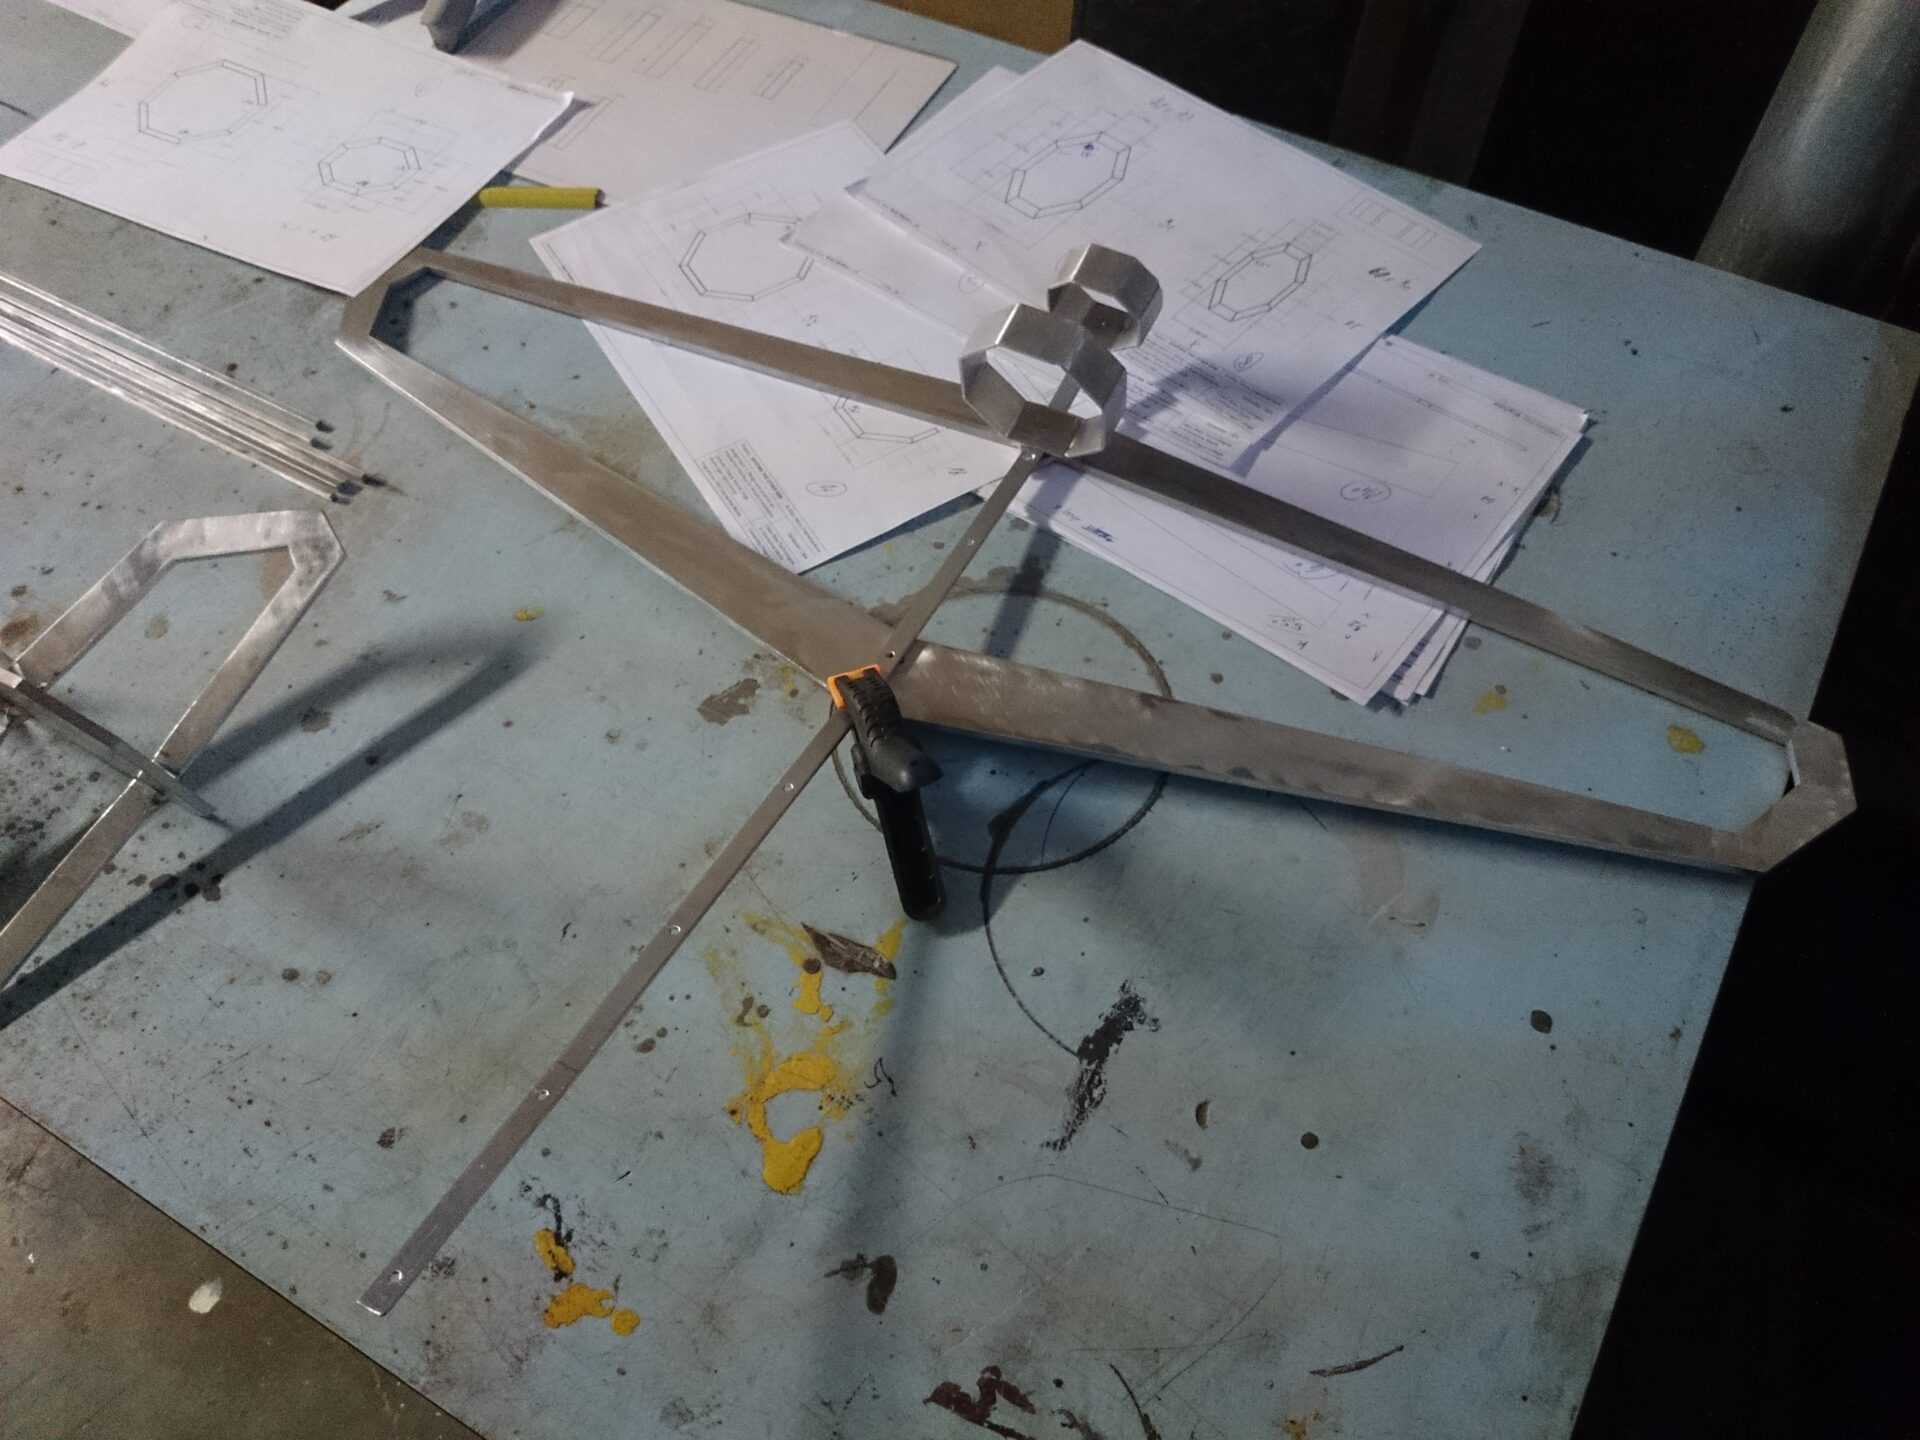
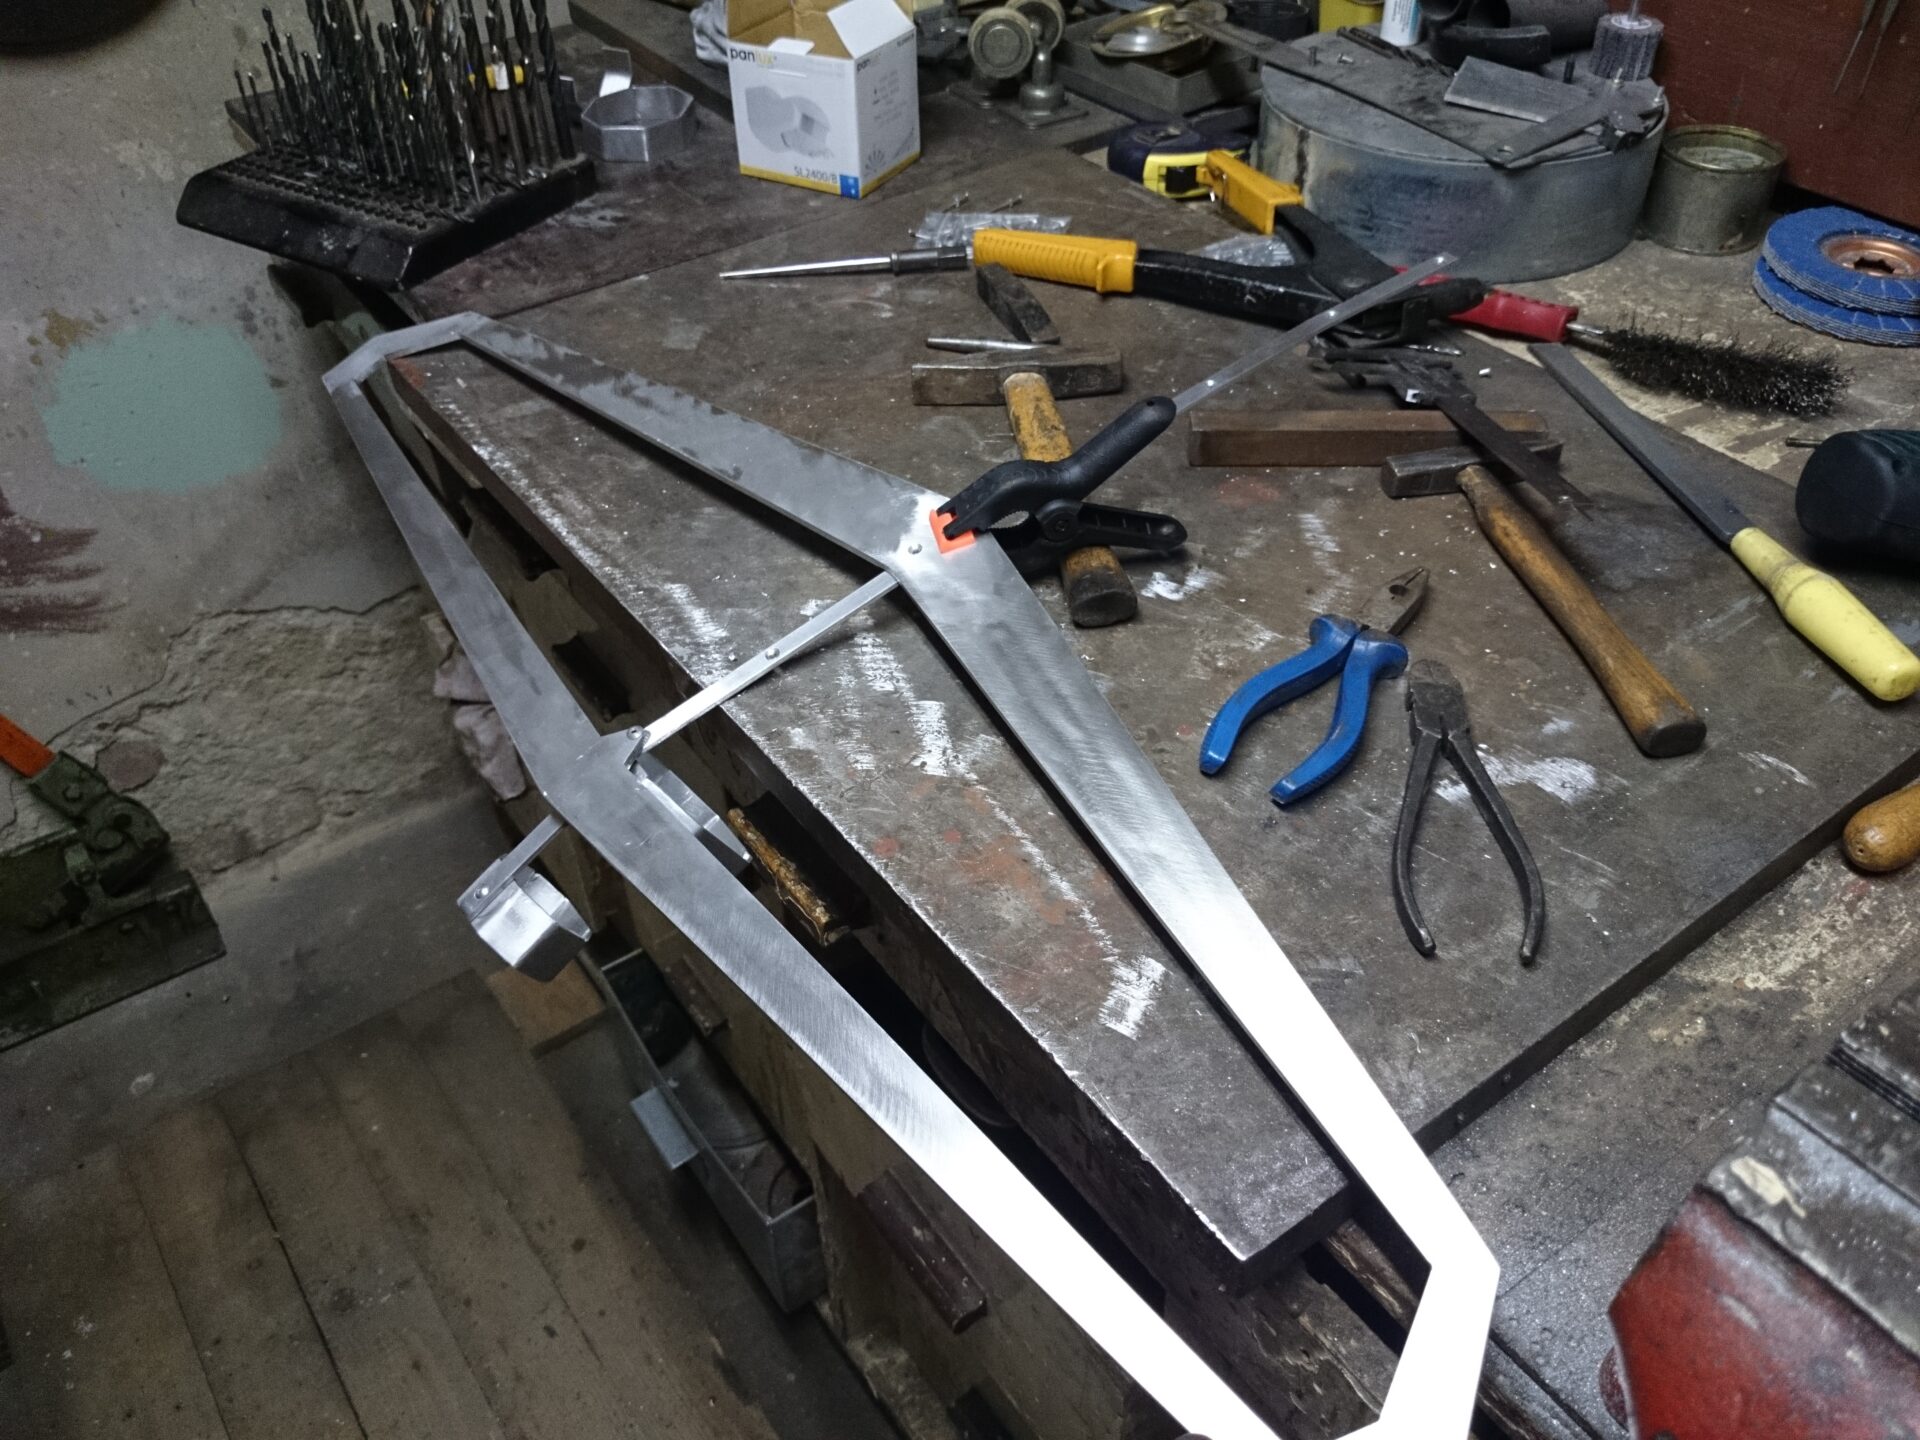
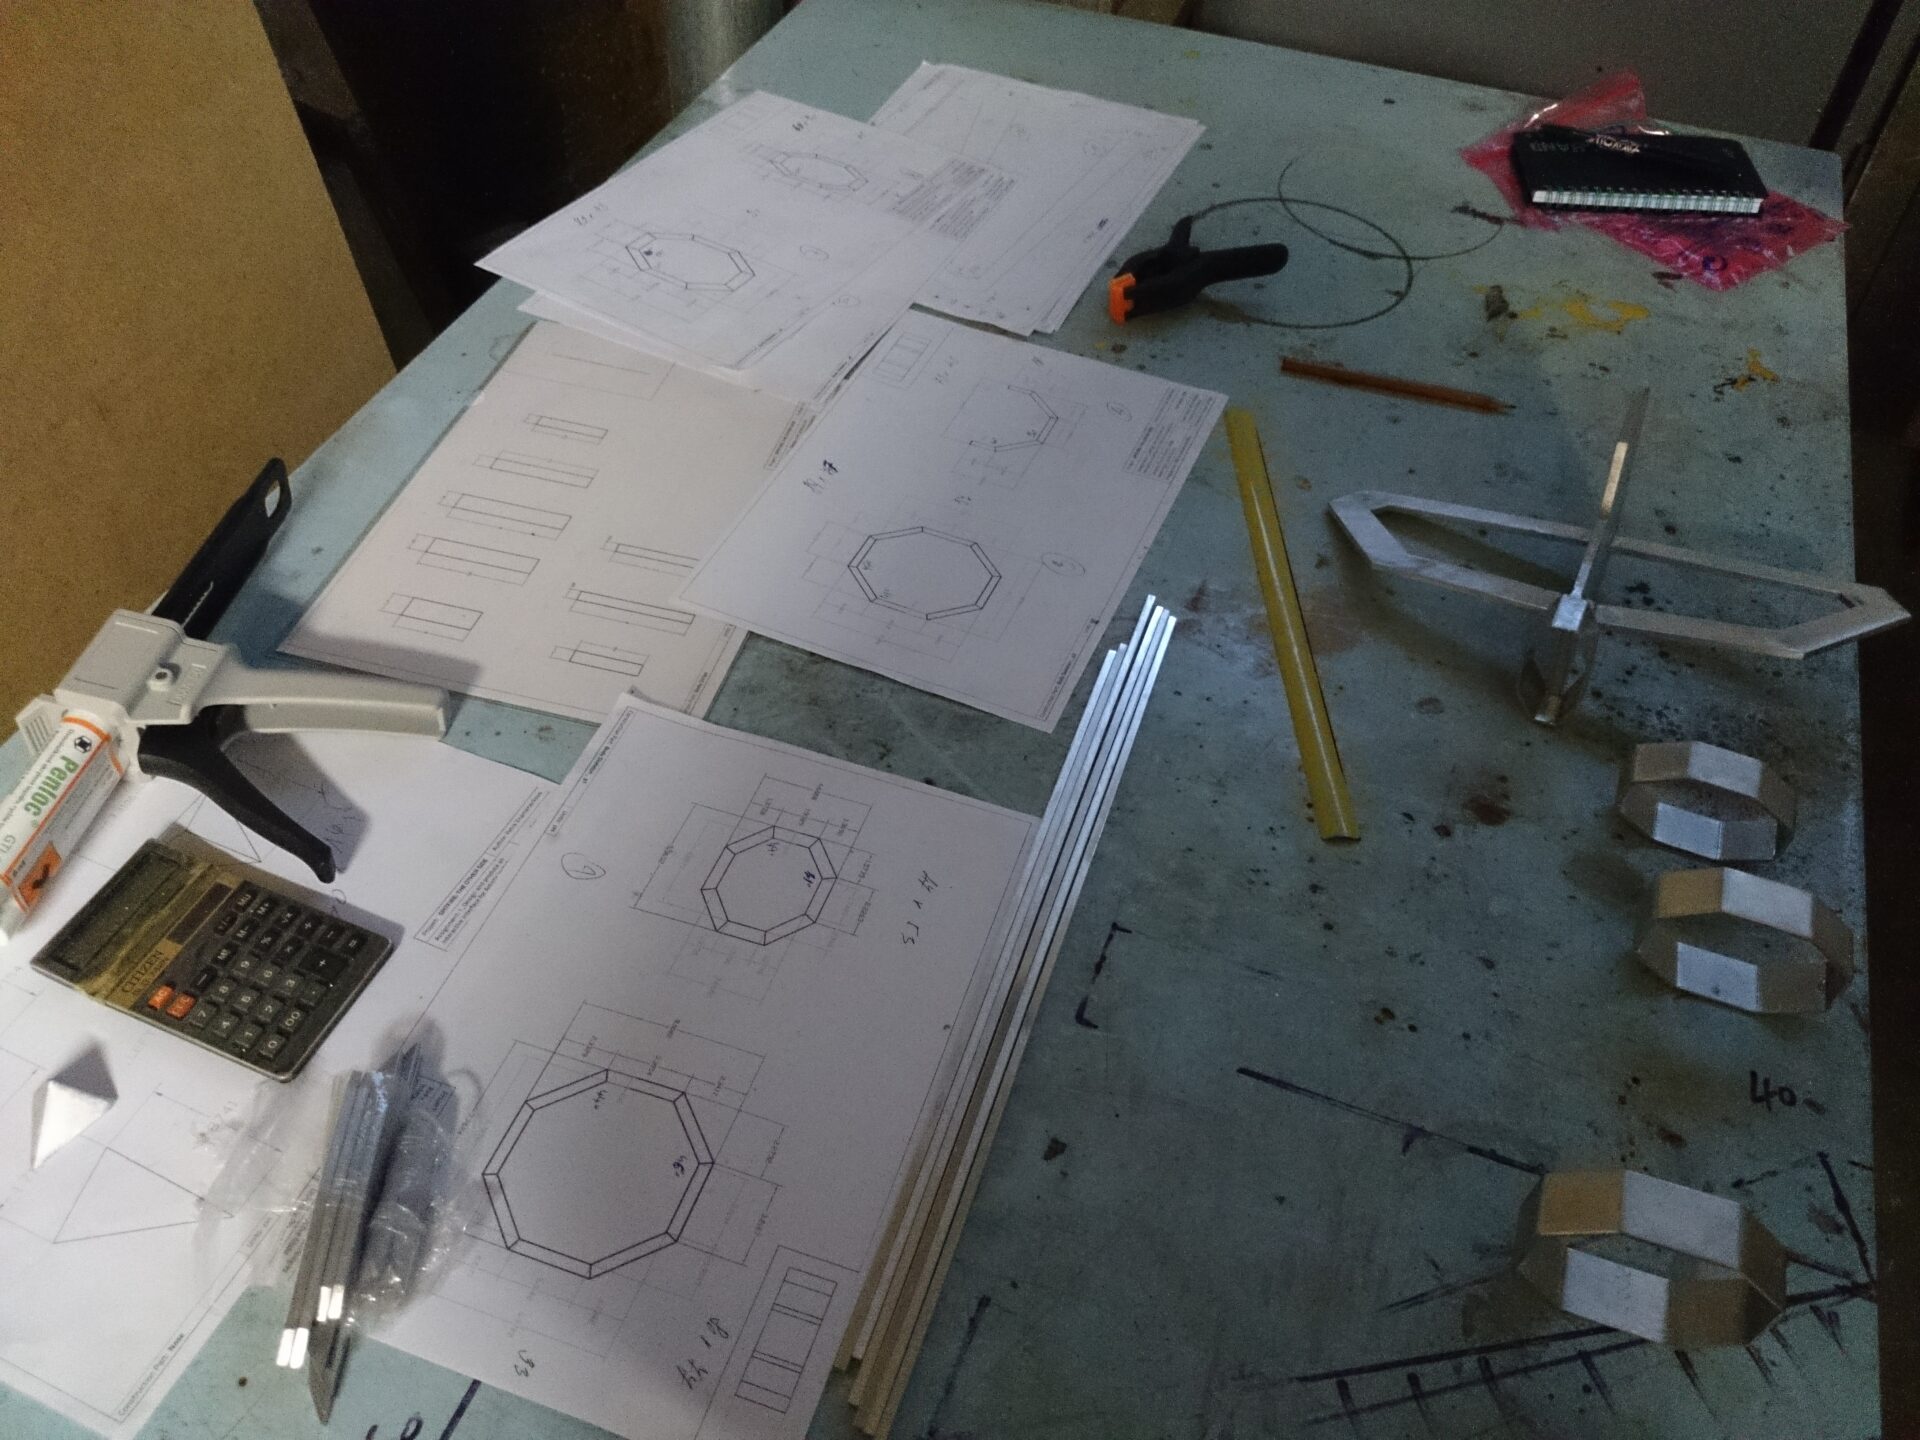
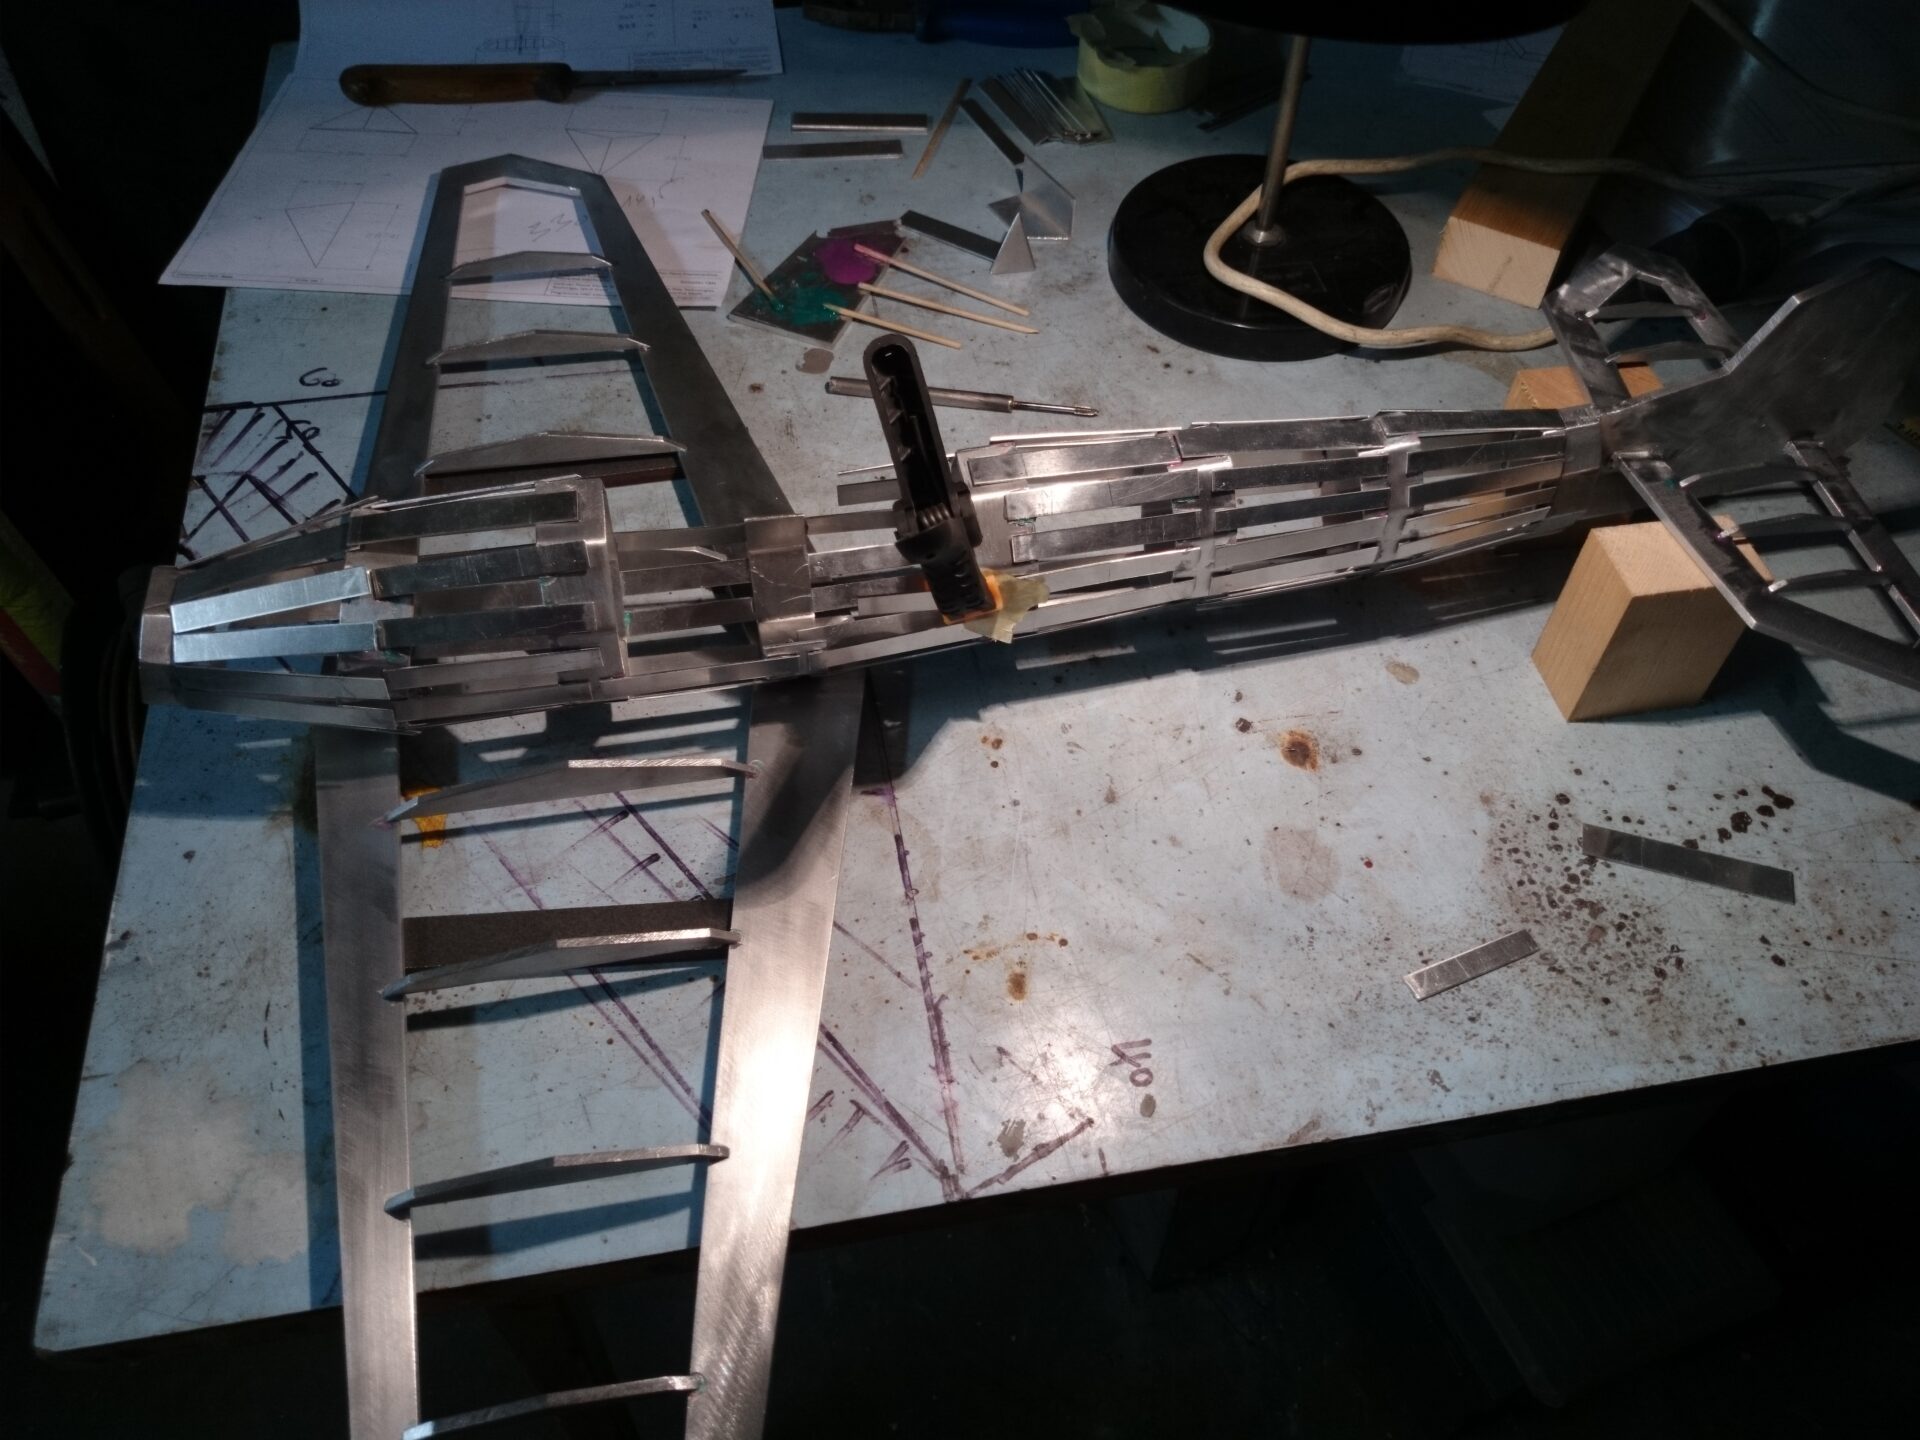
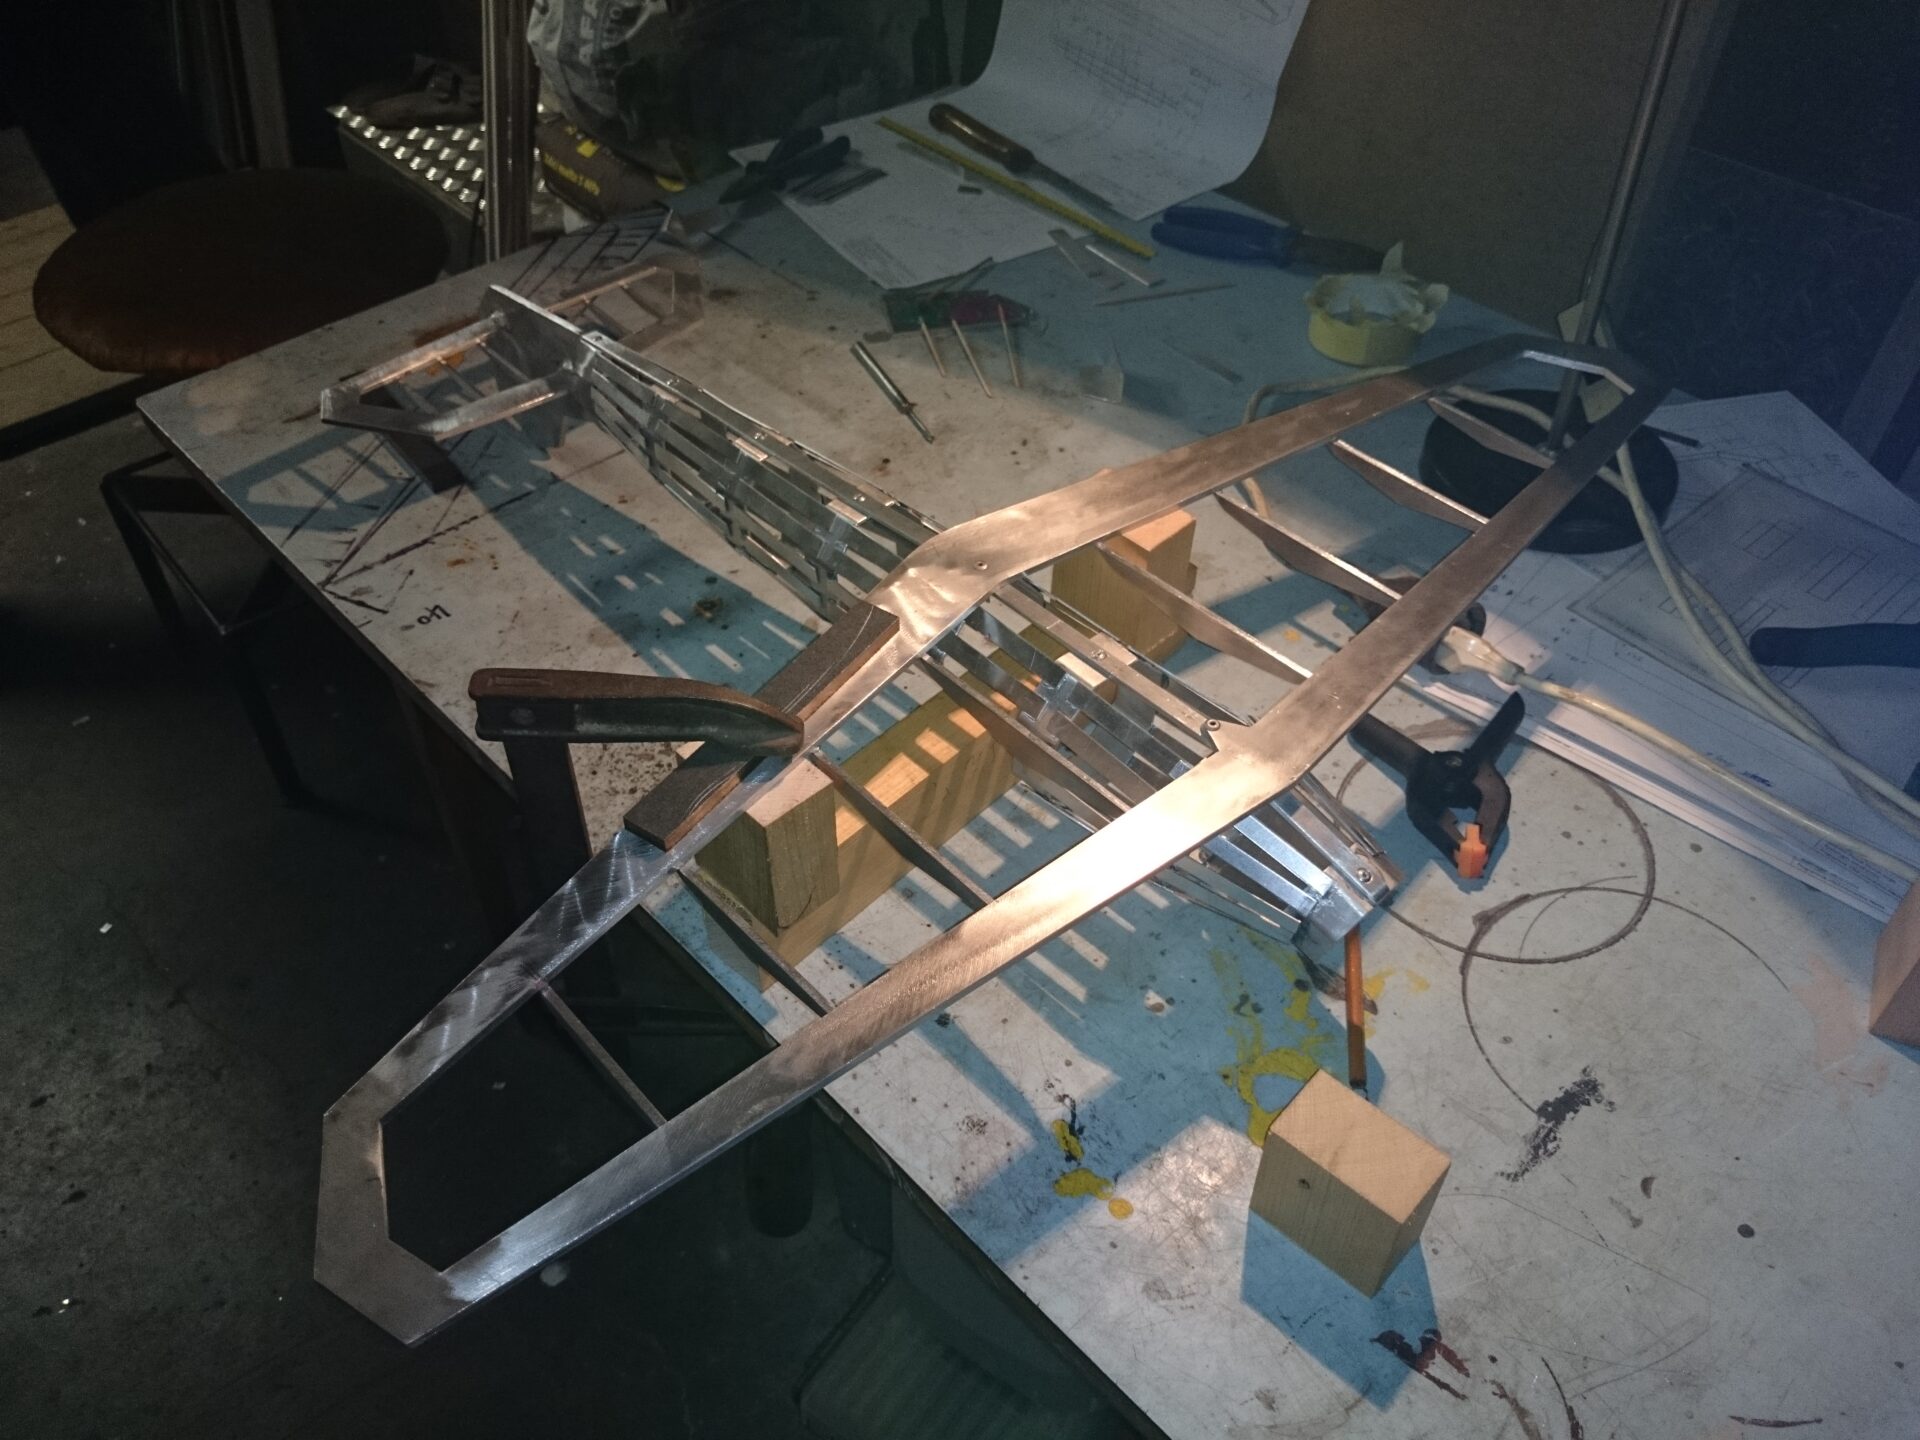
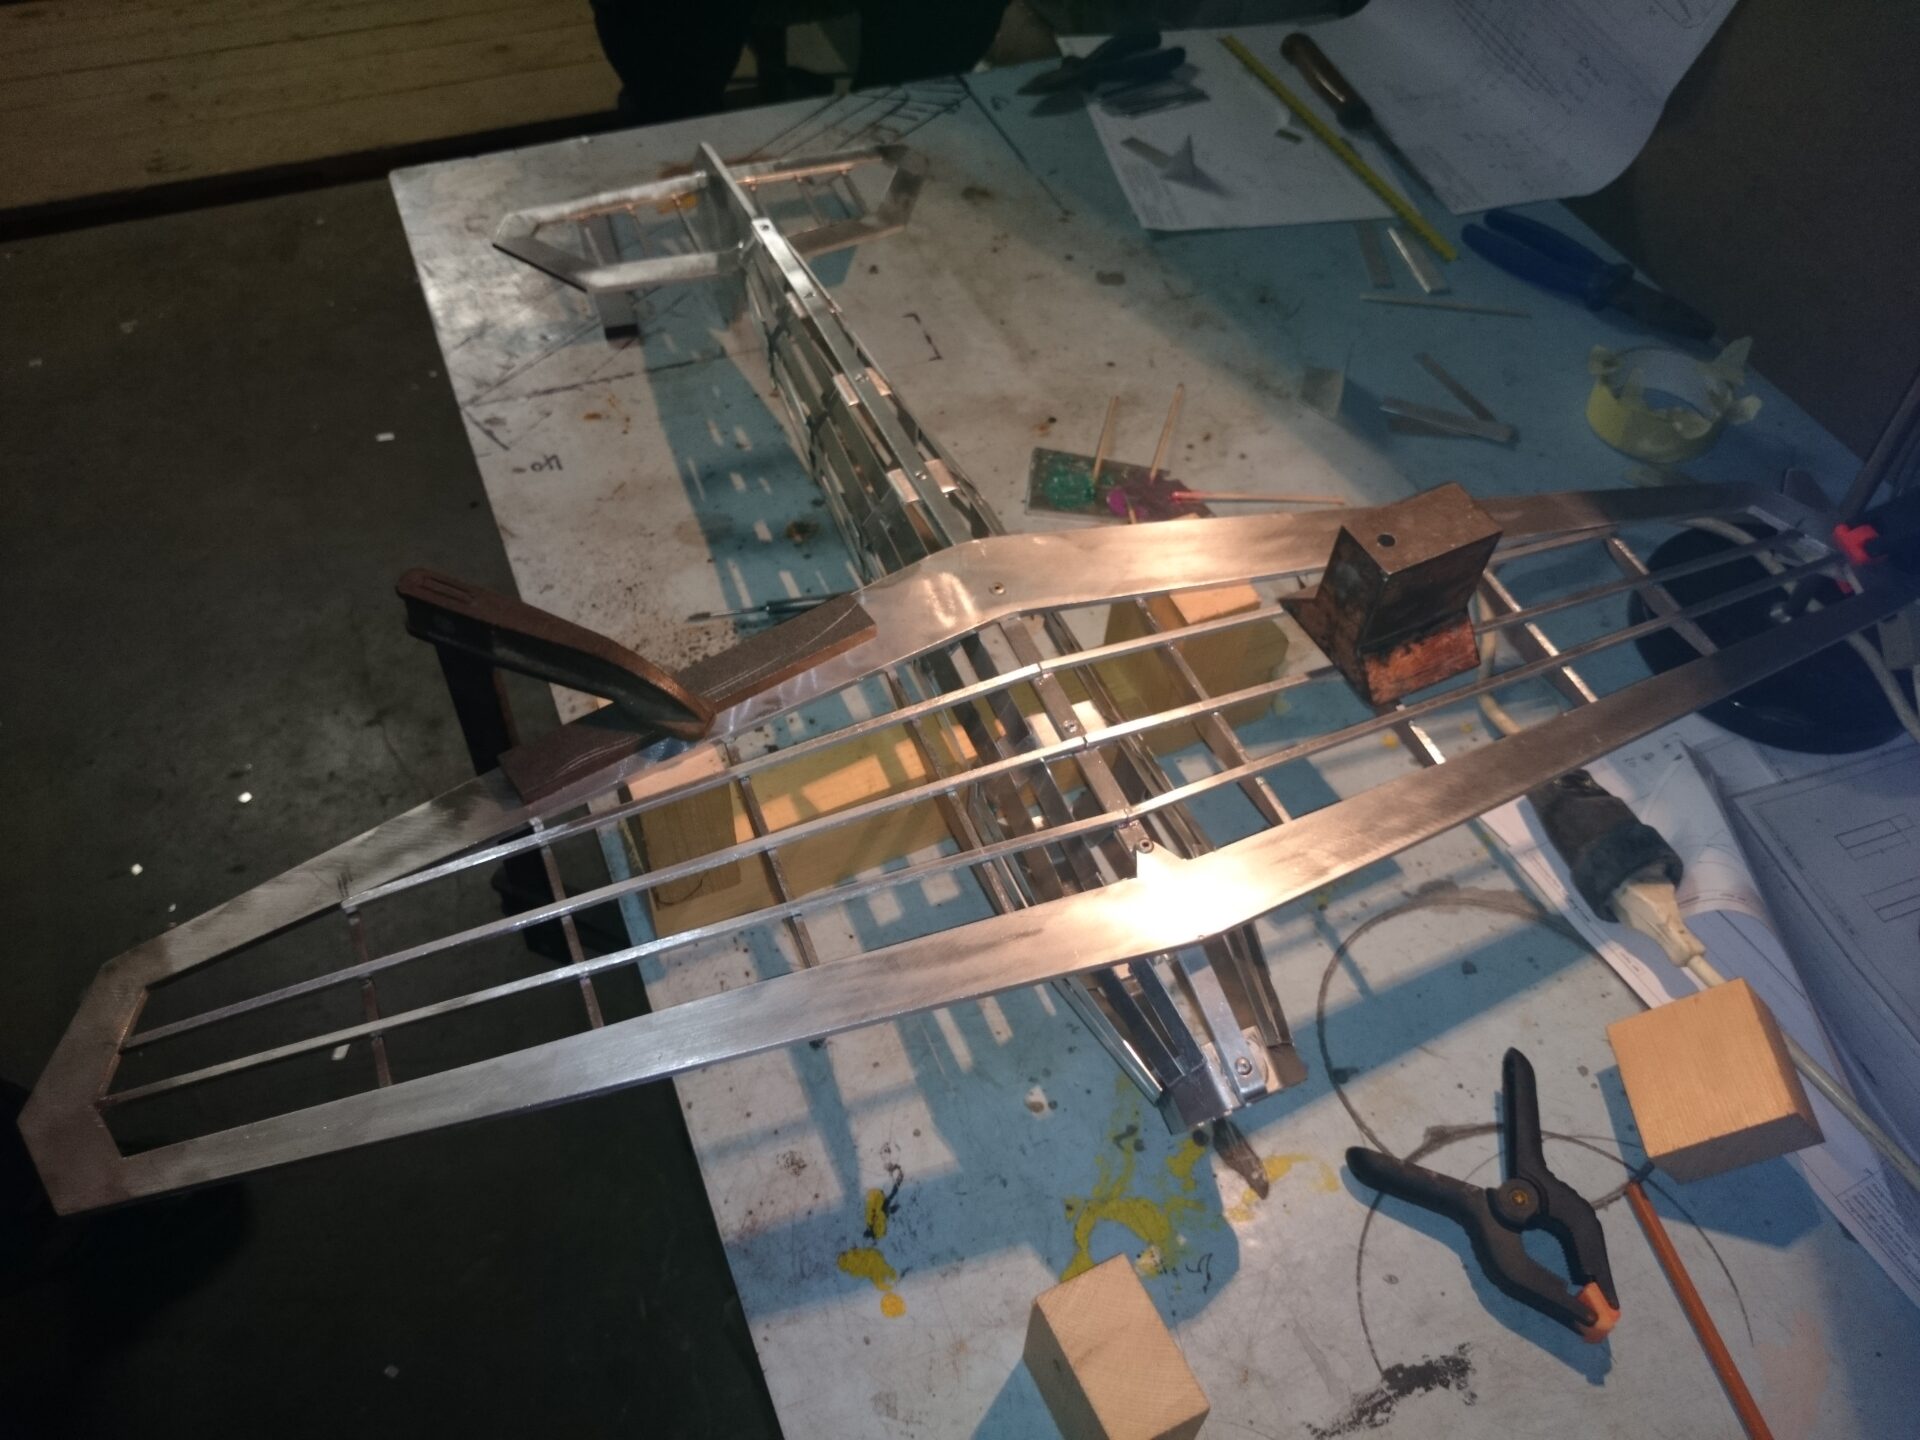
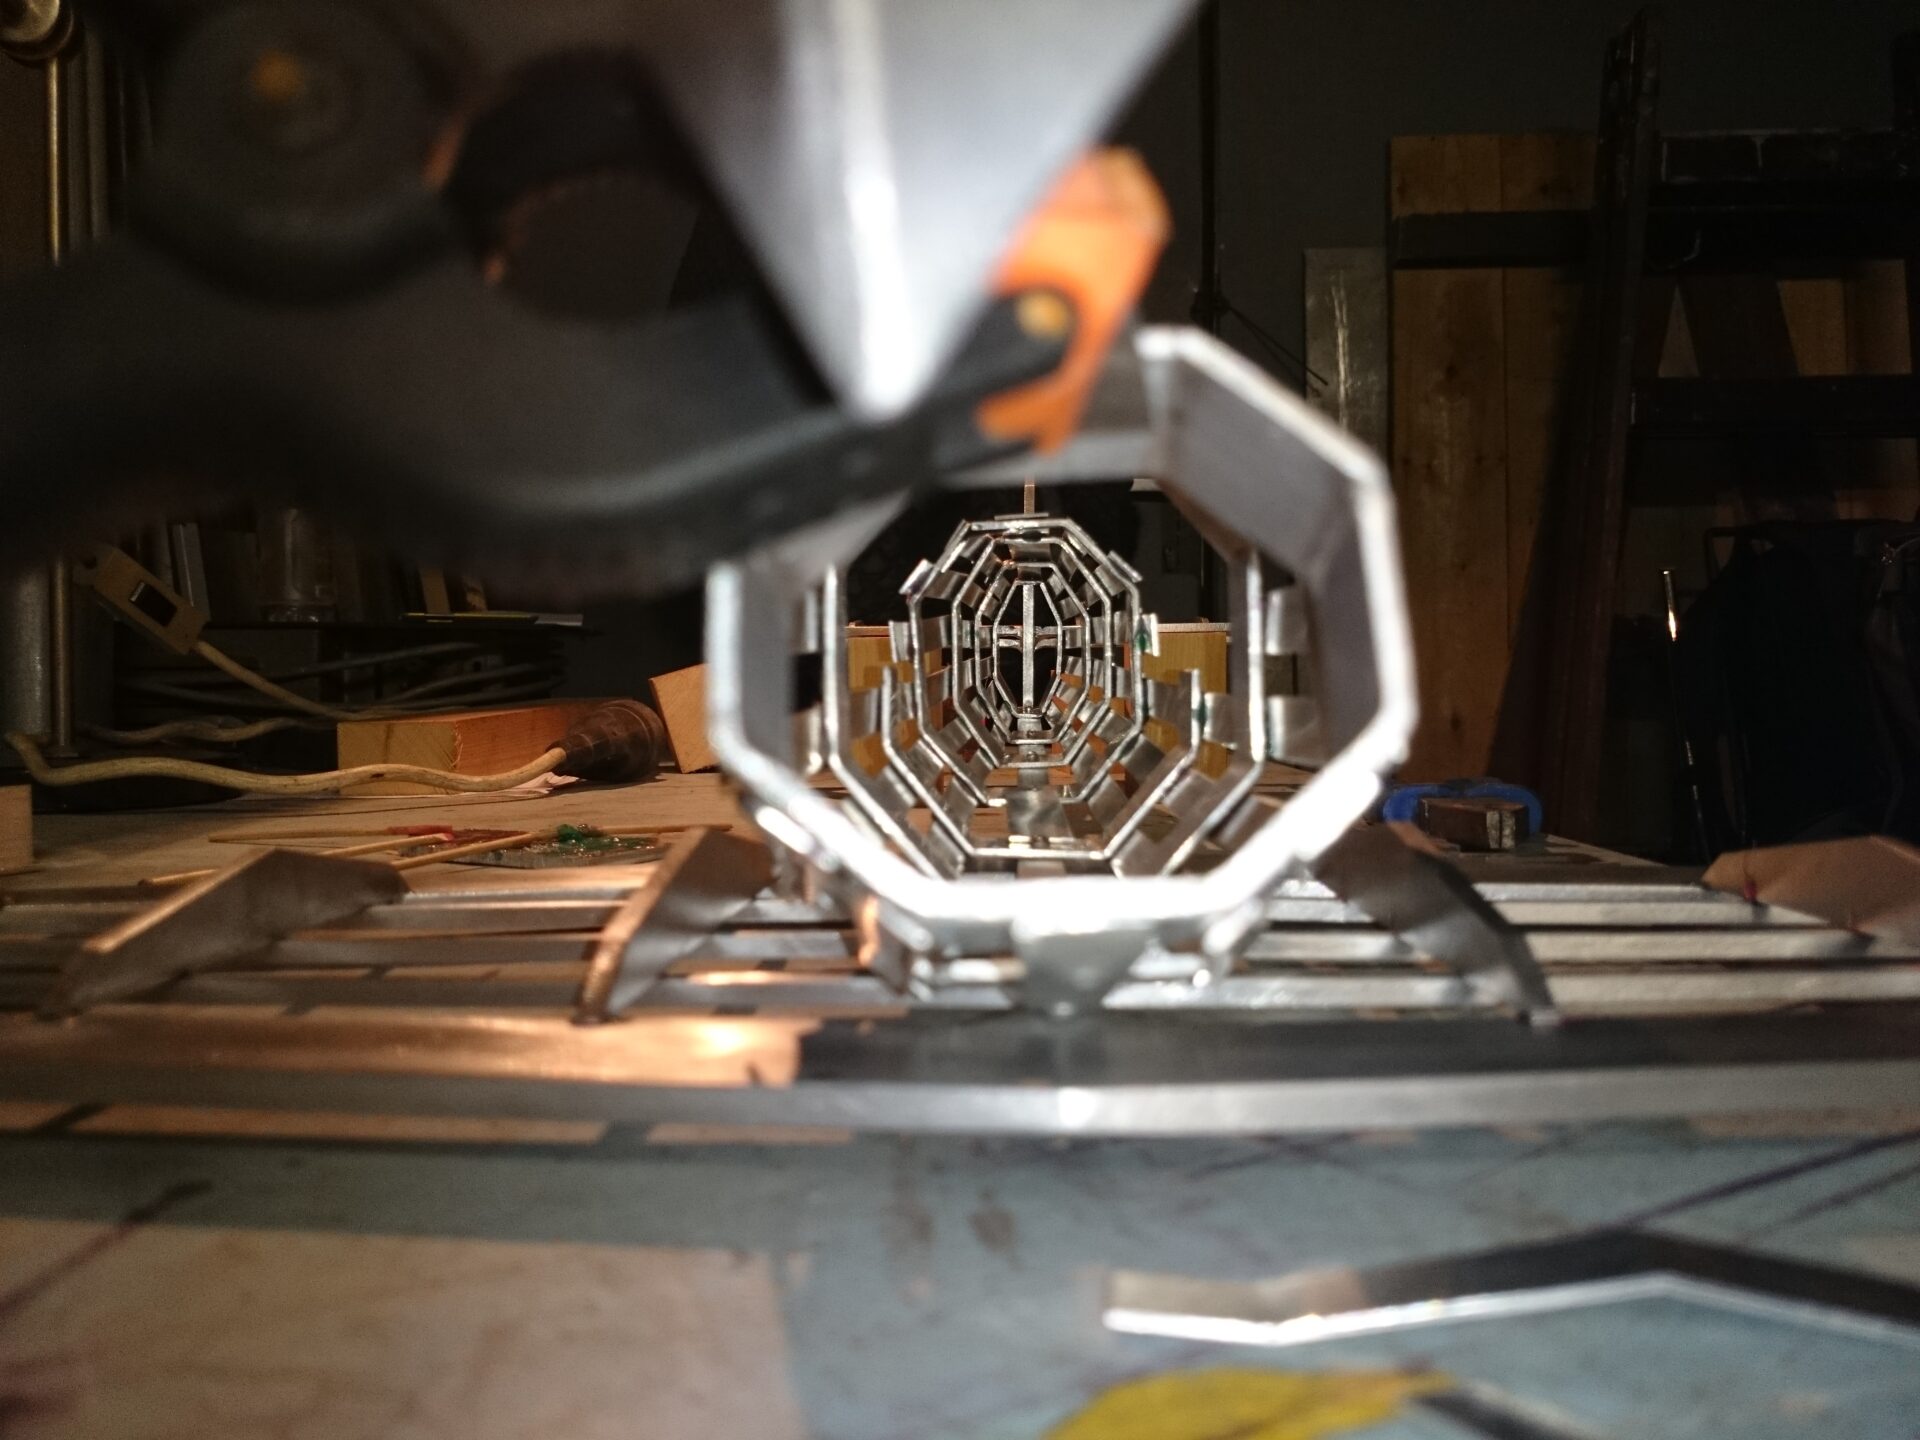
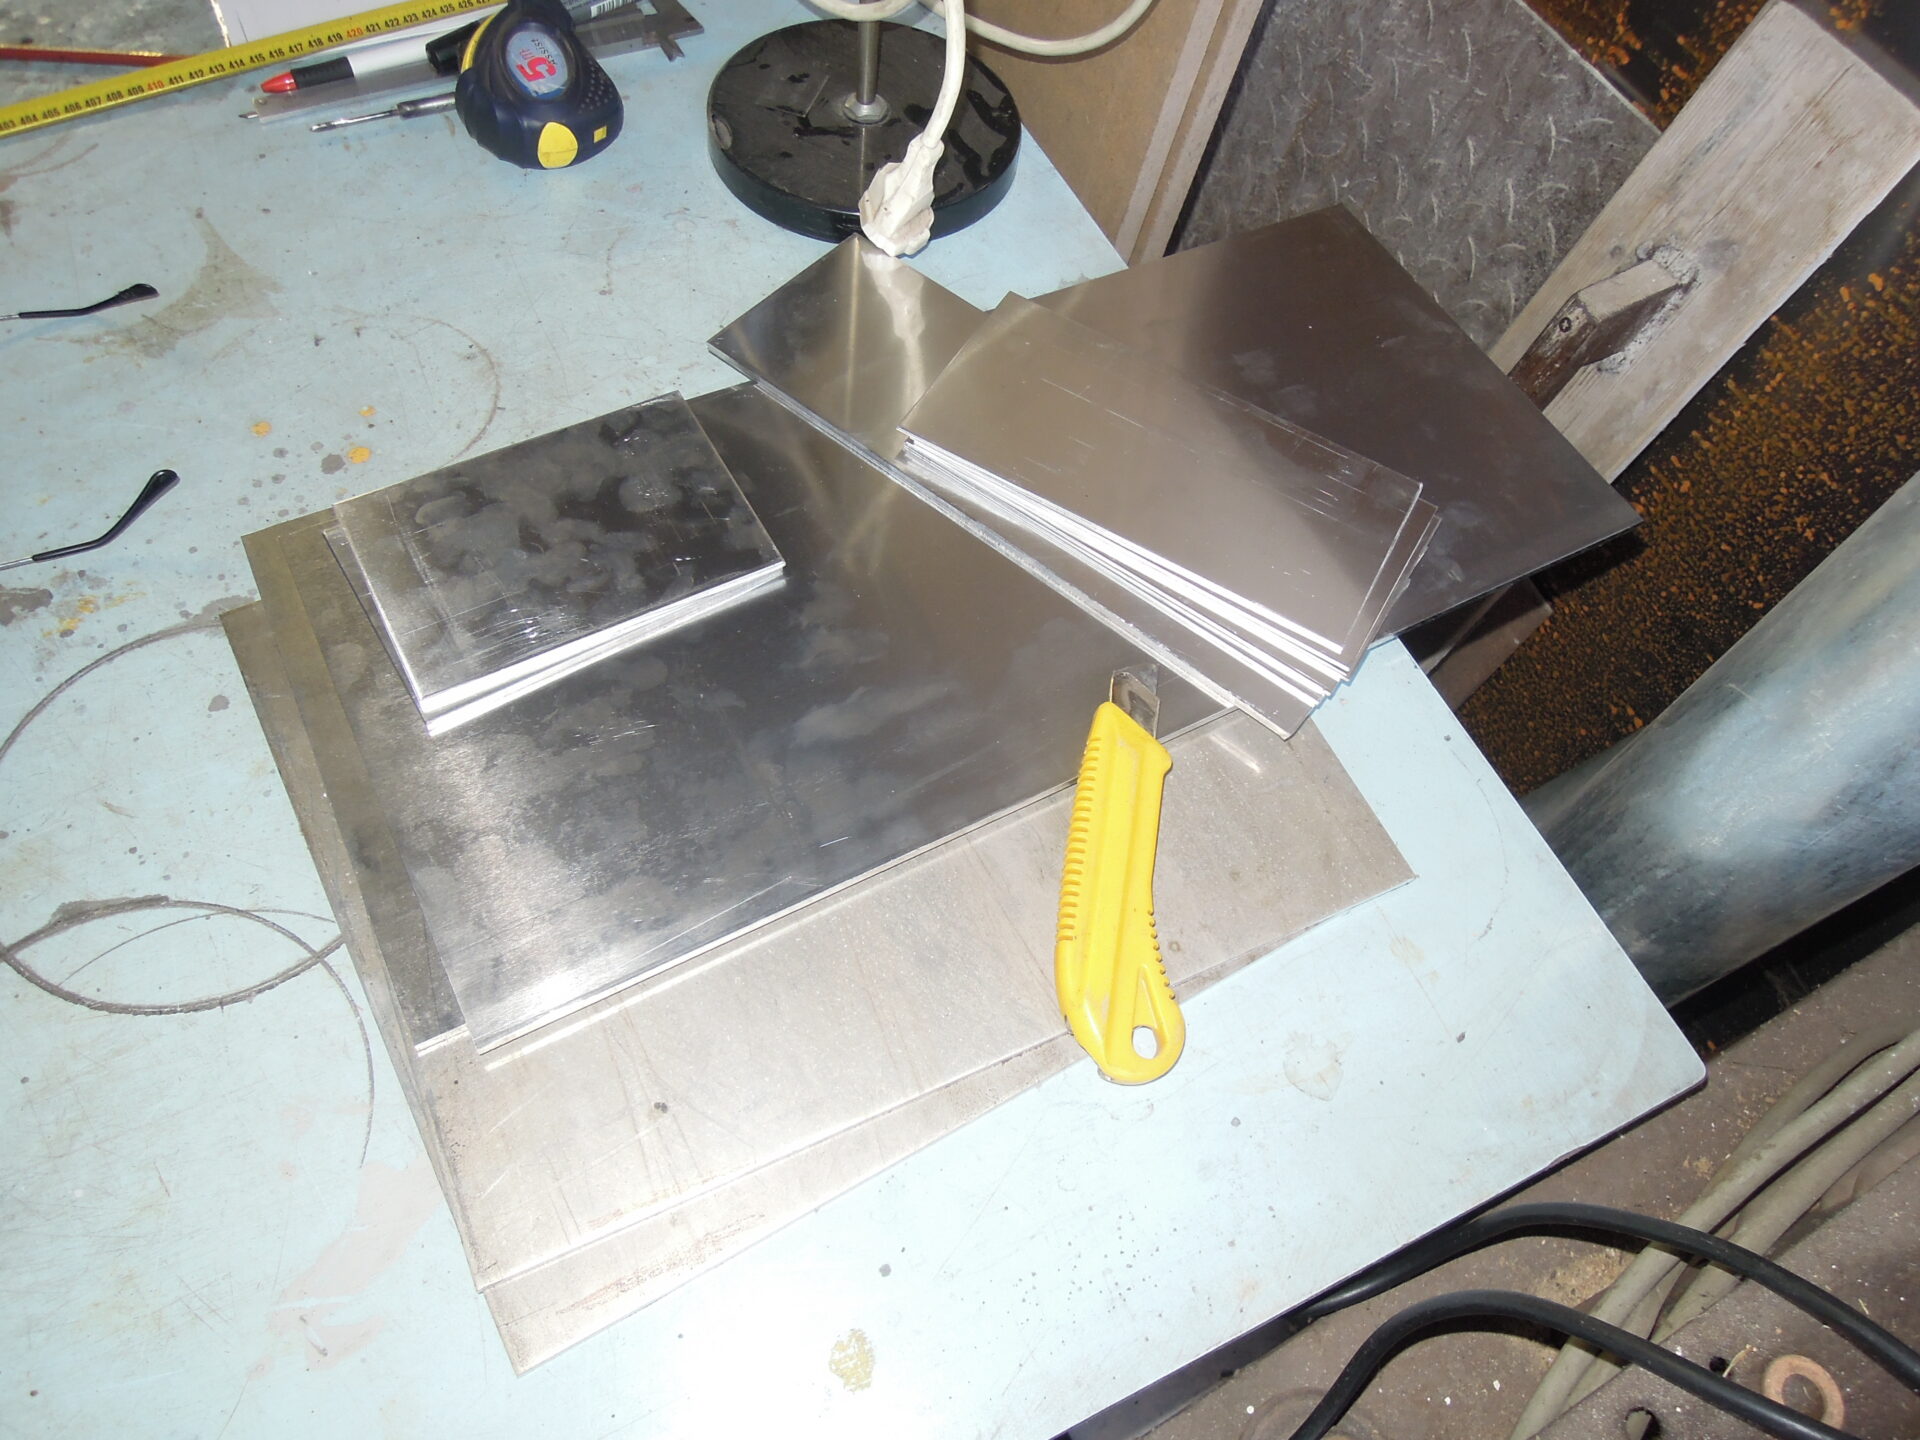
Since I couldn’t do everything on my own, I outsourced part of the production to specialists who I’ve assisted while they lead the way through the different parts. I have hired a retired locksmith to help me build the metal construction. I’ve transferred the views of the model into CAD and exported technical drawings so the metal strips could be cut out by machines. Never thought I’d actually use anything I’ve learnt during the technical drawing classes in high school, but they came handy.
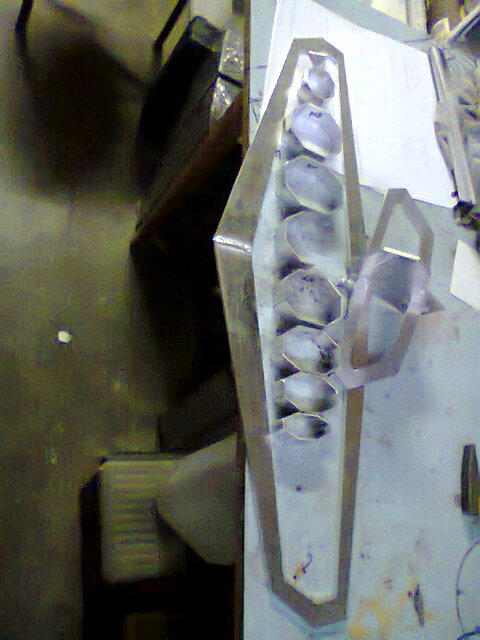
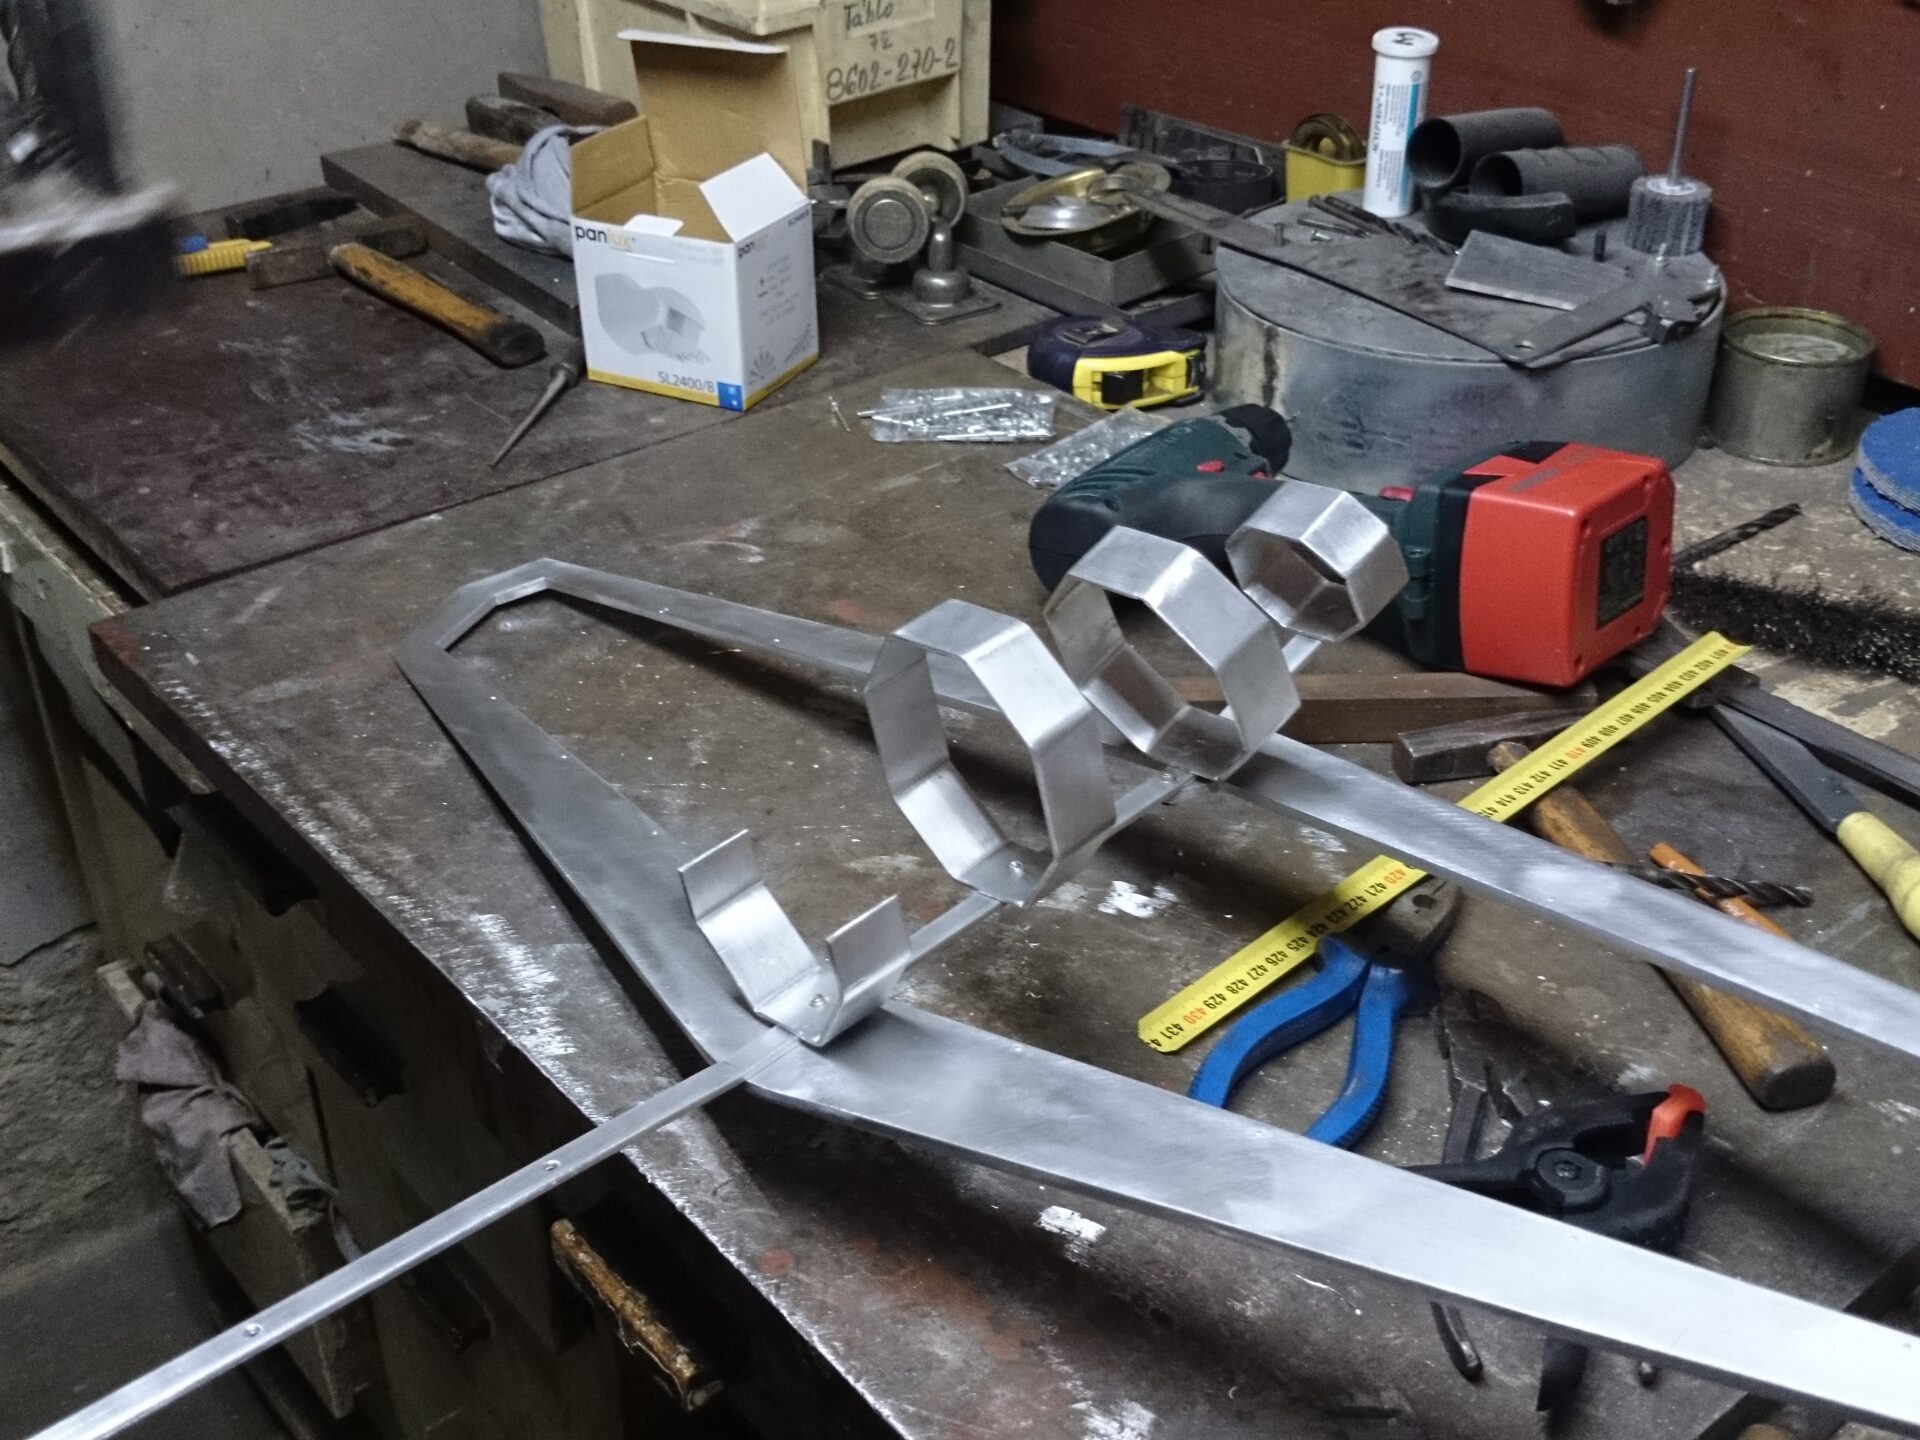
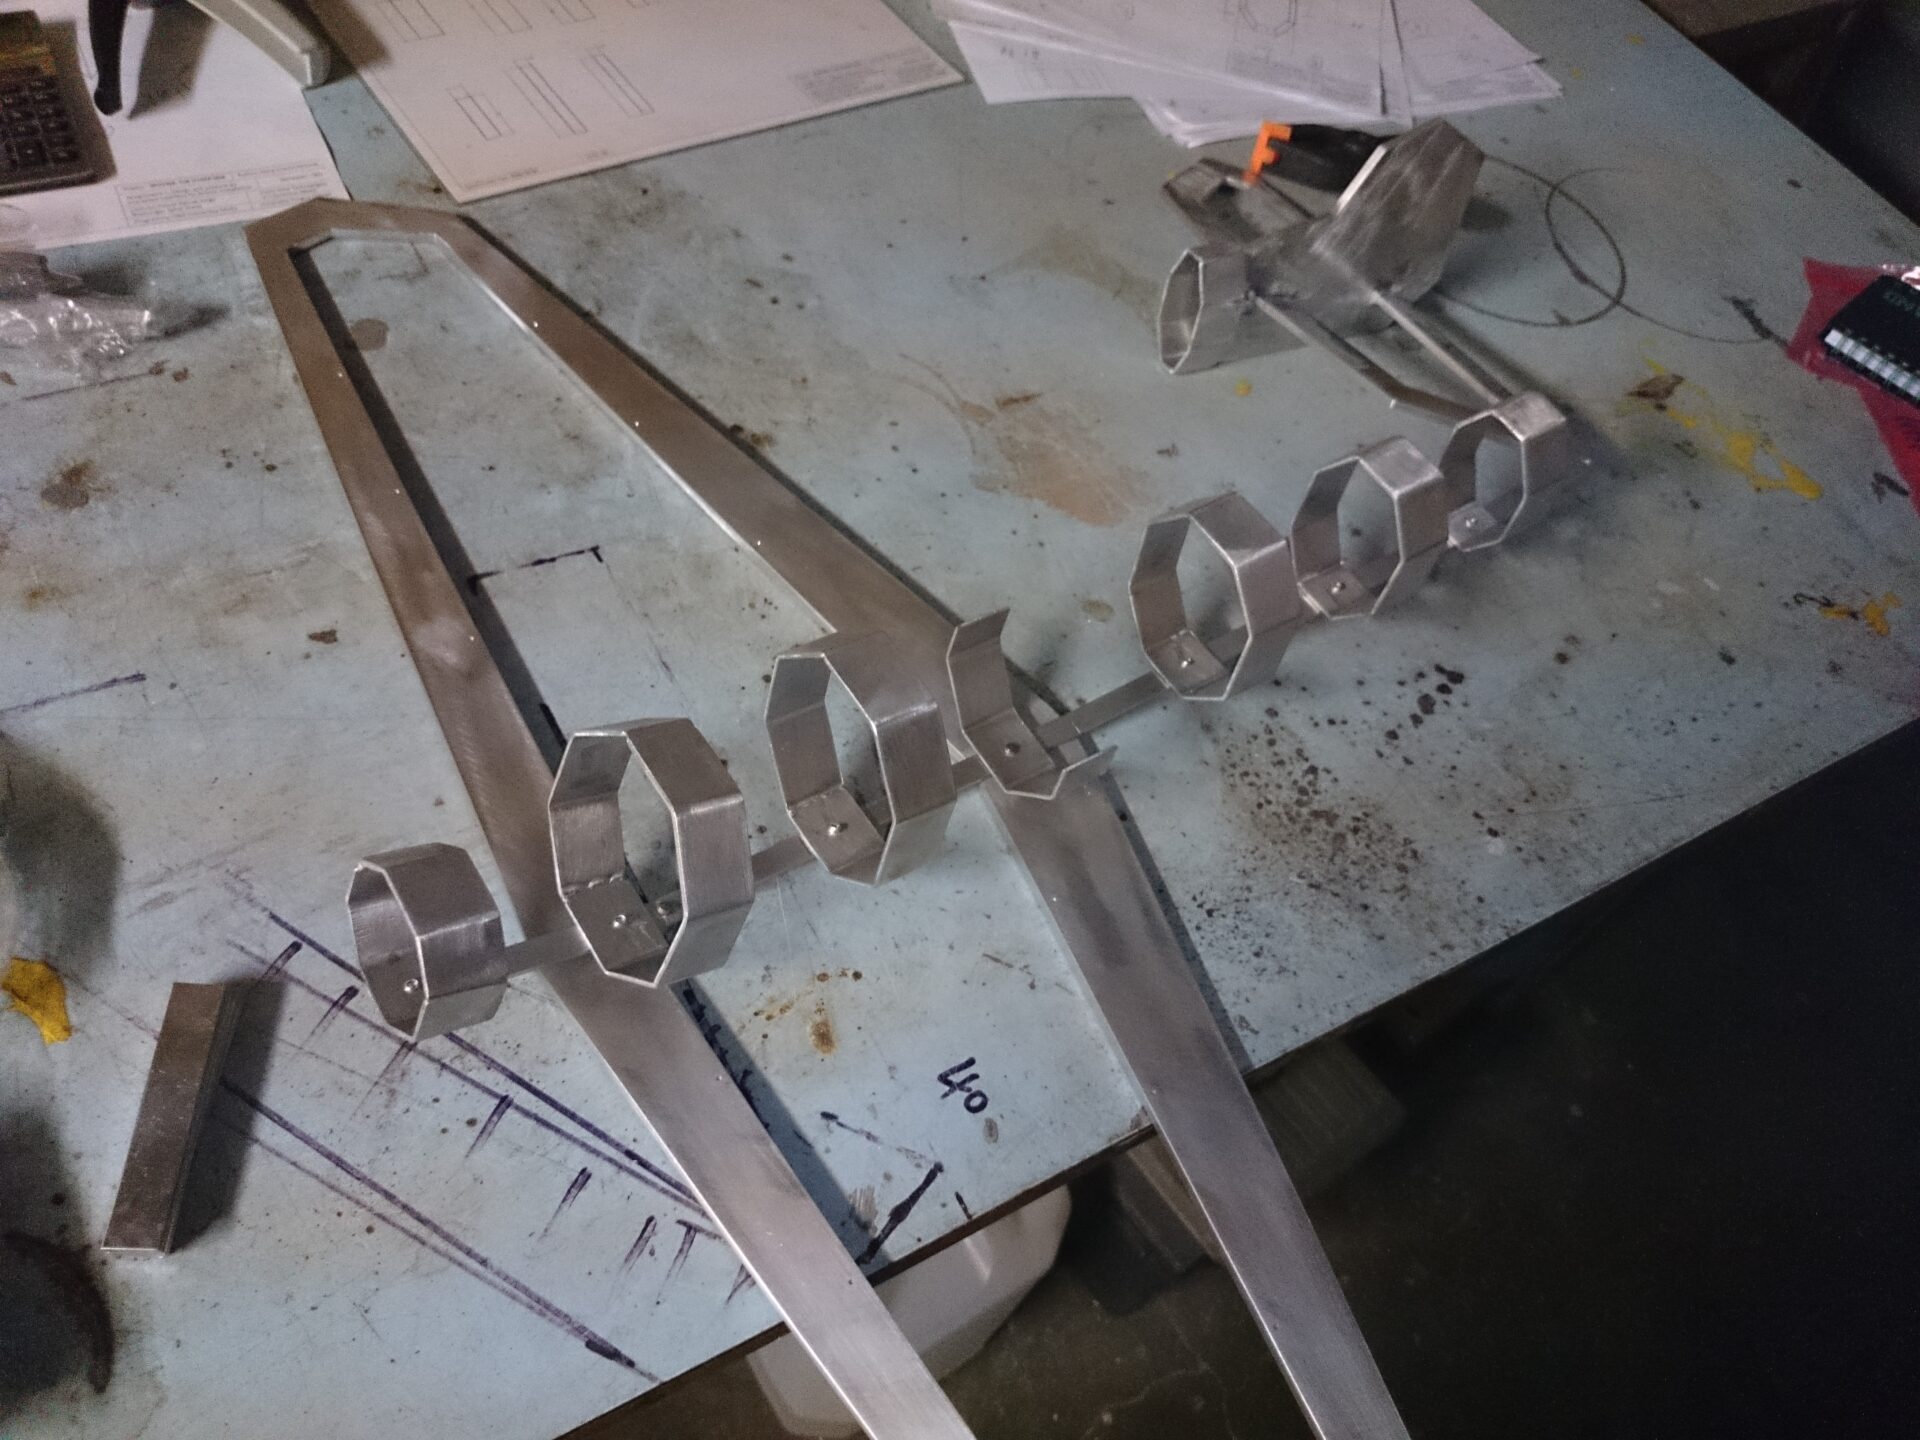
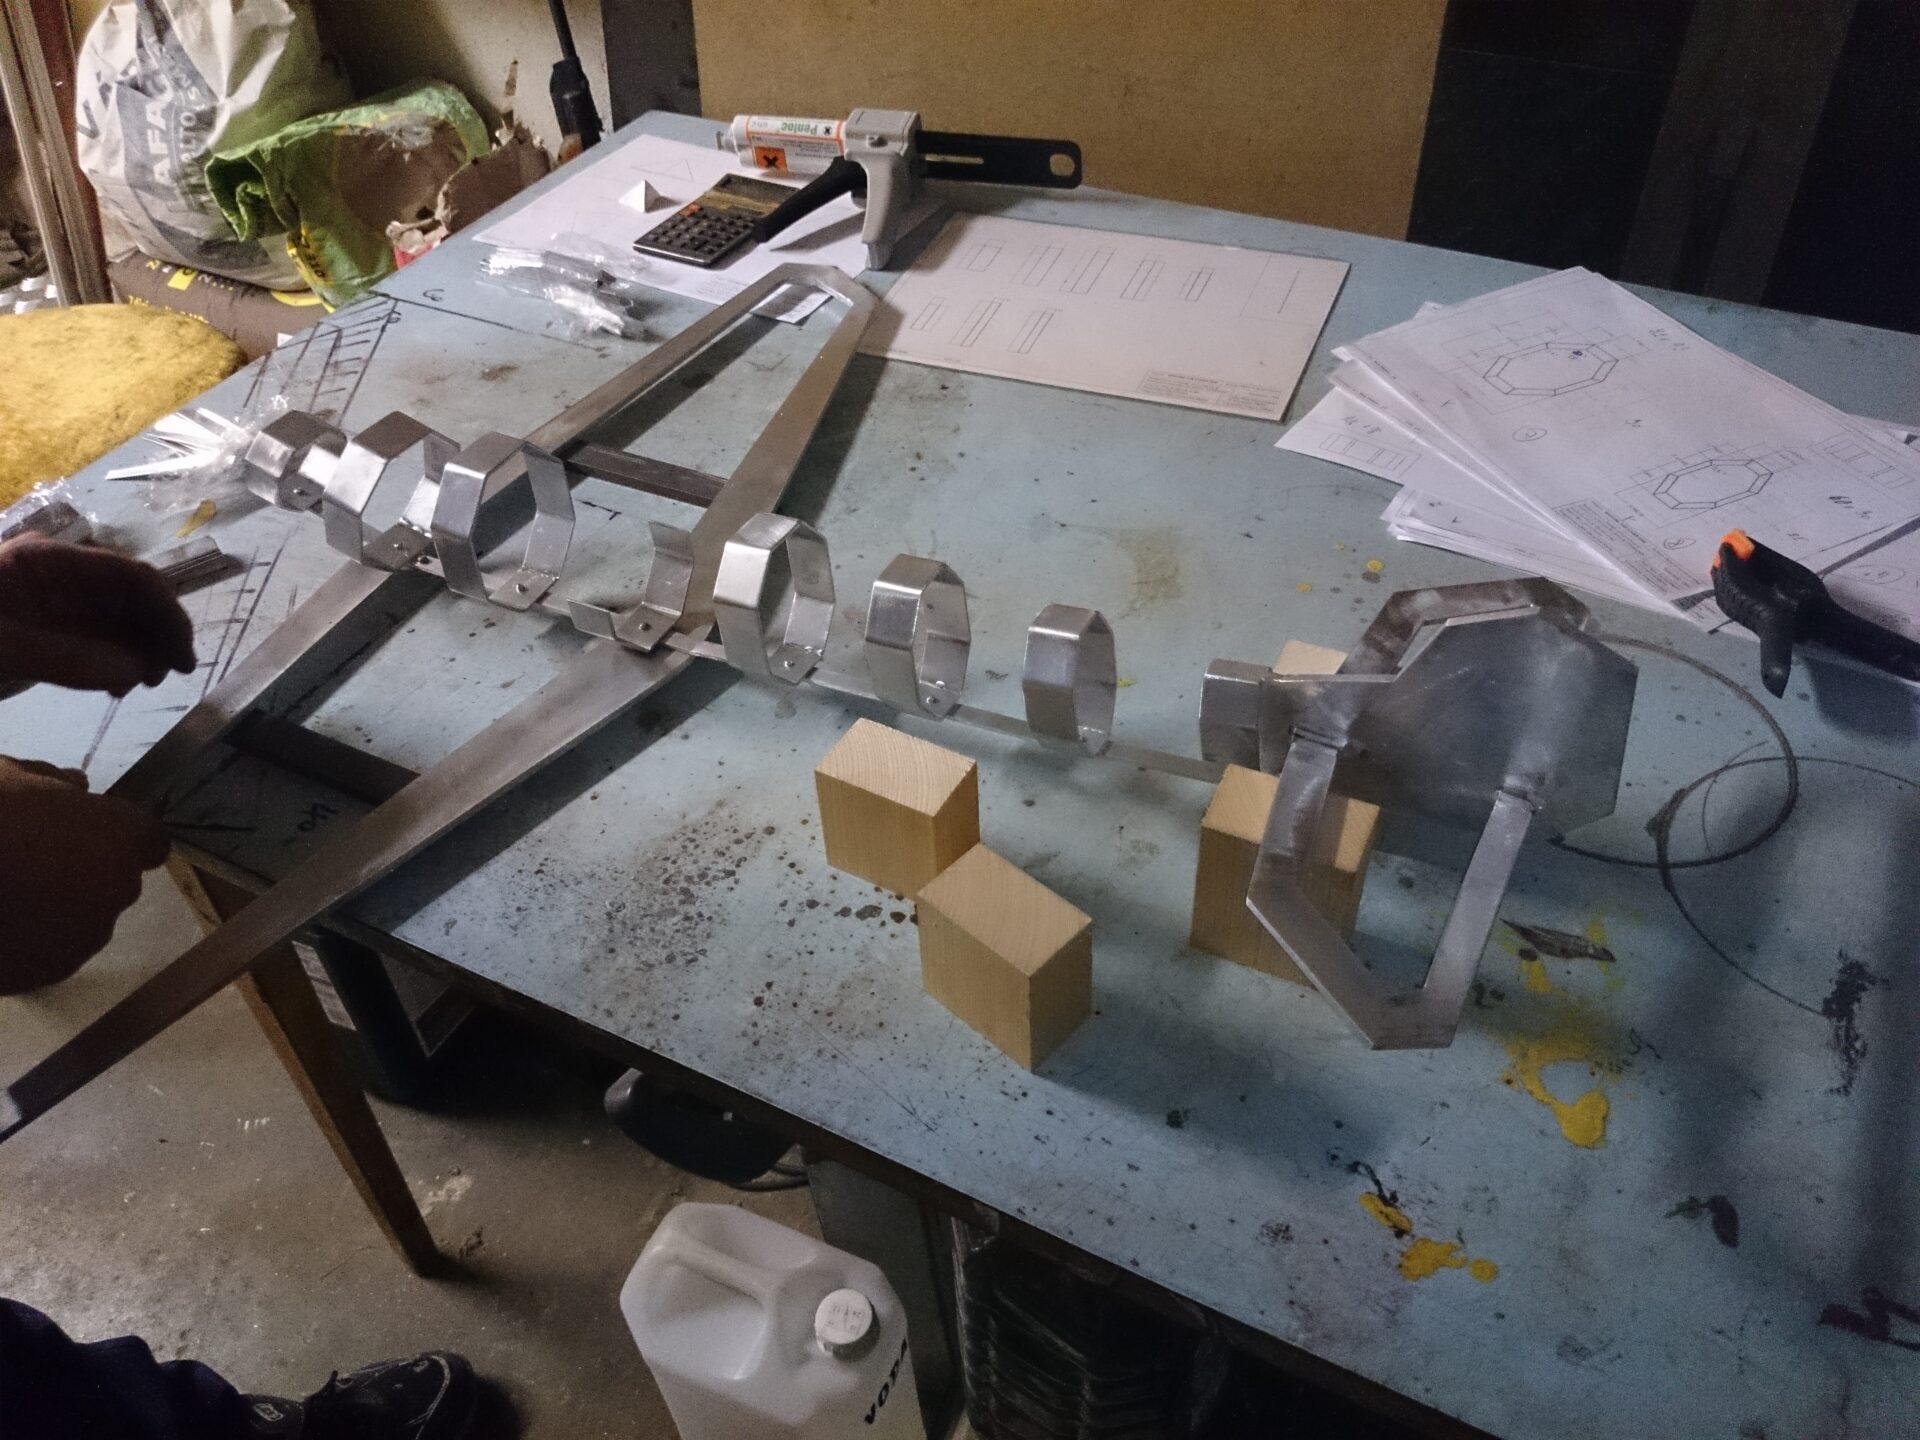
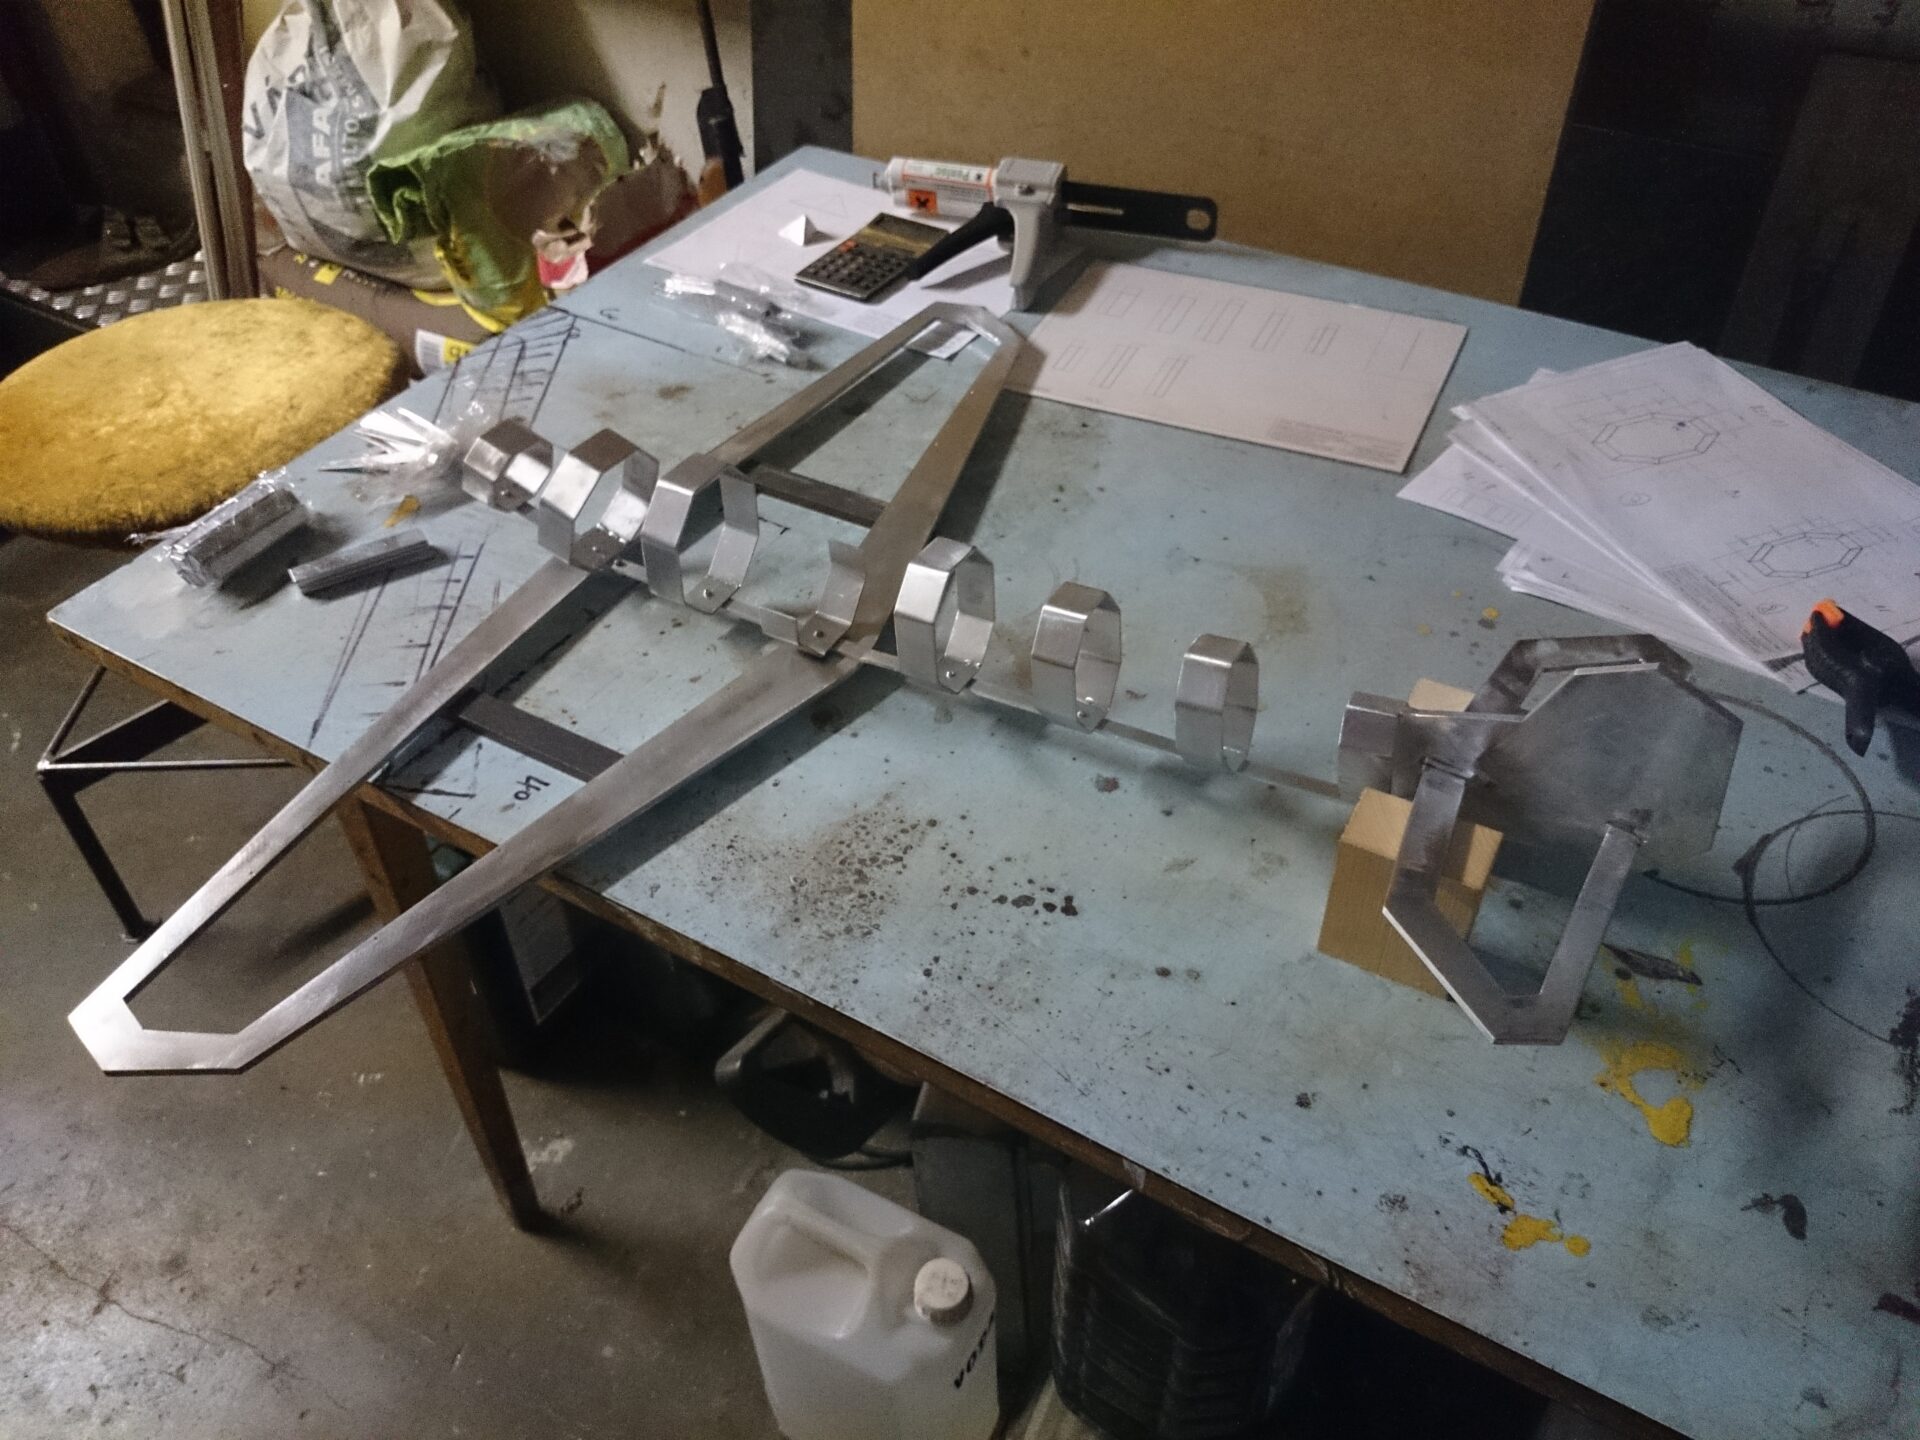
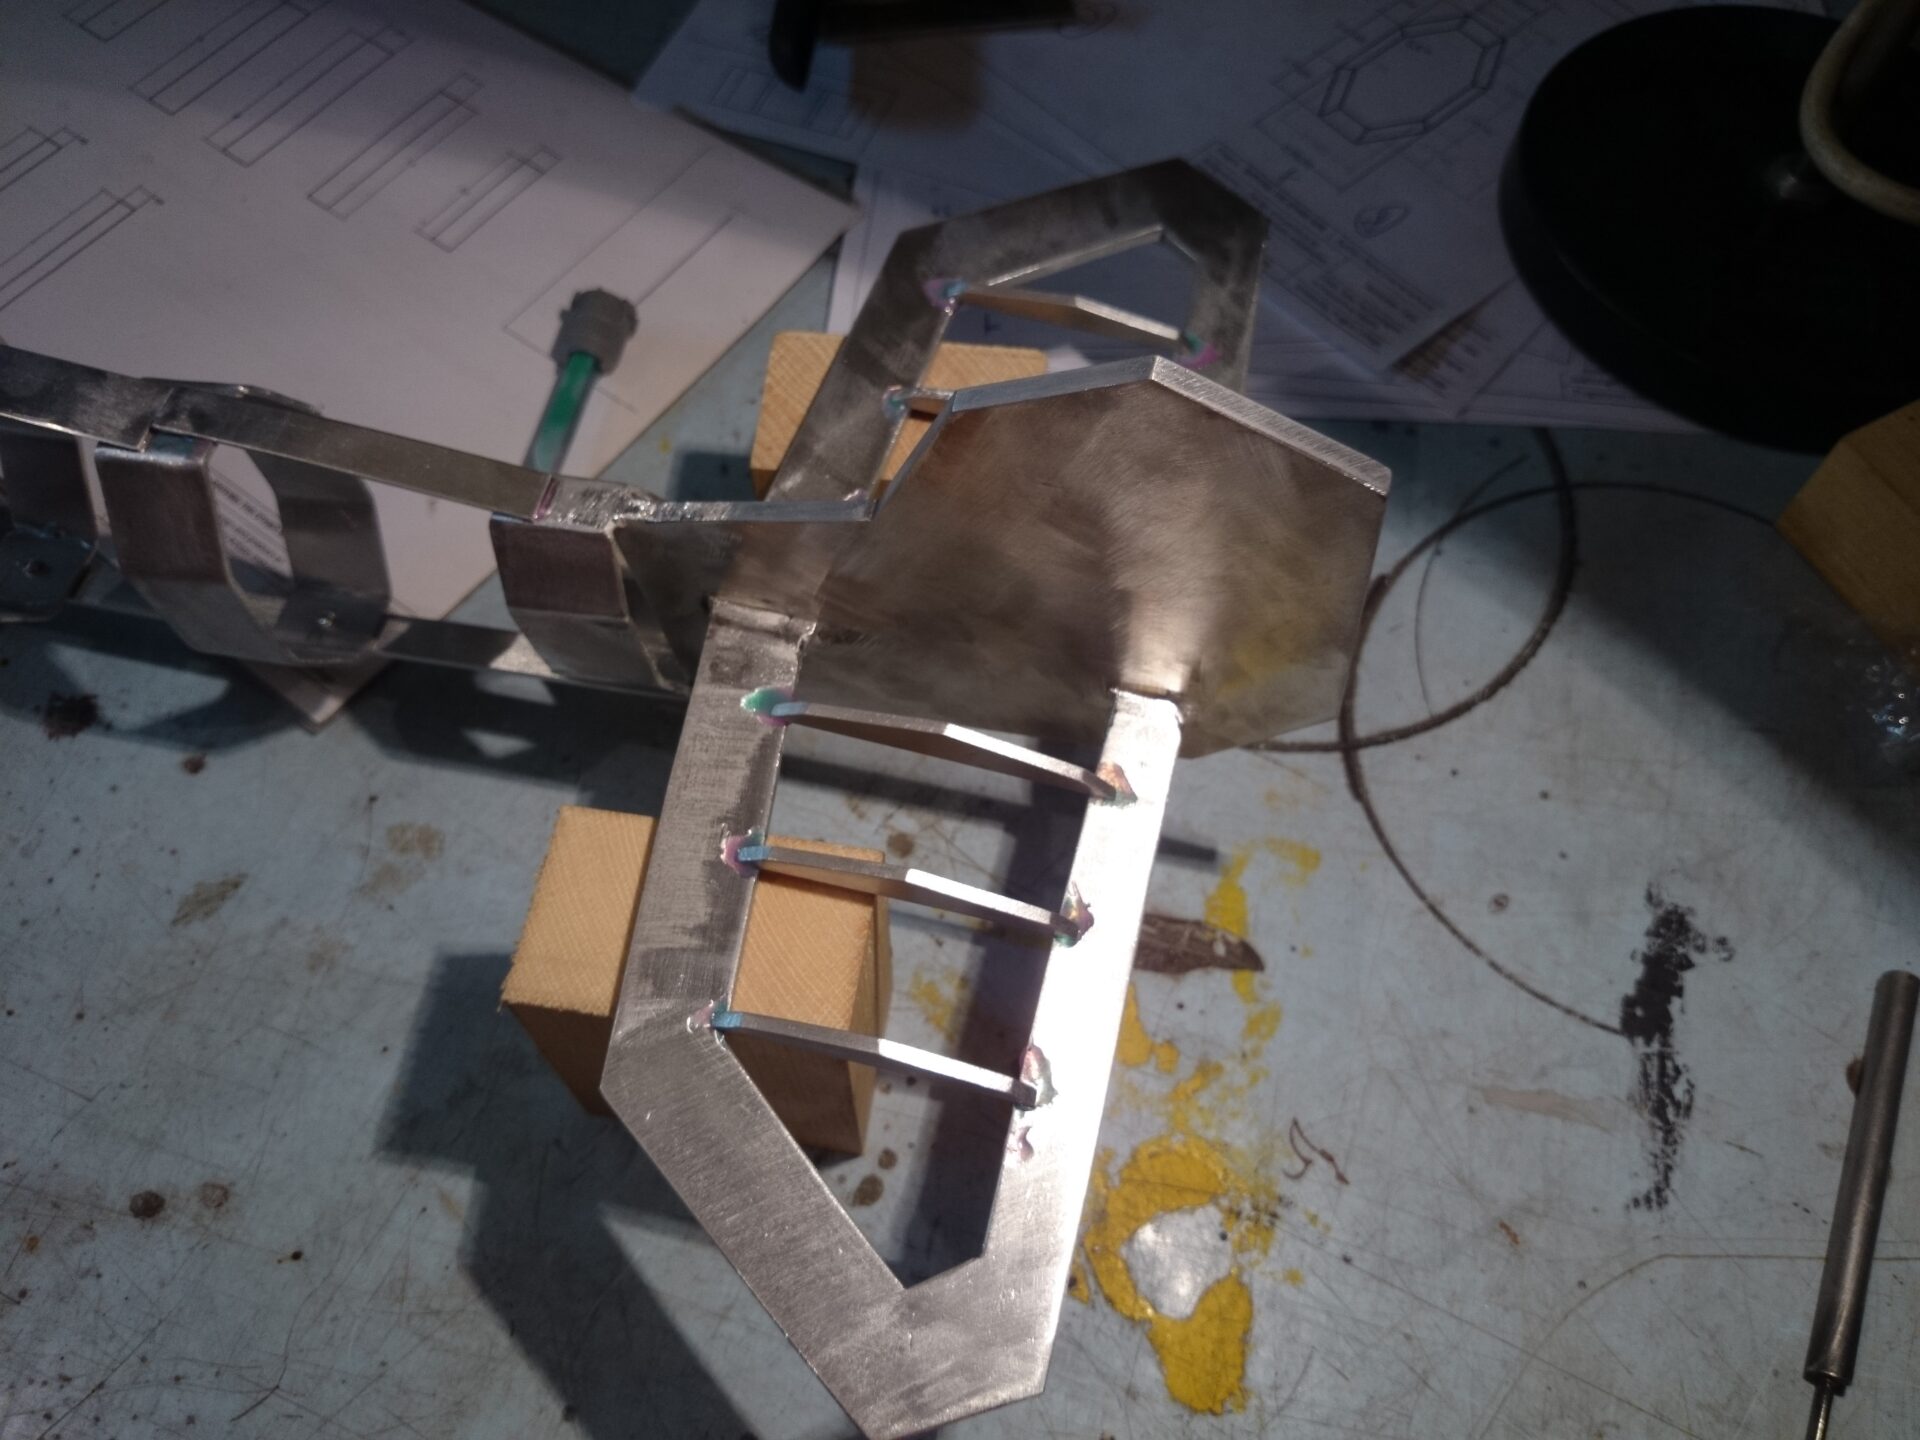
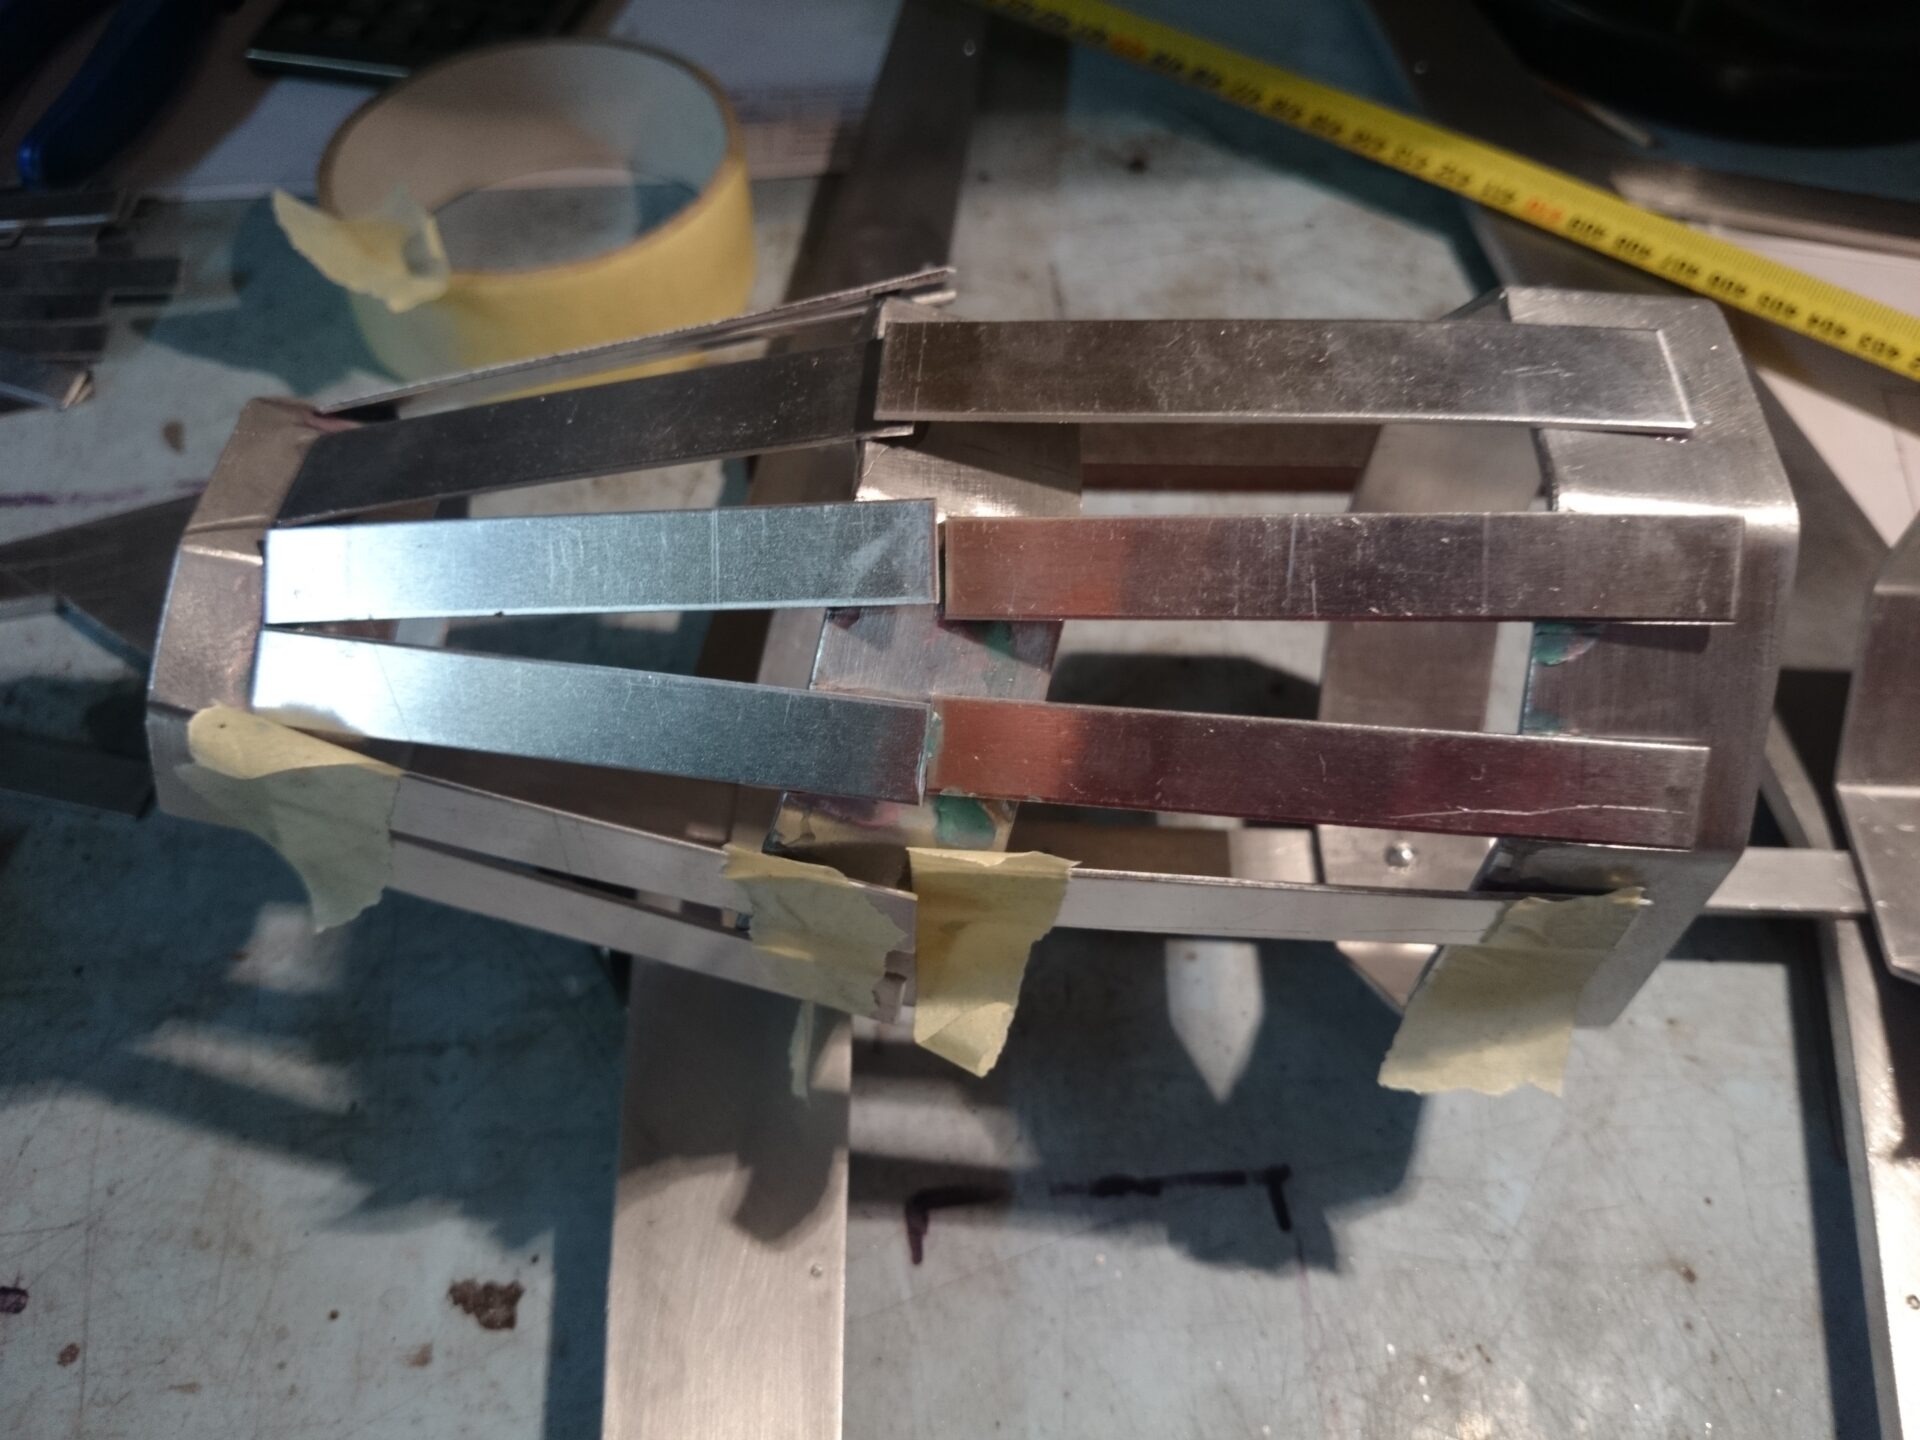
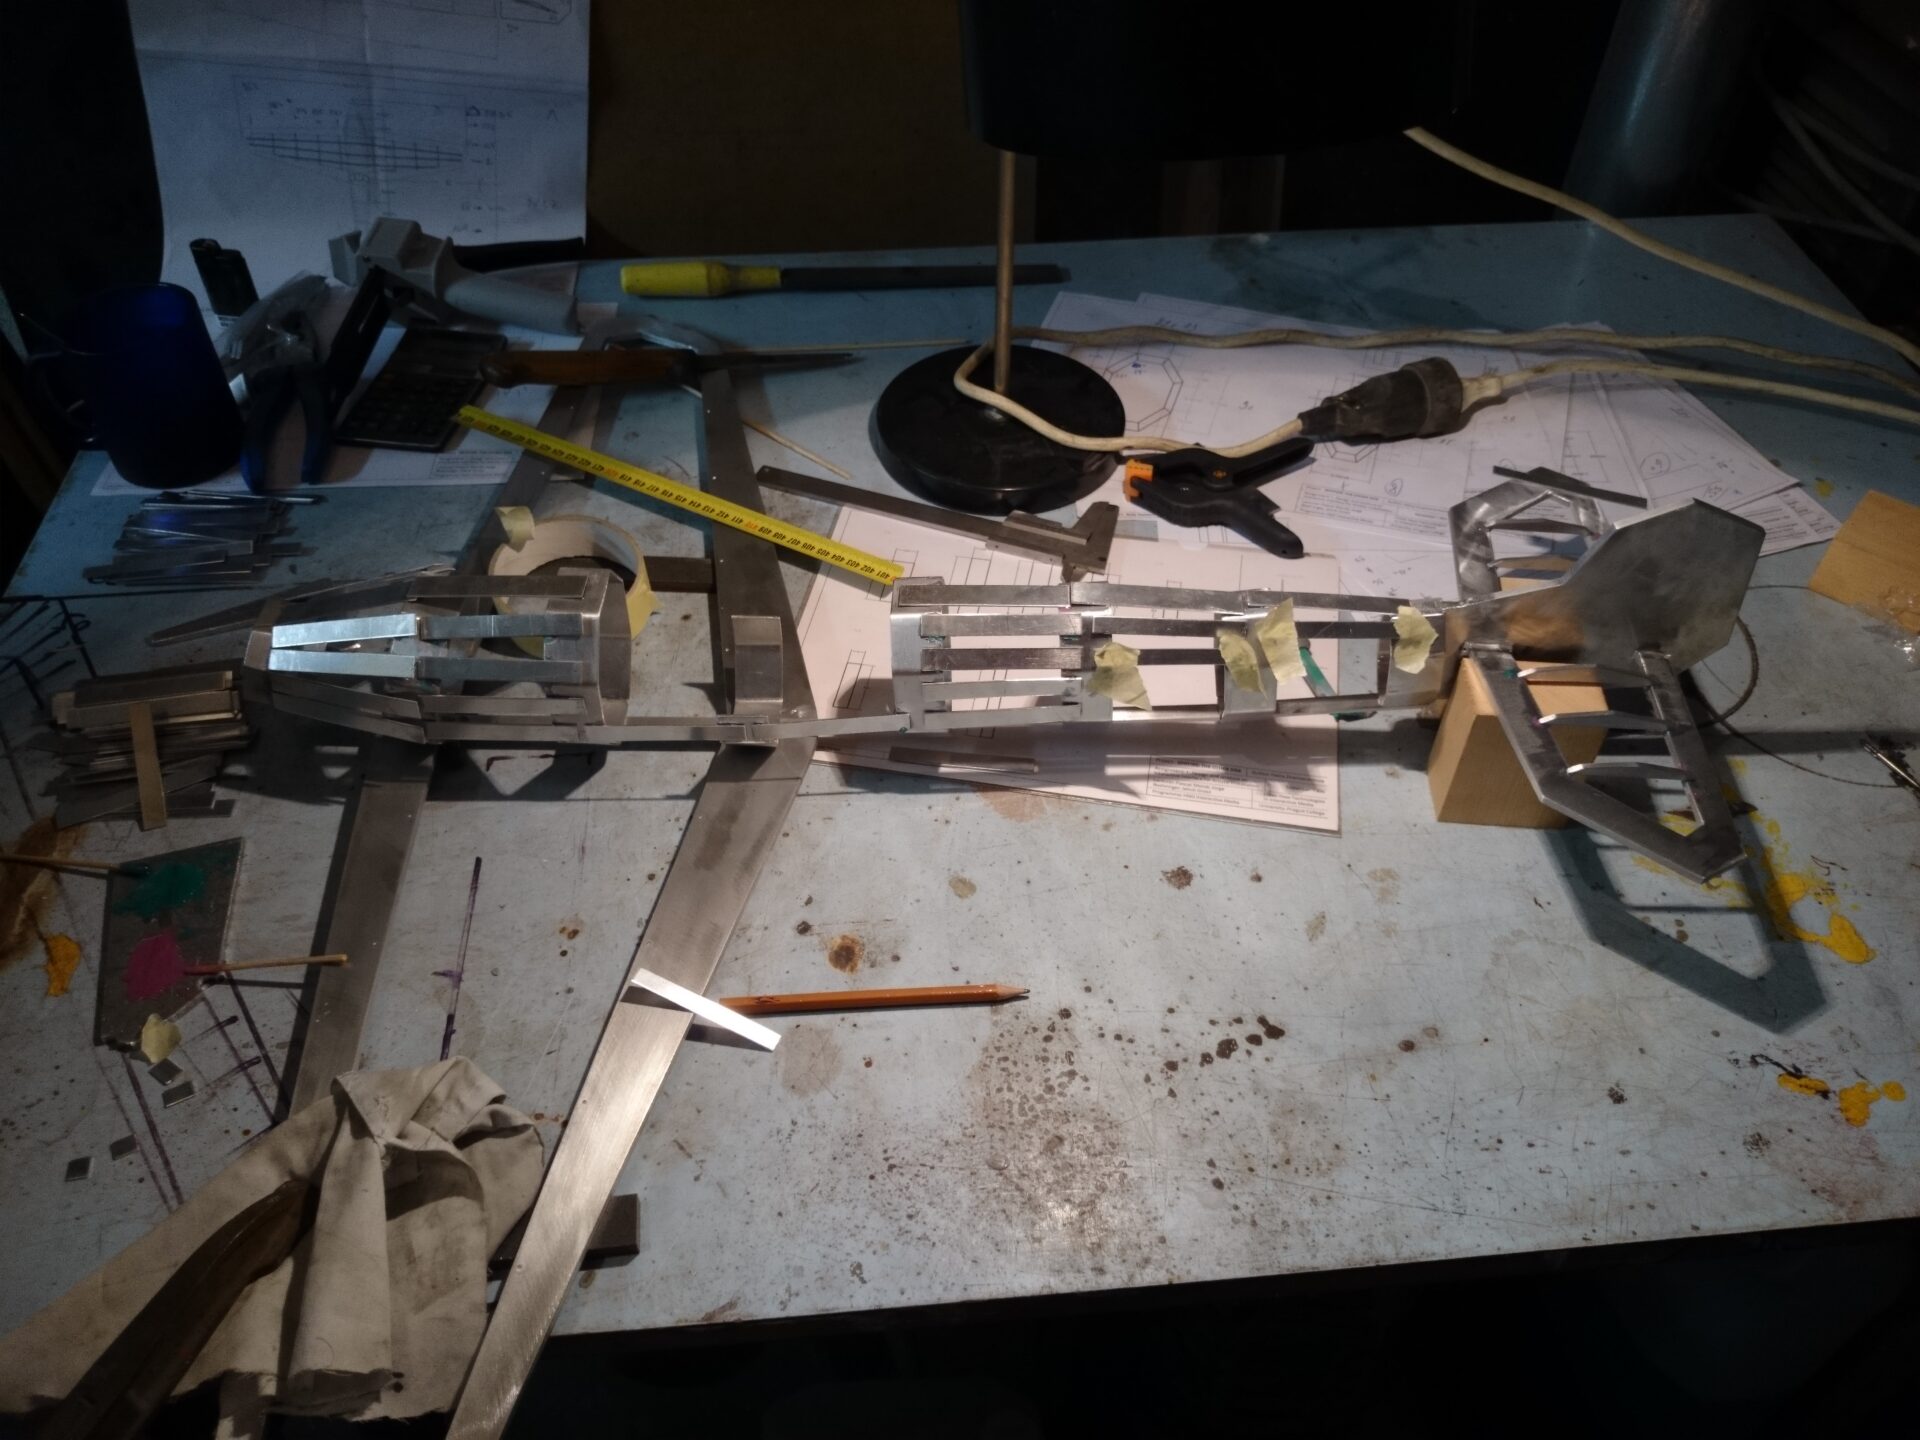
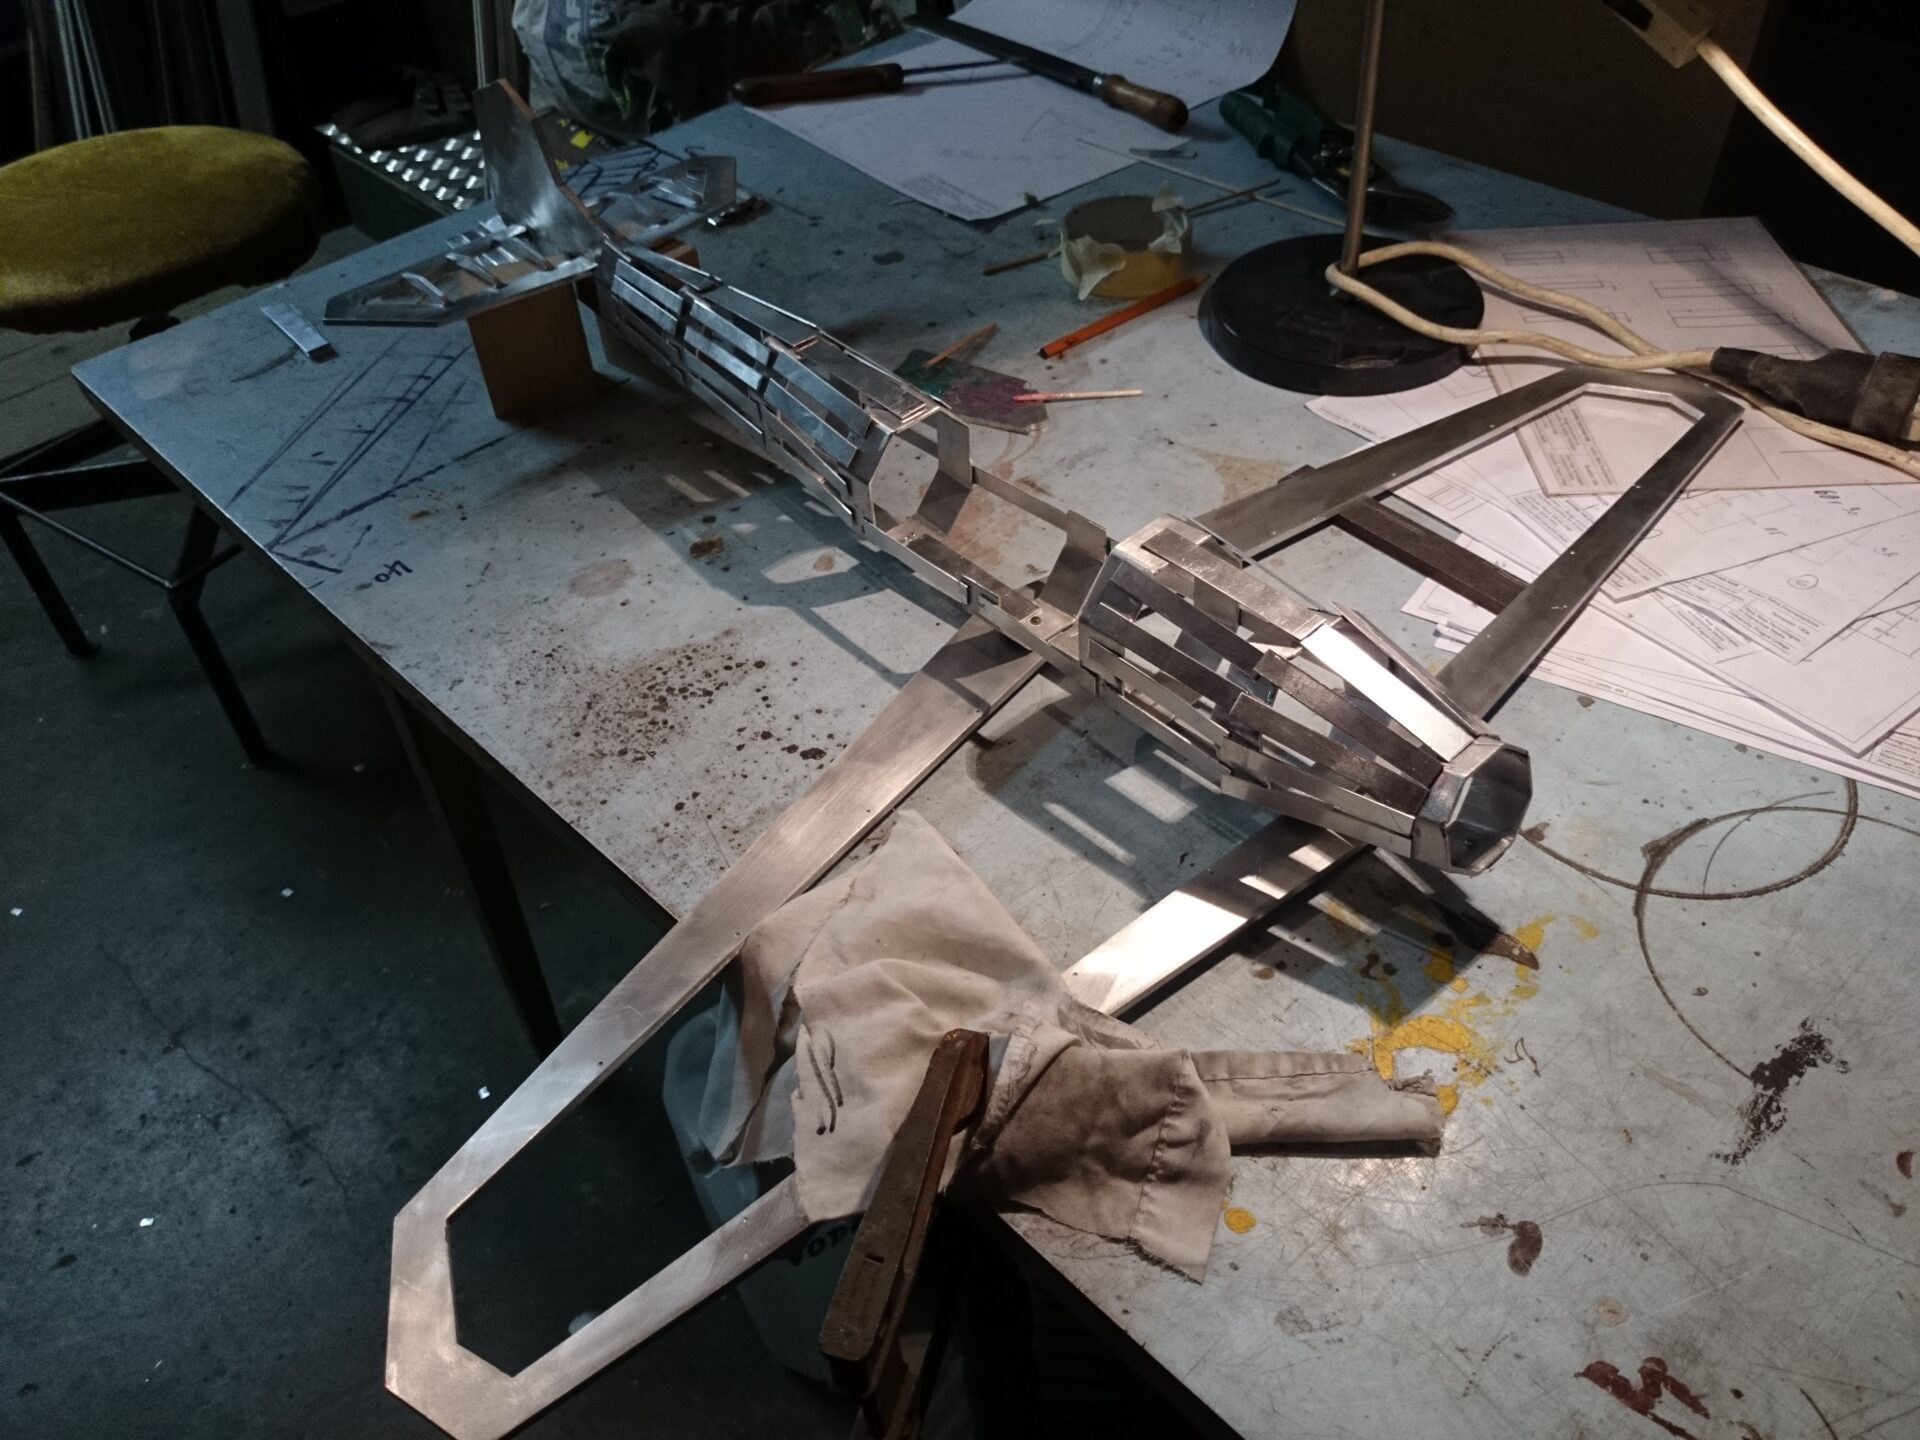
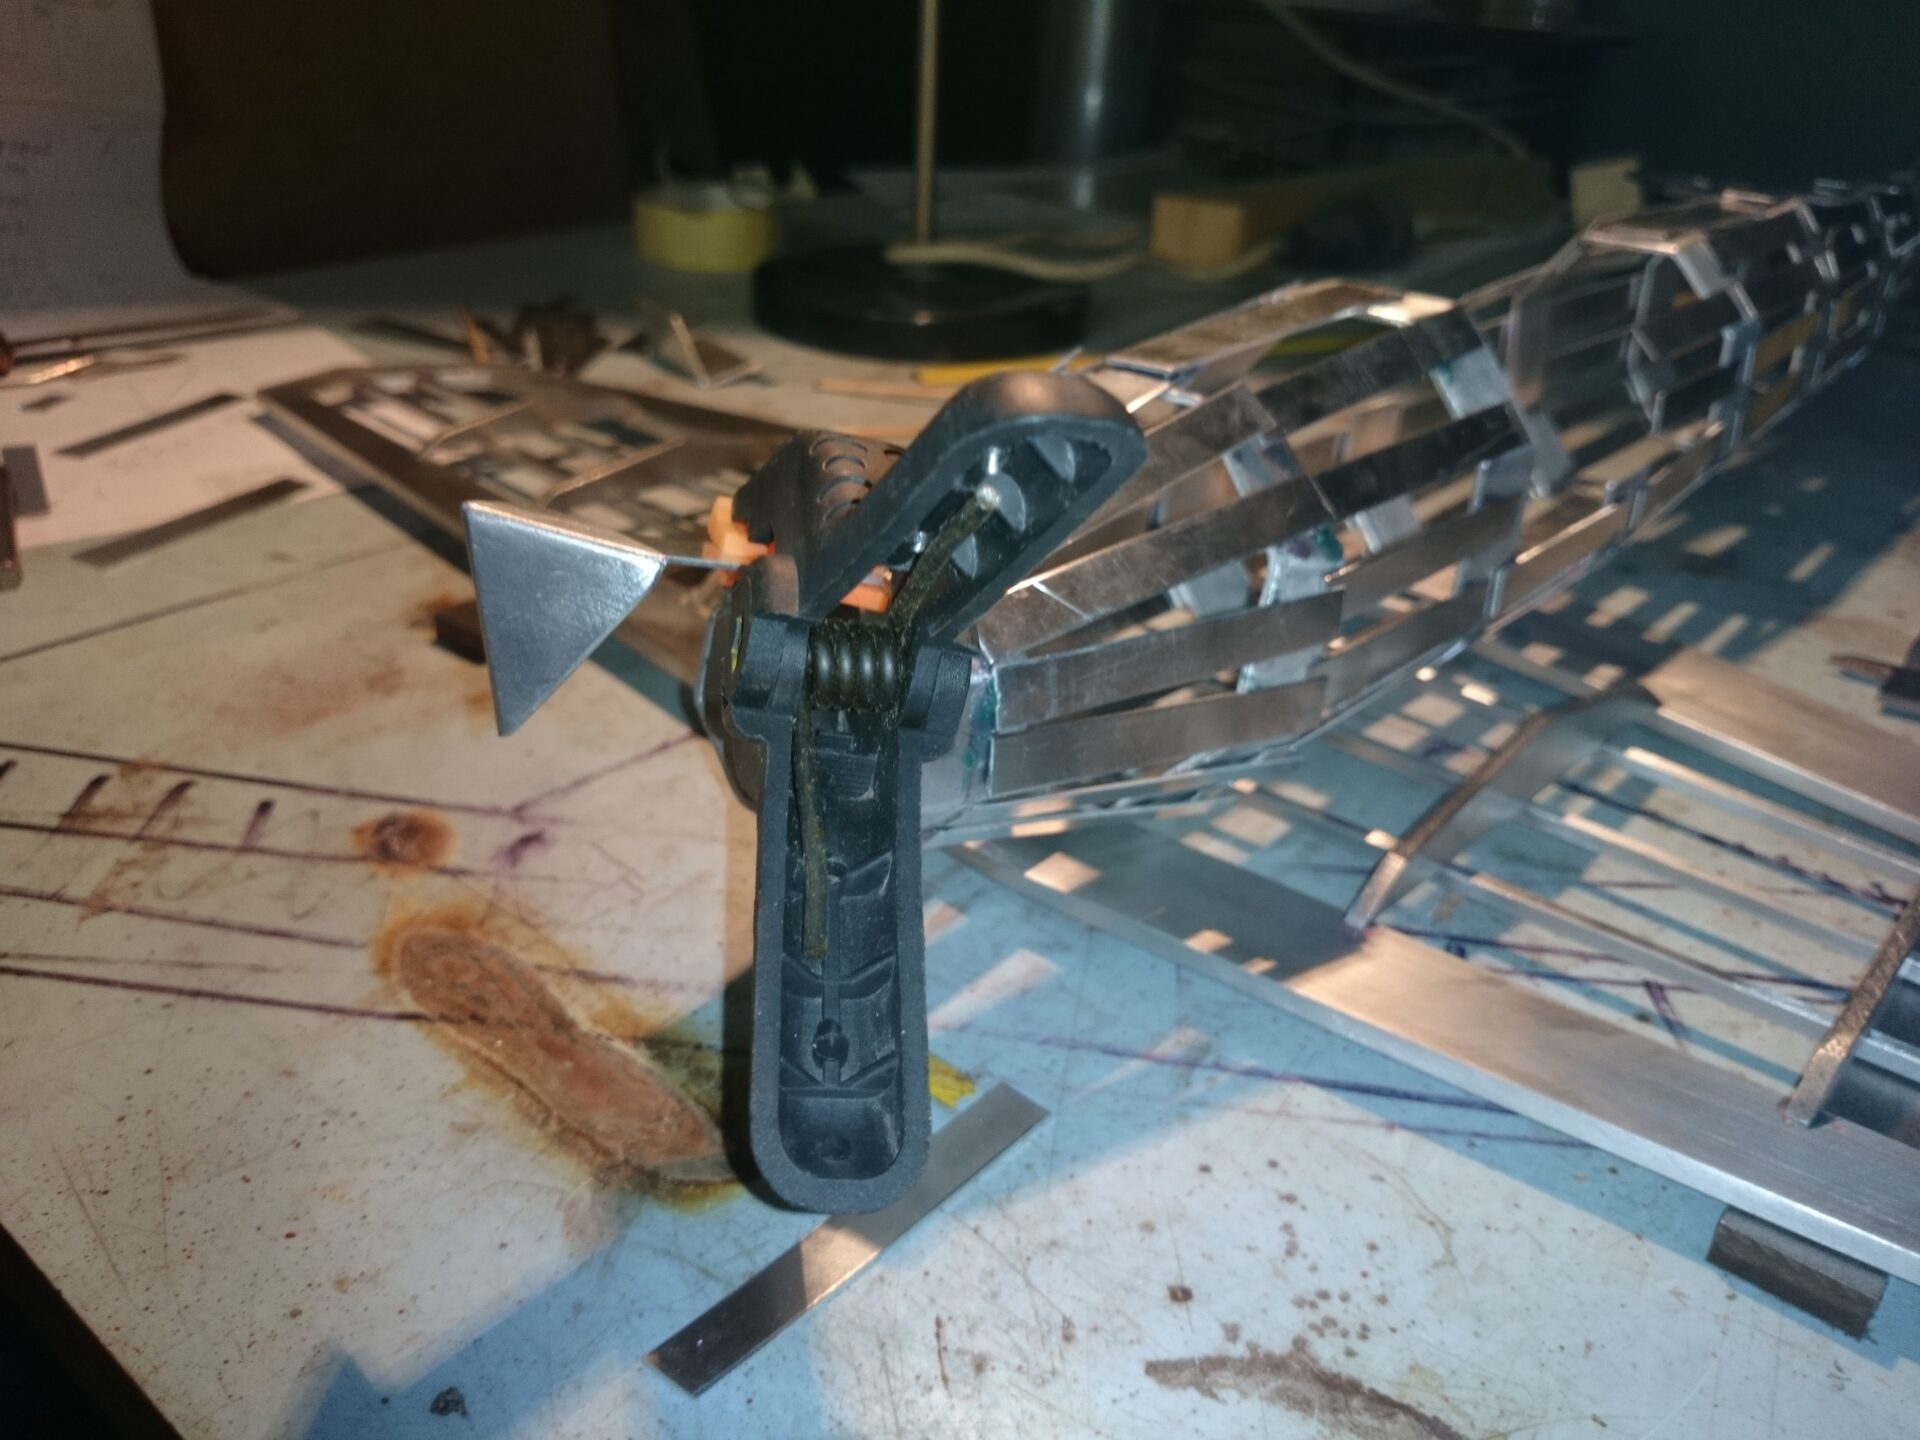
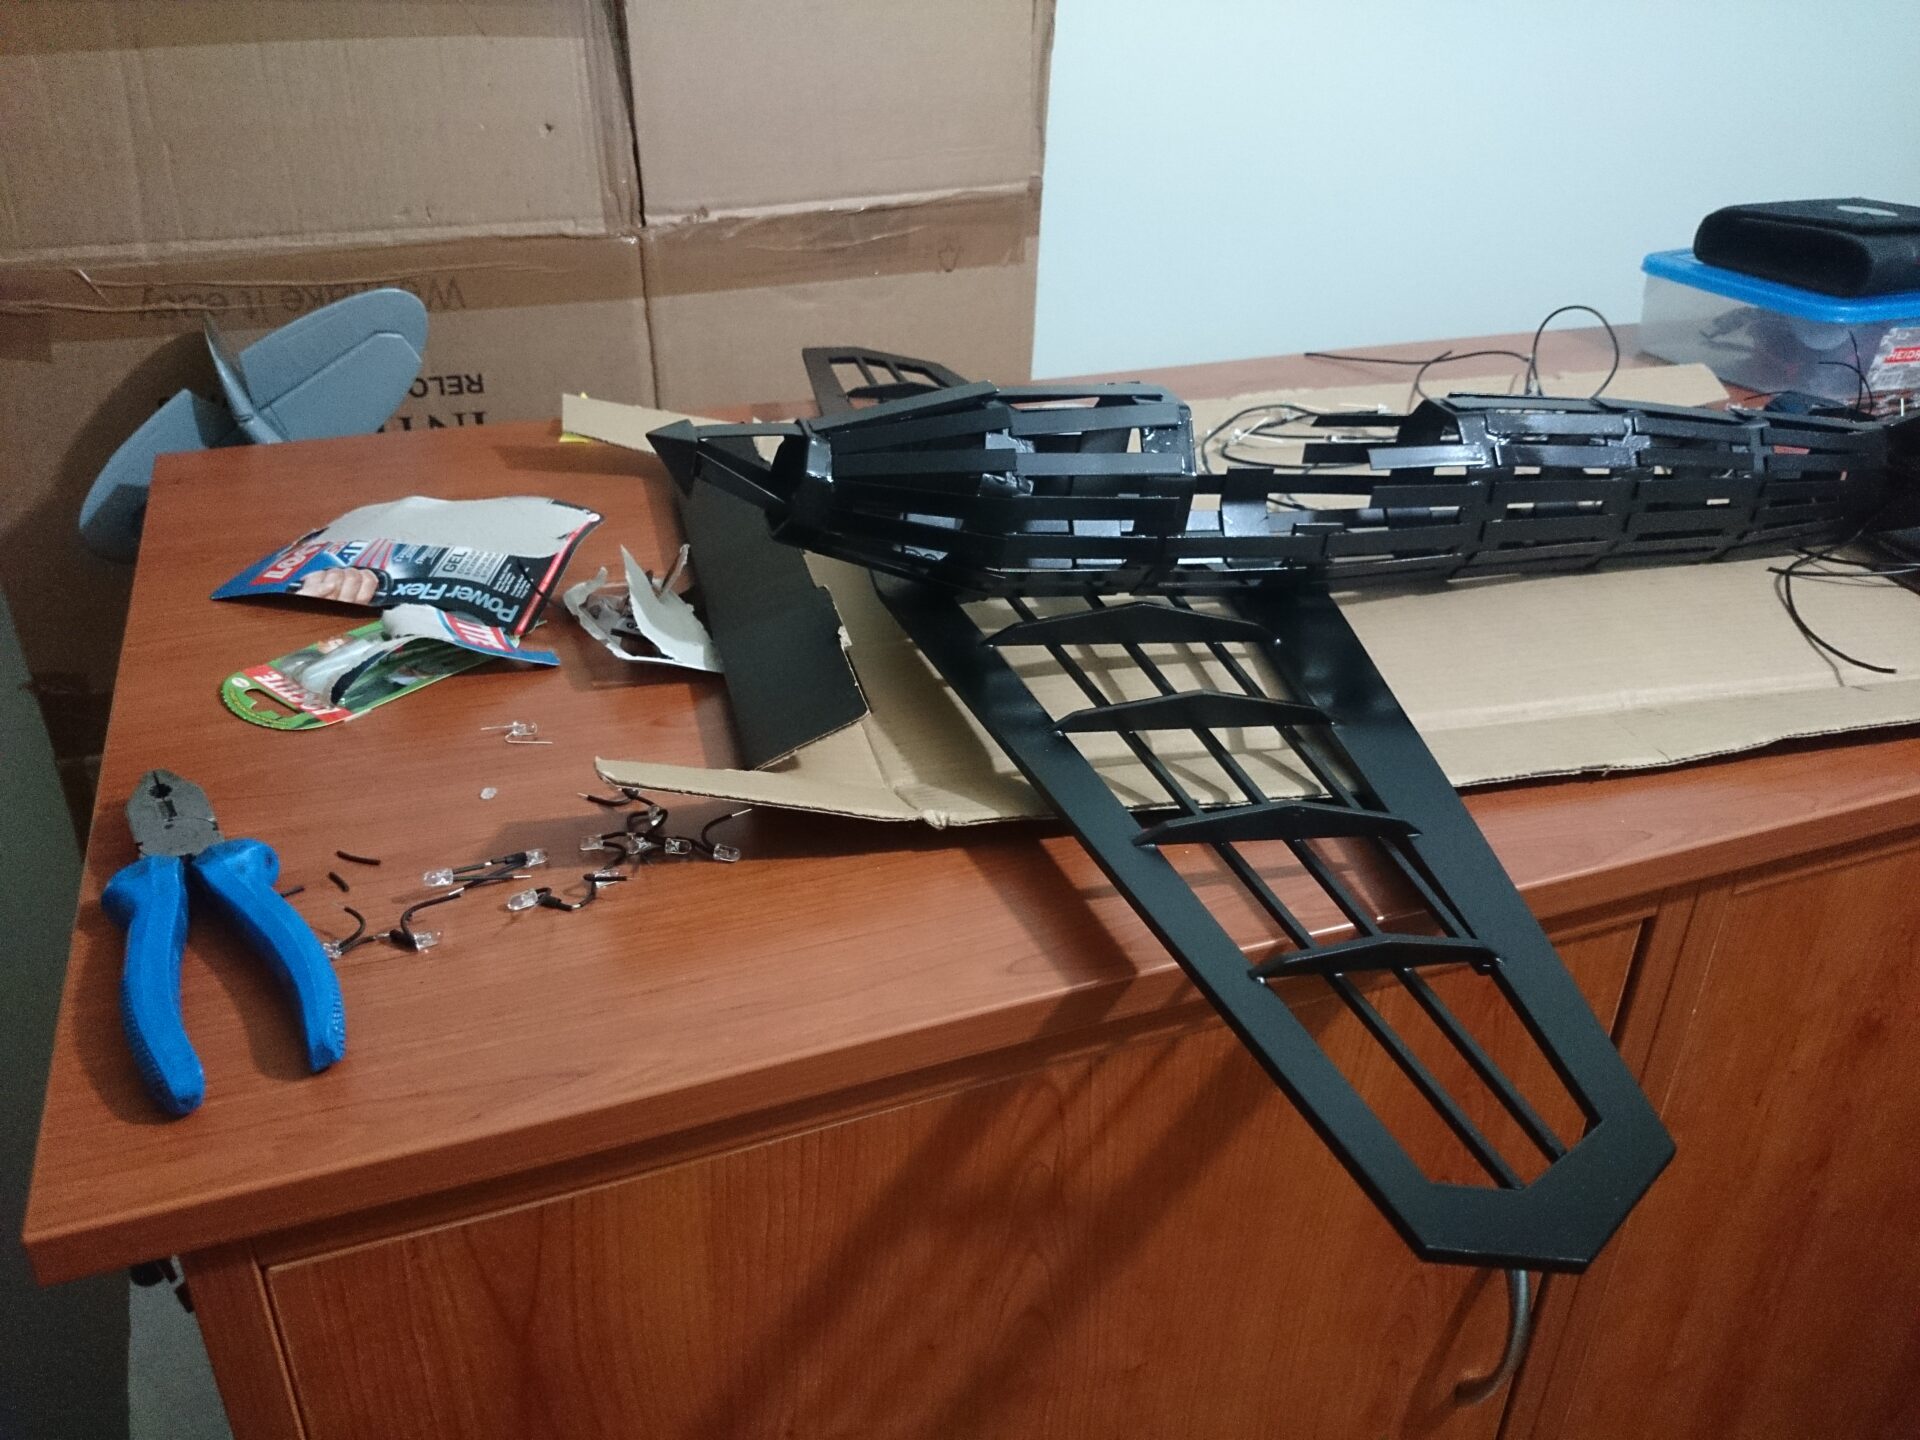
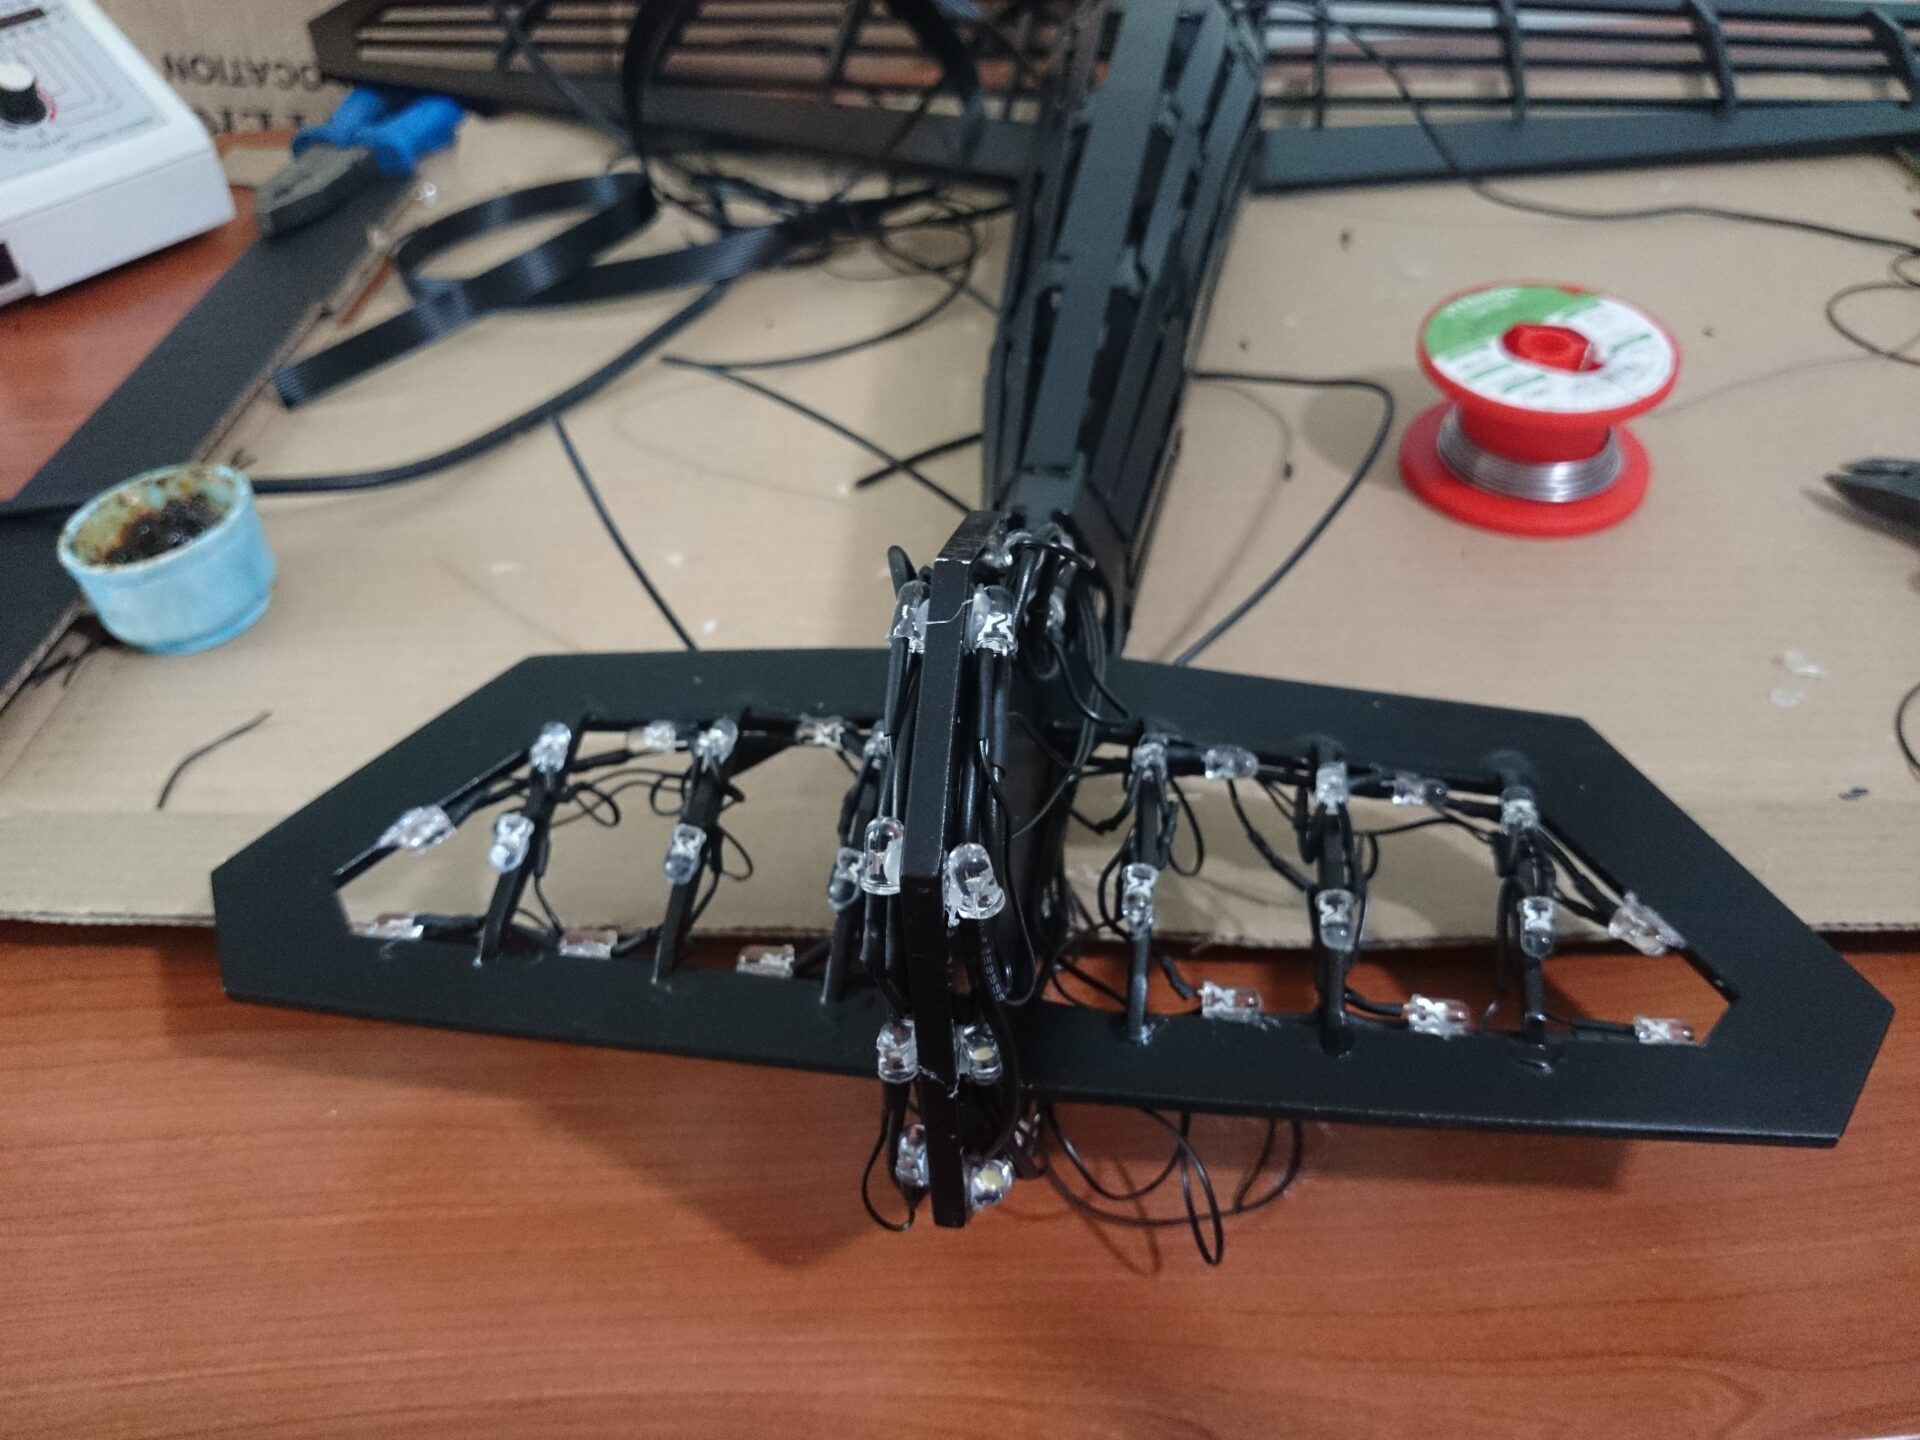
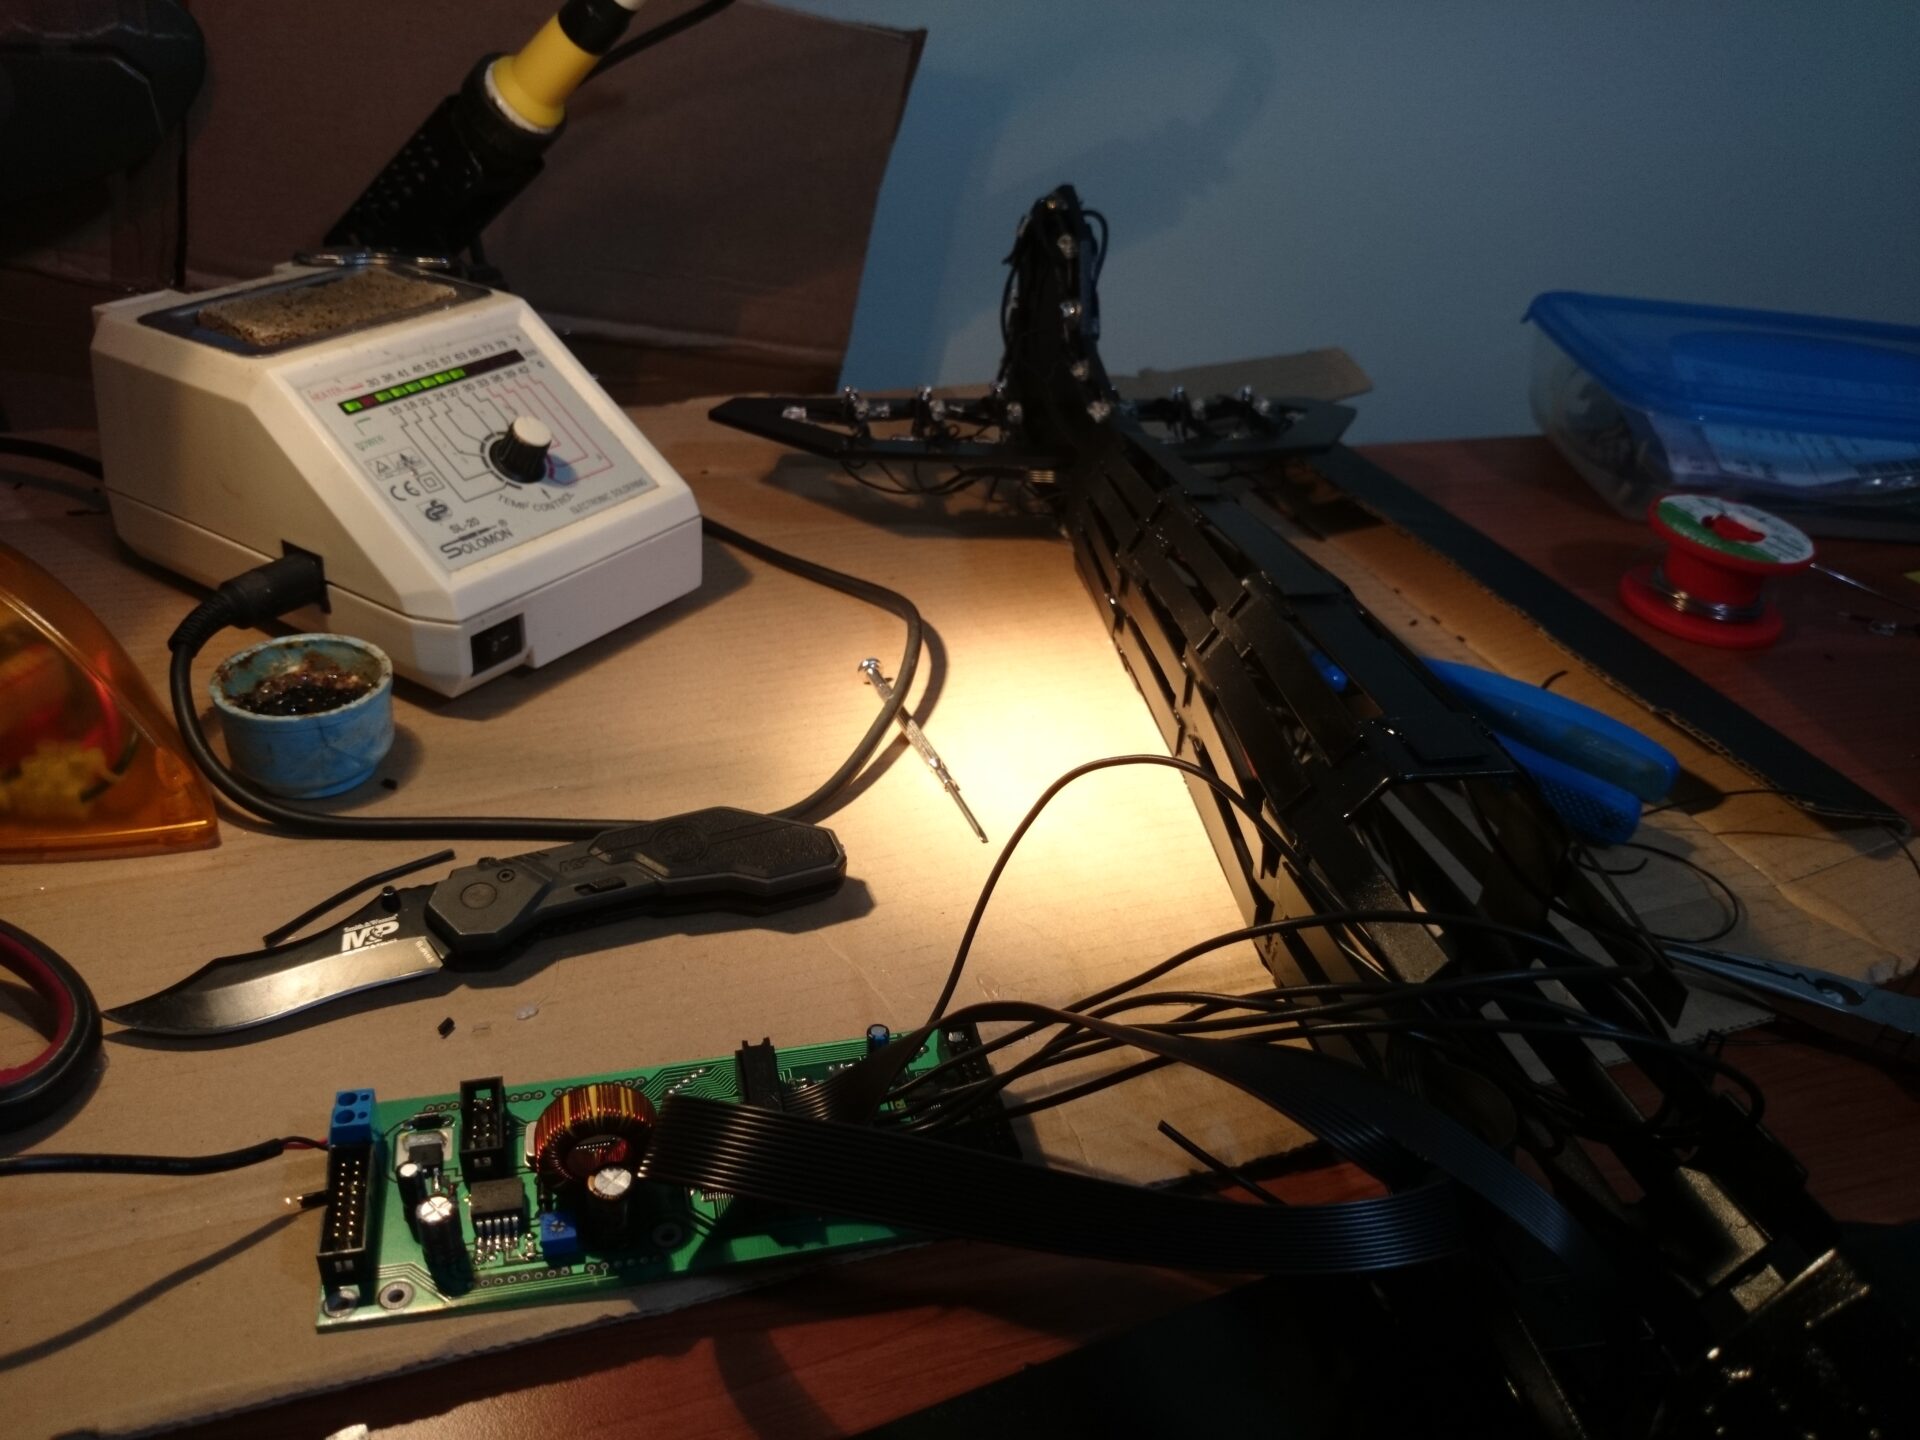
After the metal has been cut into shapes, it was time to weld the basic skeleton together and mount each strip to the skeleton with glue. It took several weeks of afternoons and evenings after school that I’ve spent in the garage putting the plane together with Mr. U. Usually there was only so many things to be done before the materials had to be left to work on their own.
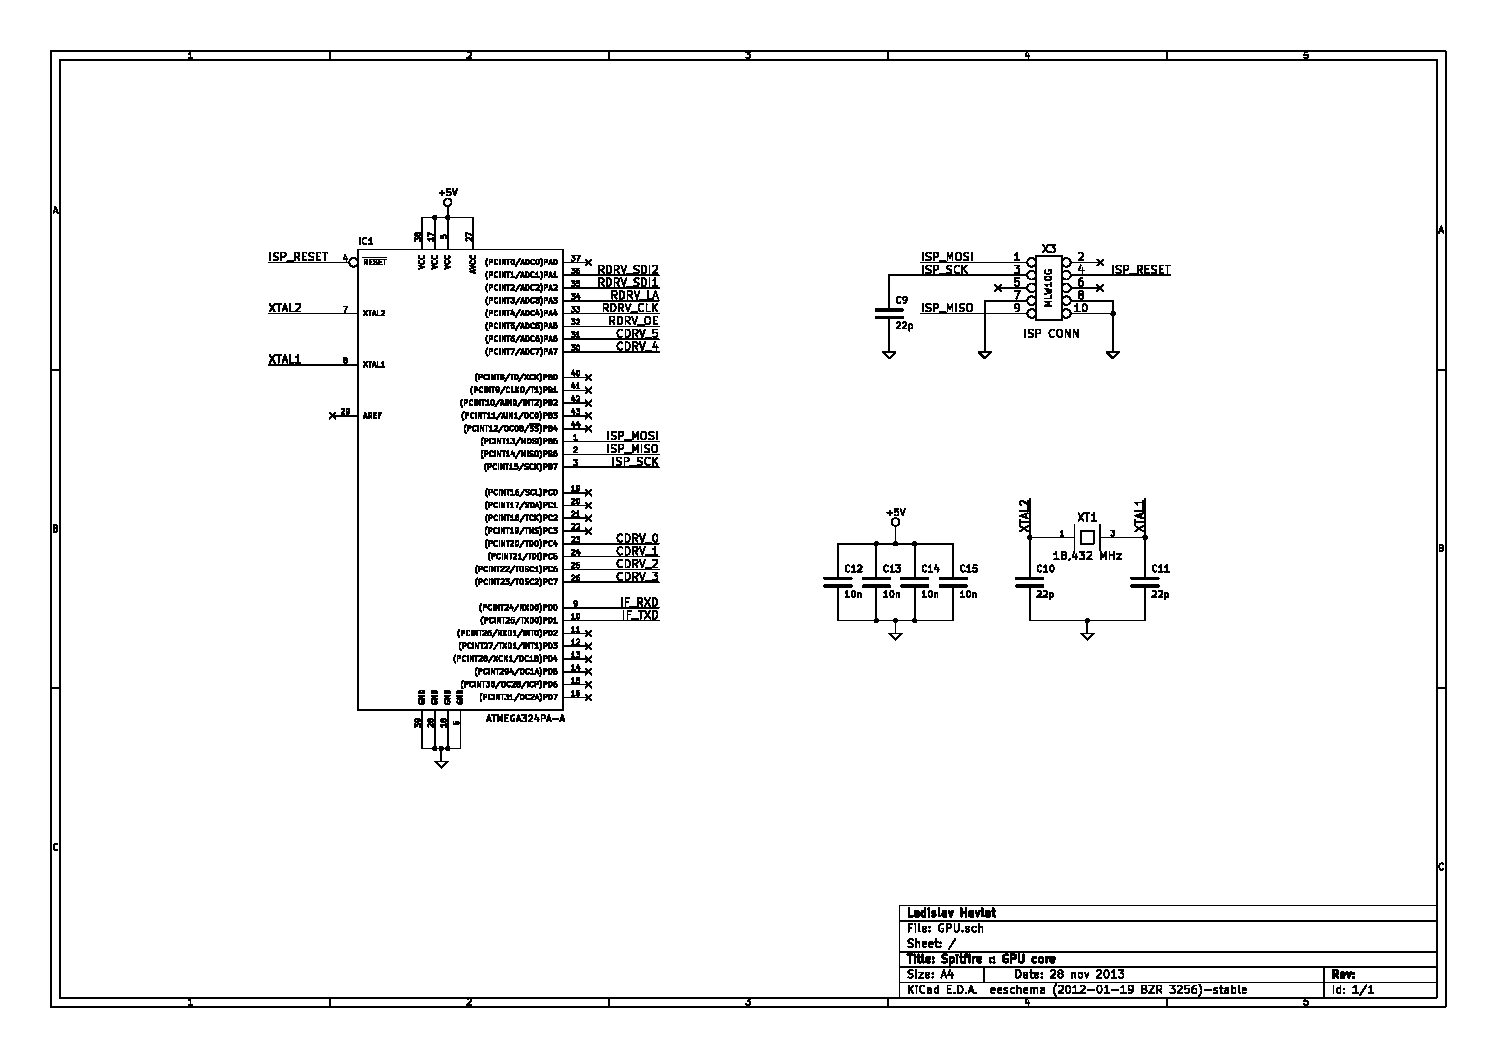
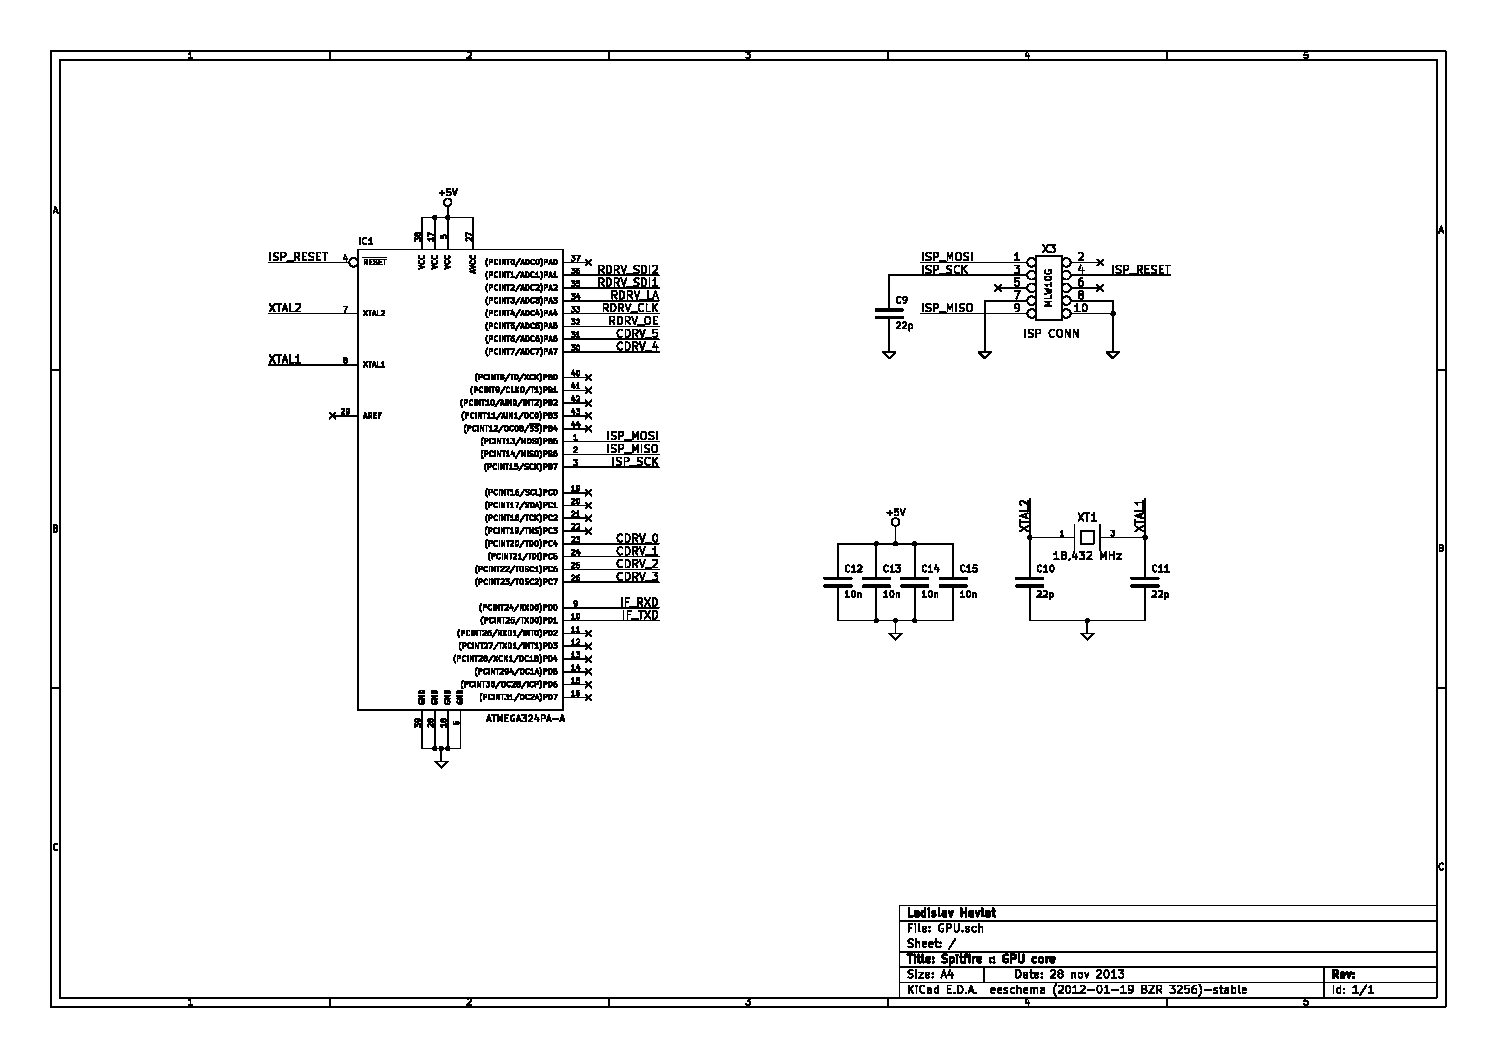
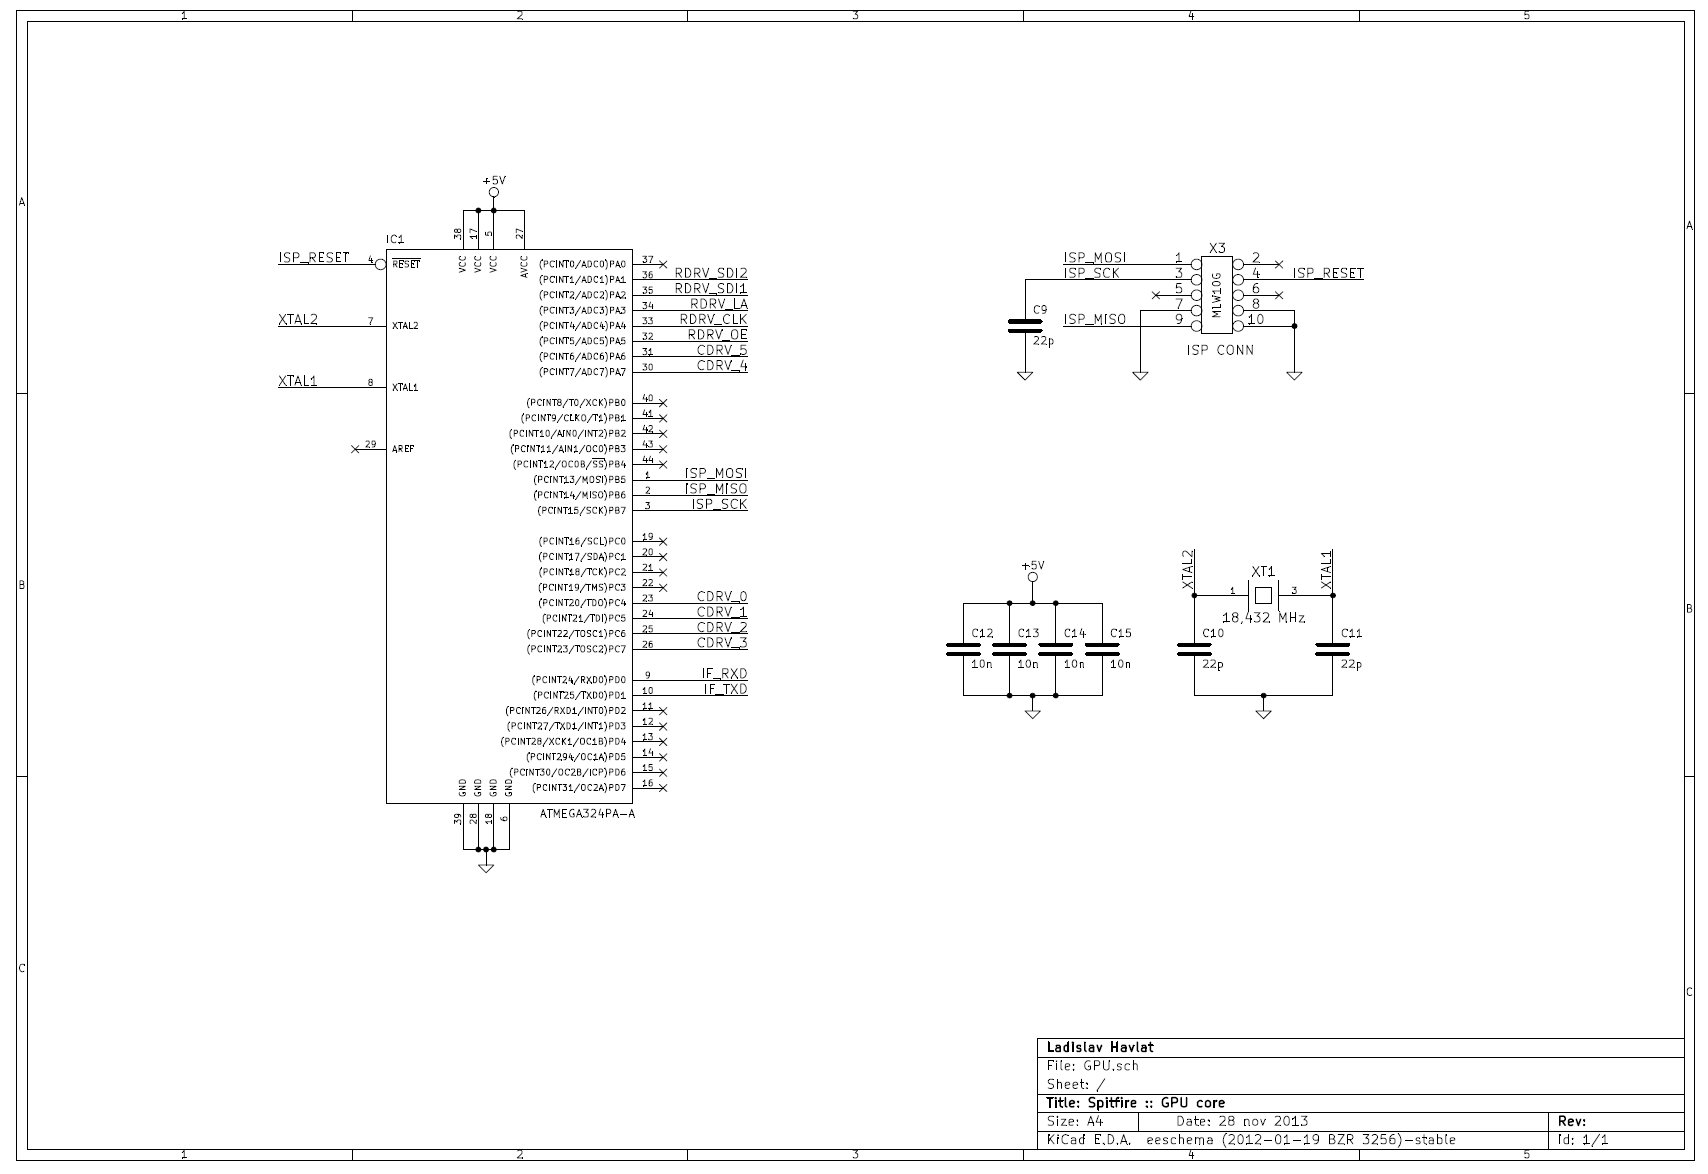
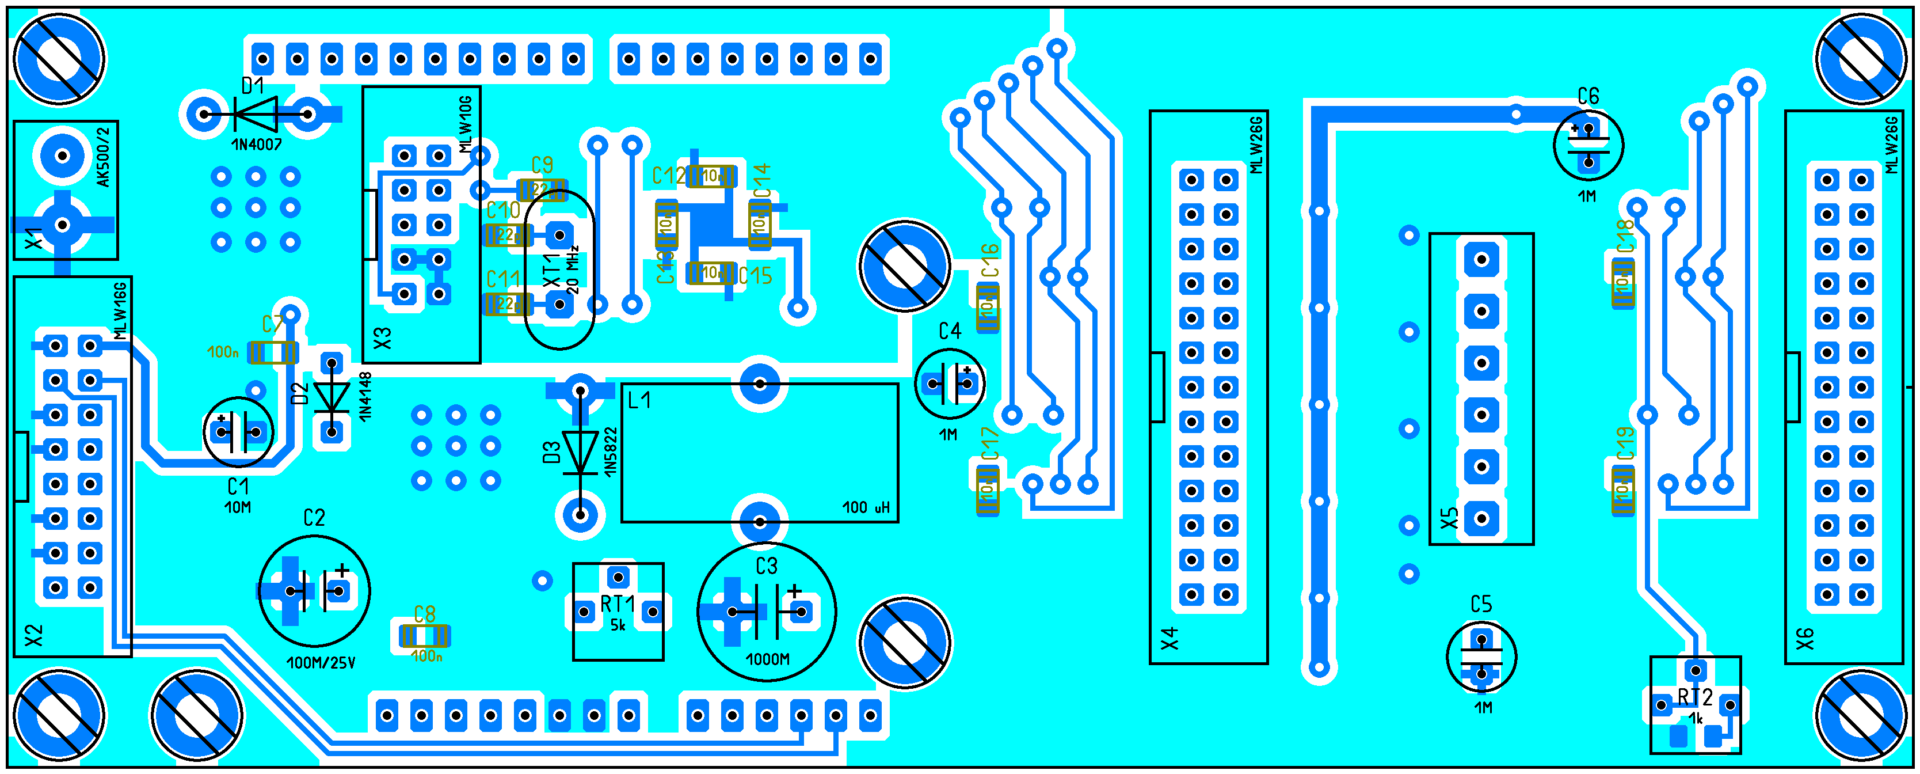
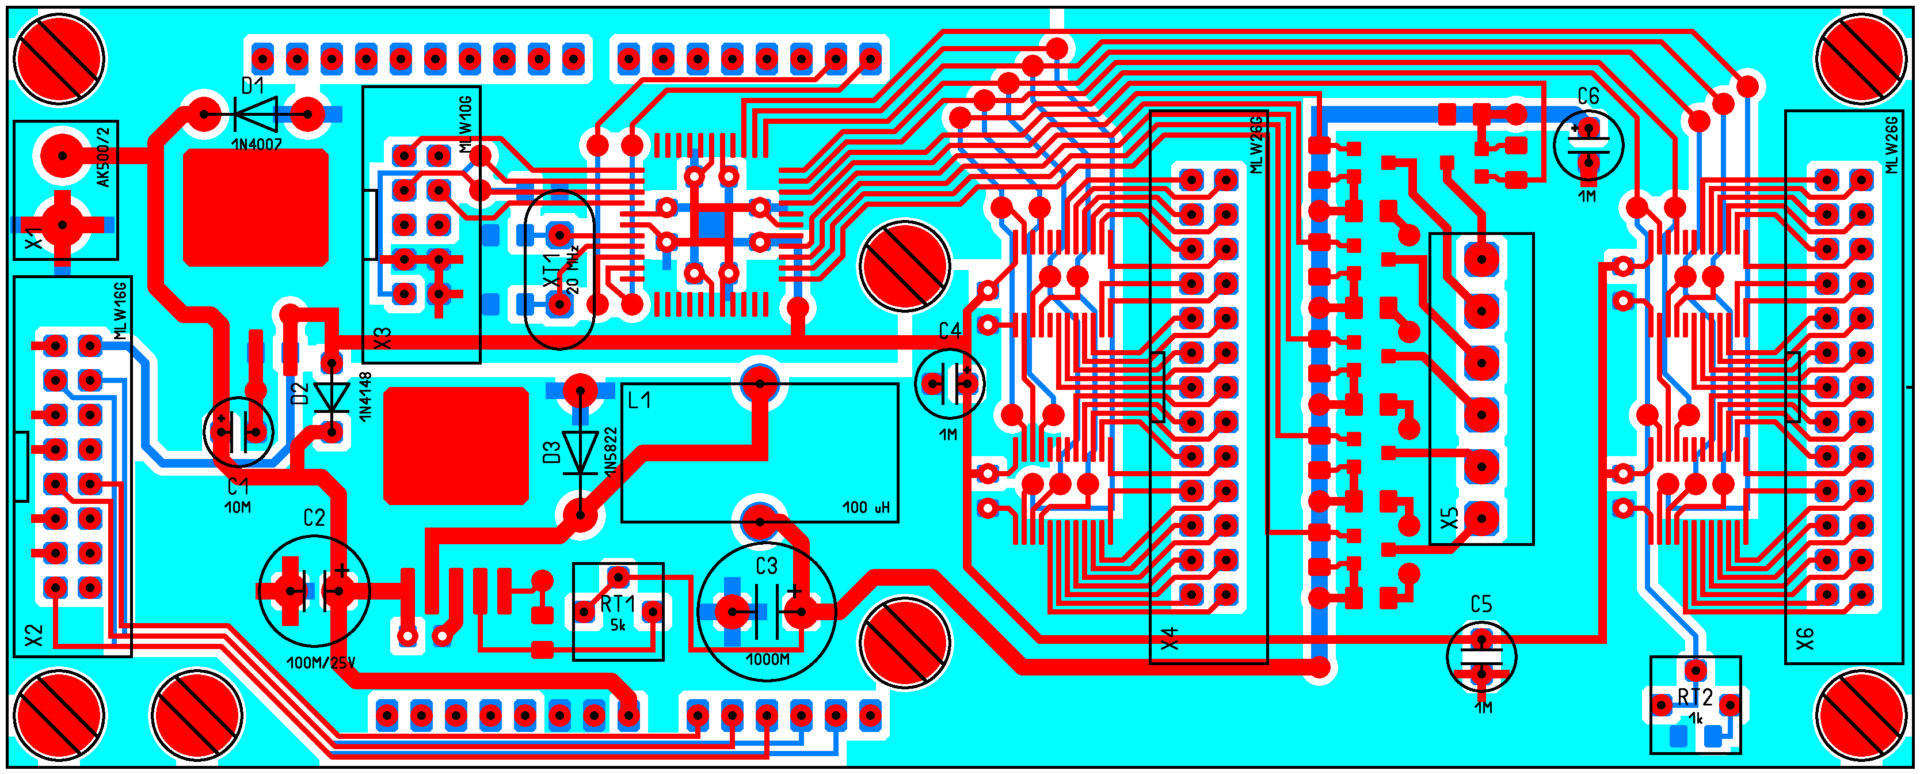
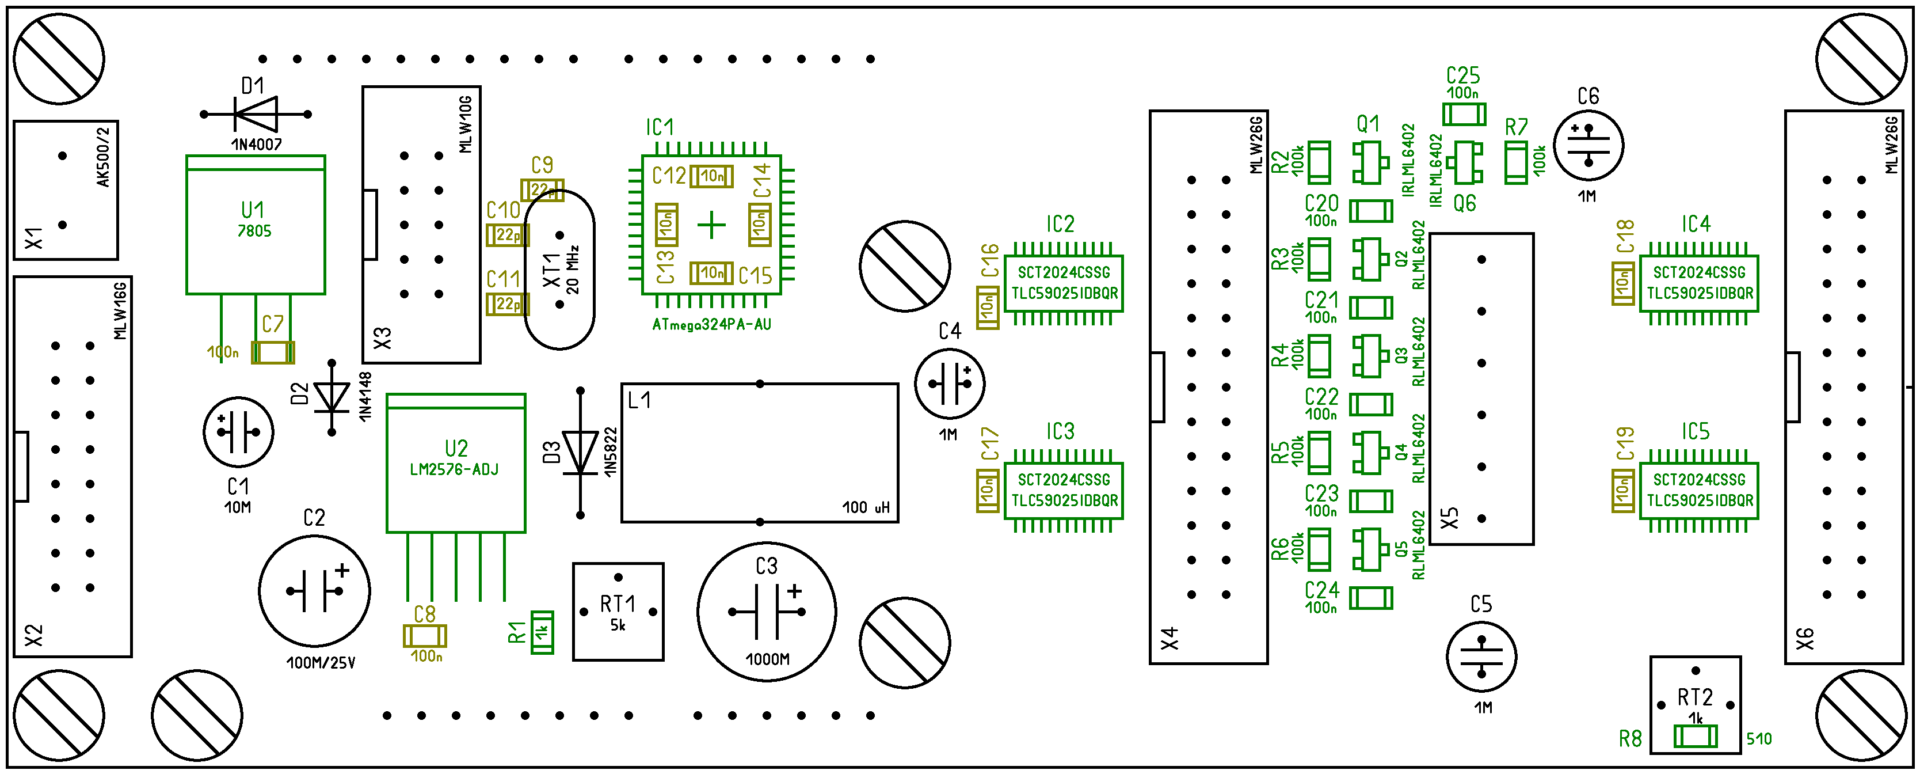
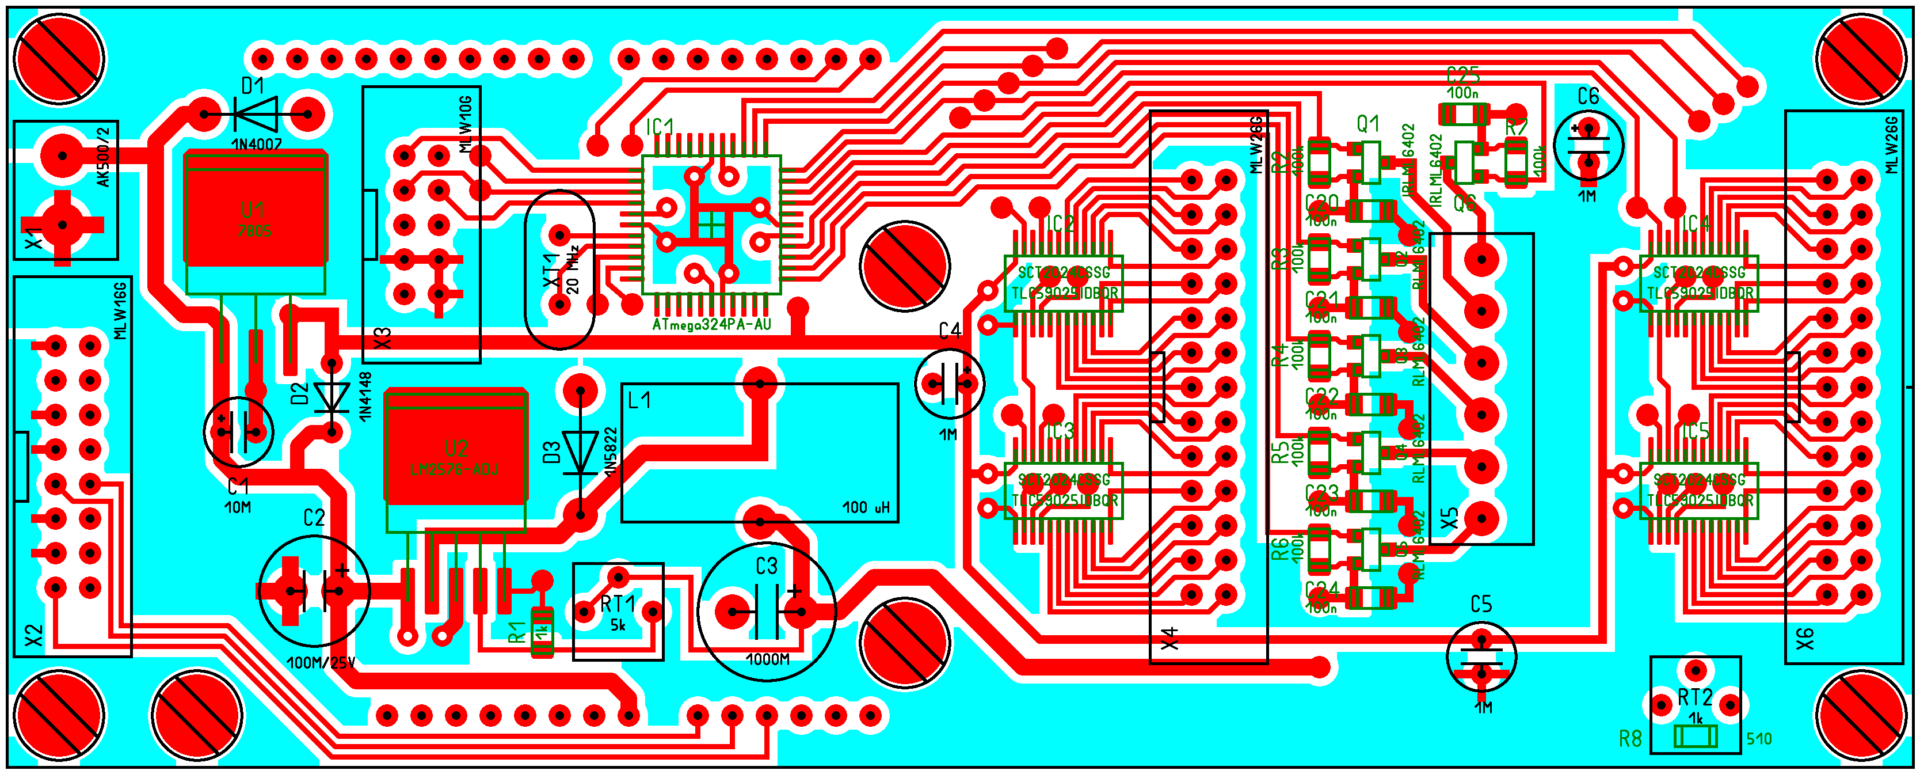
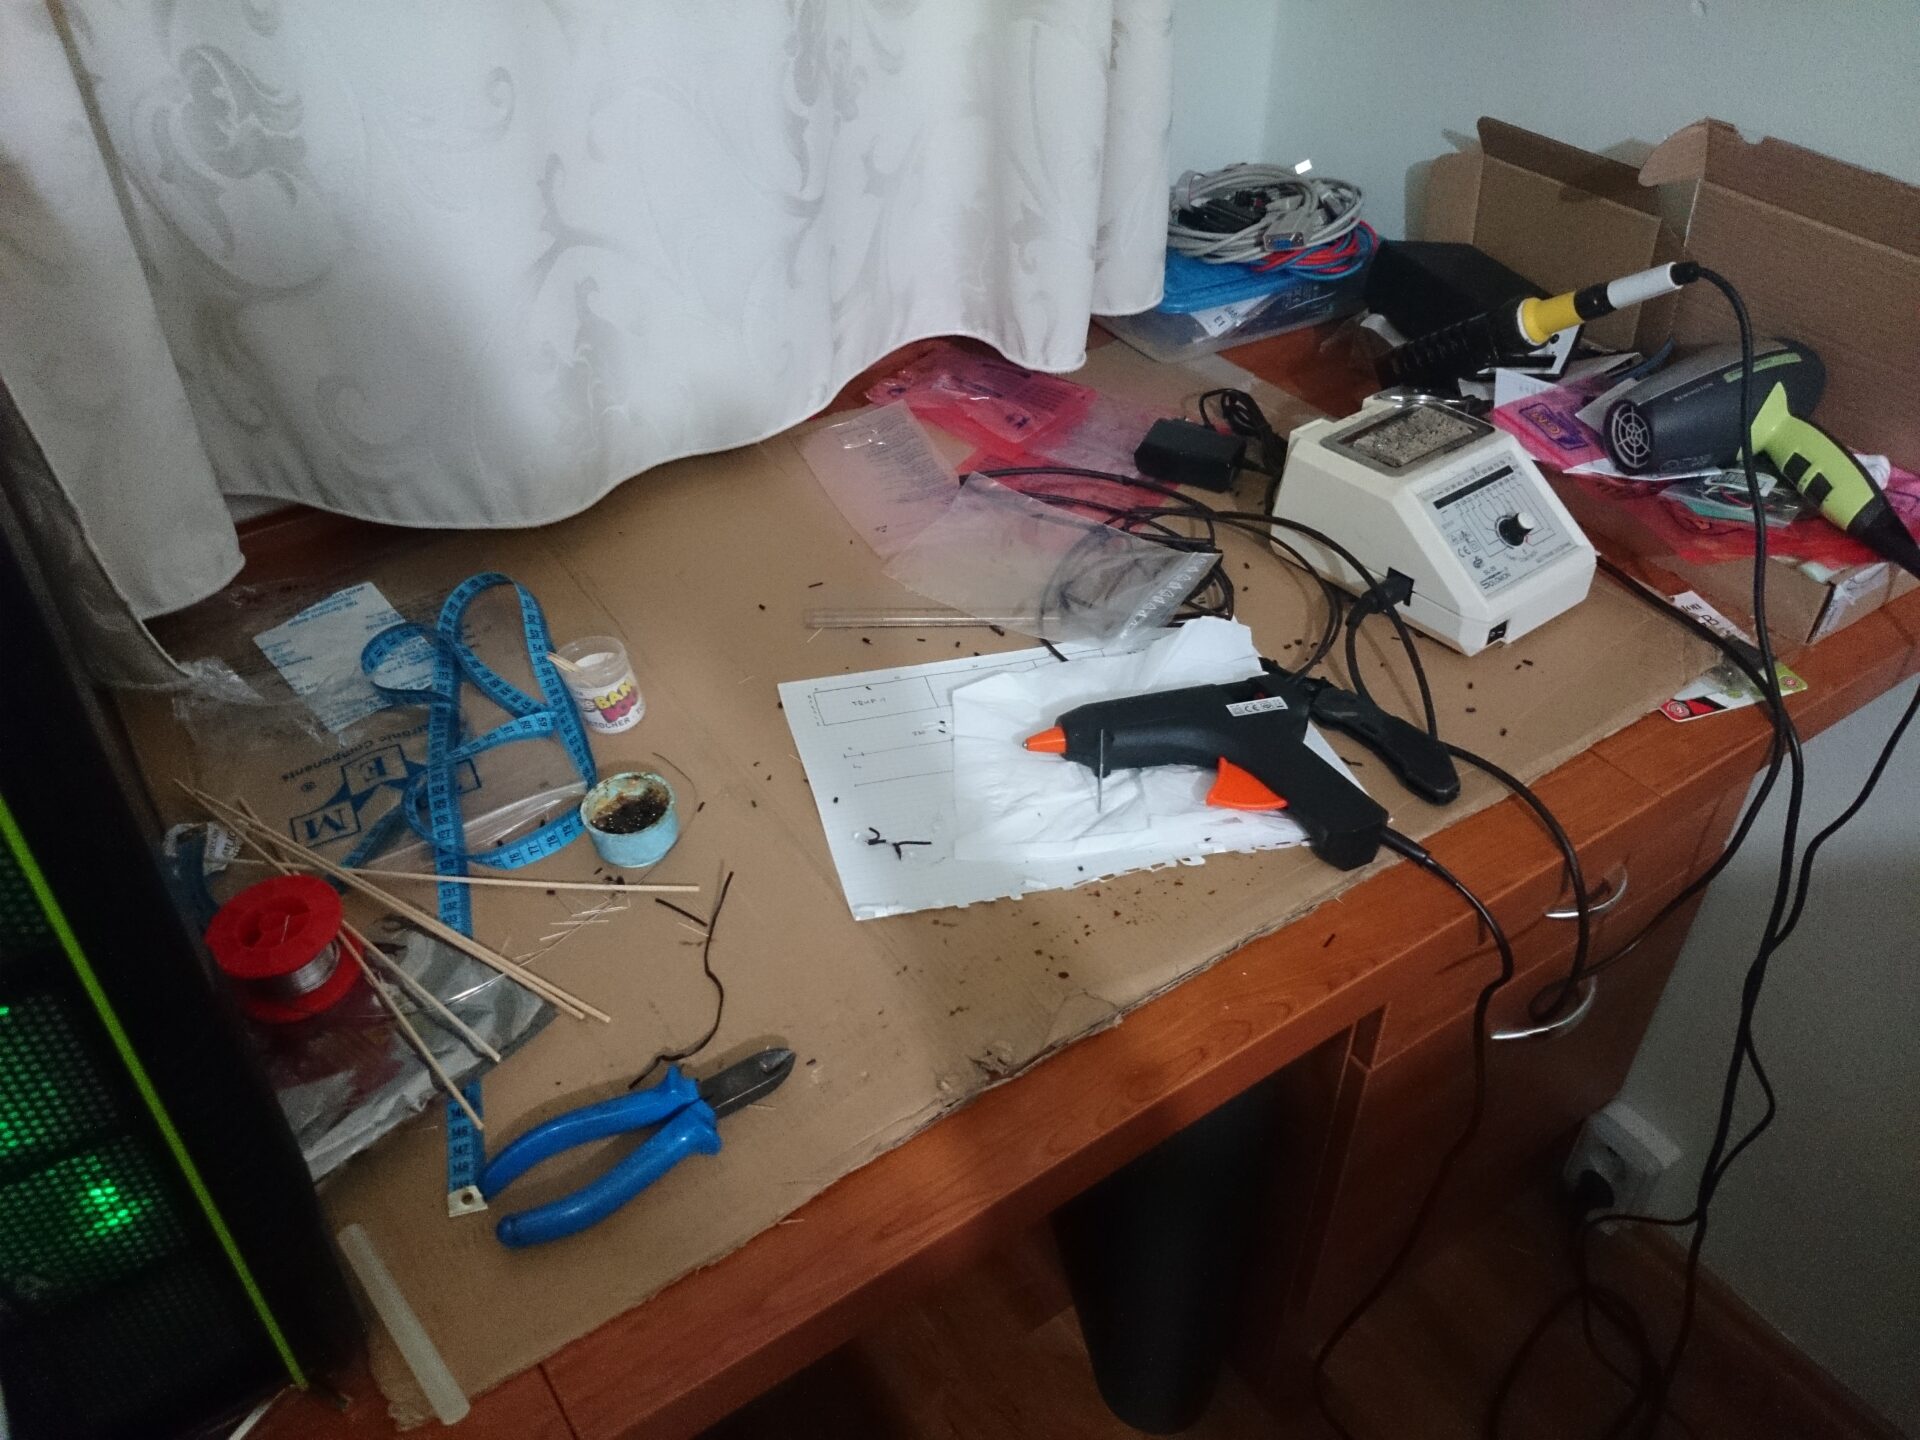
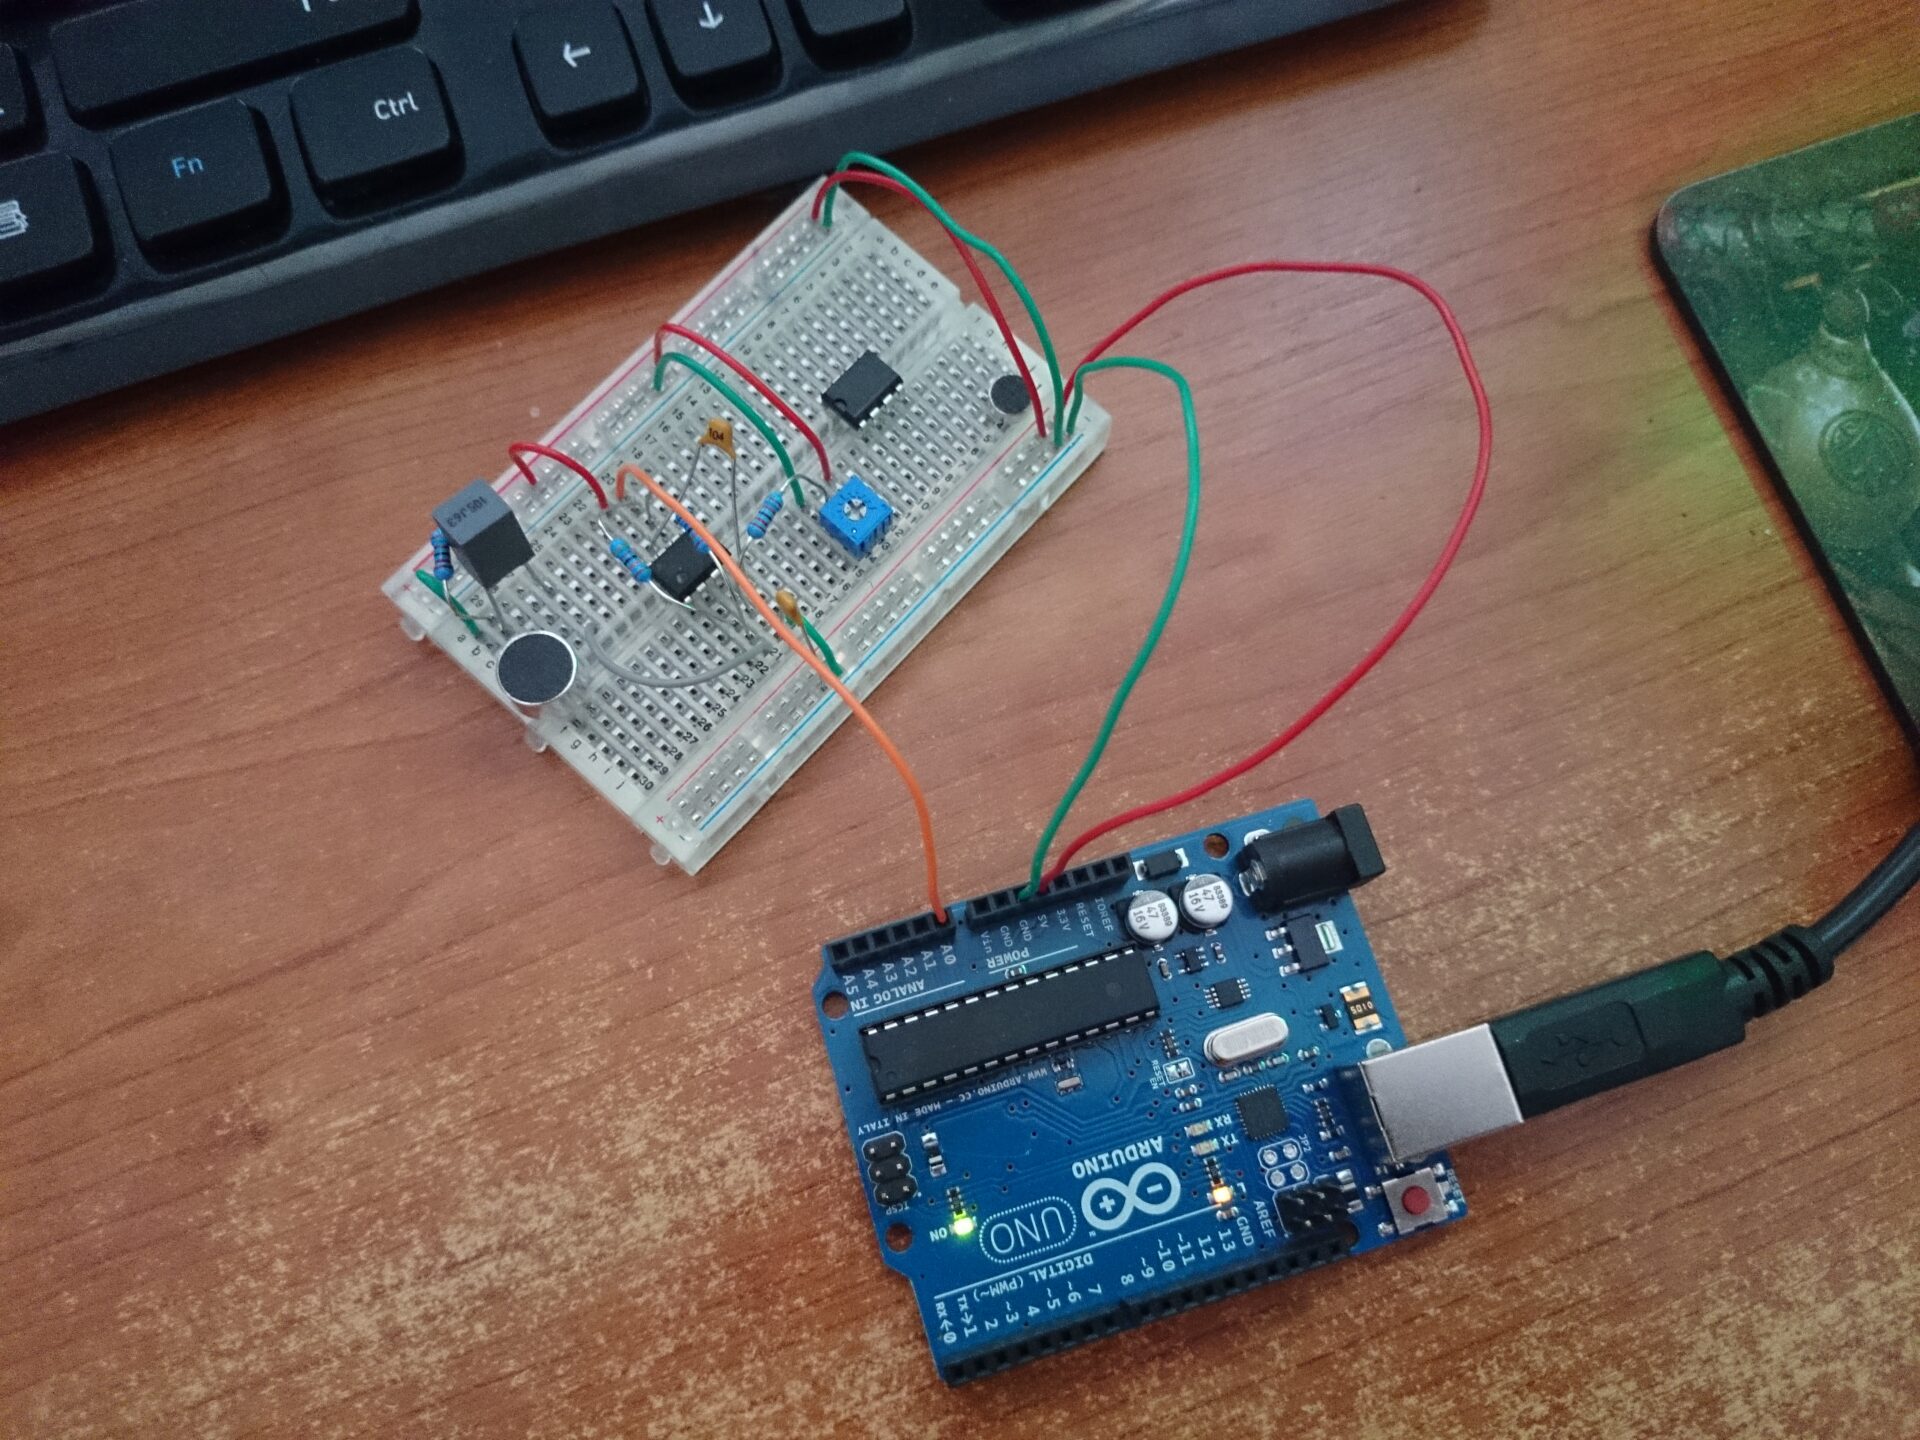
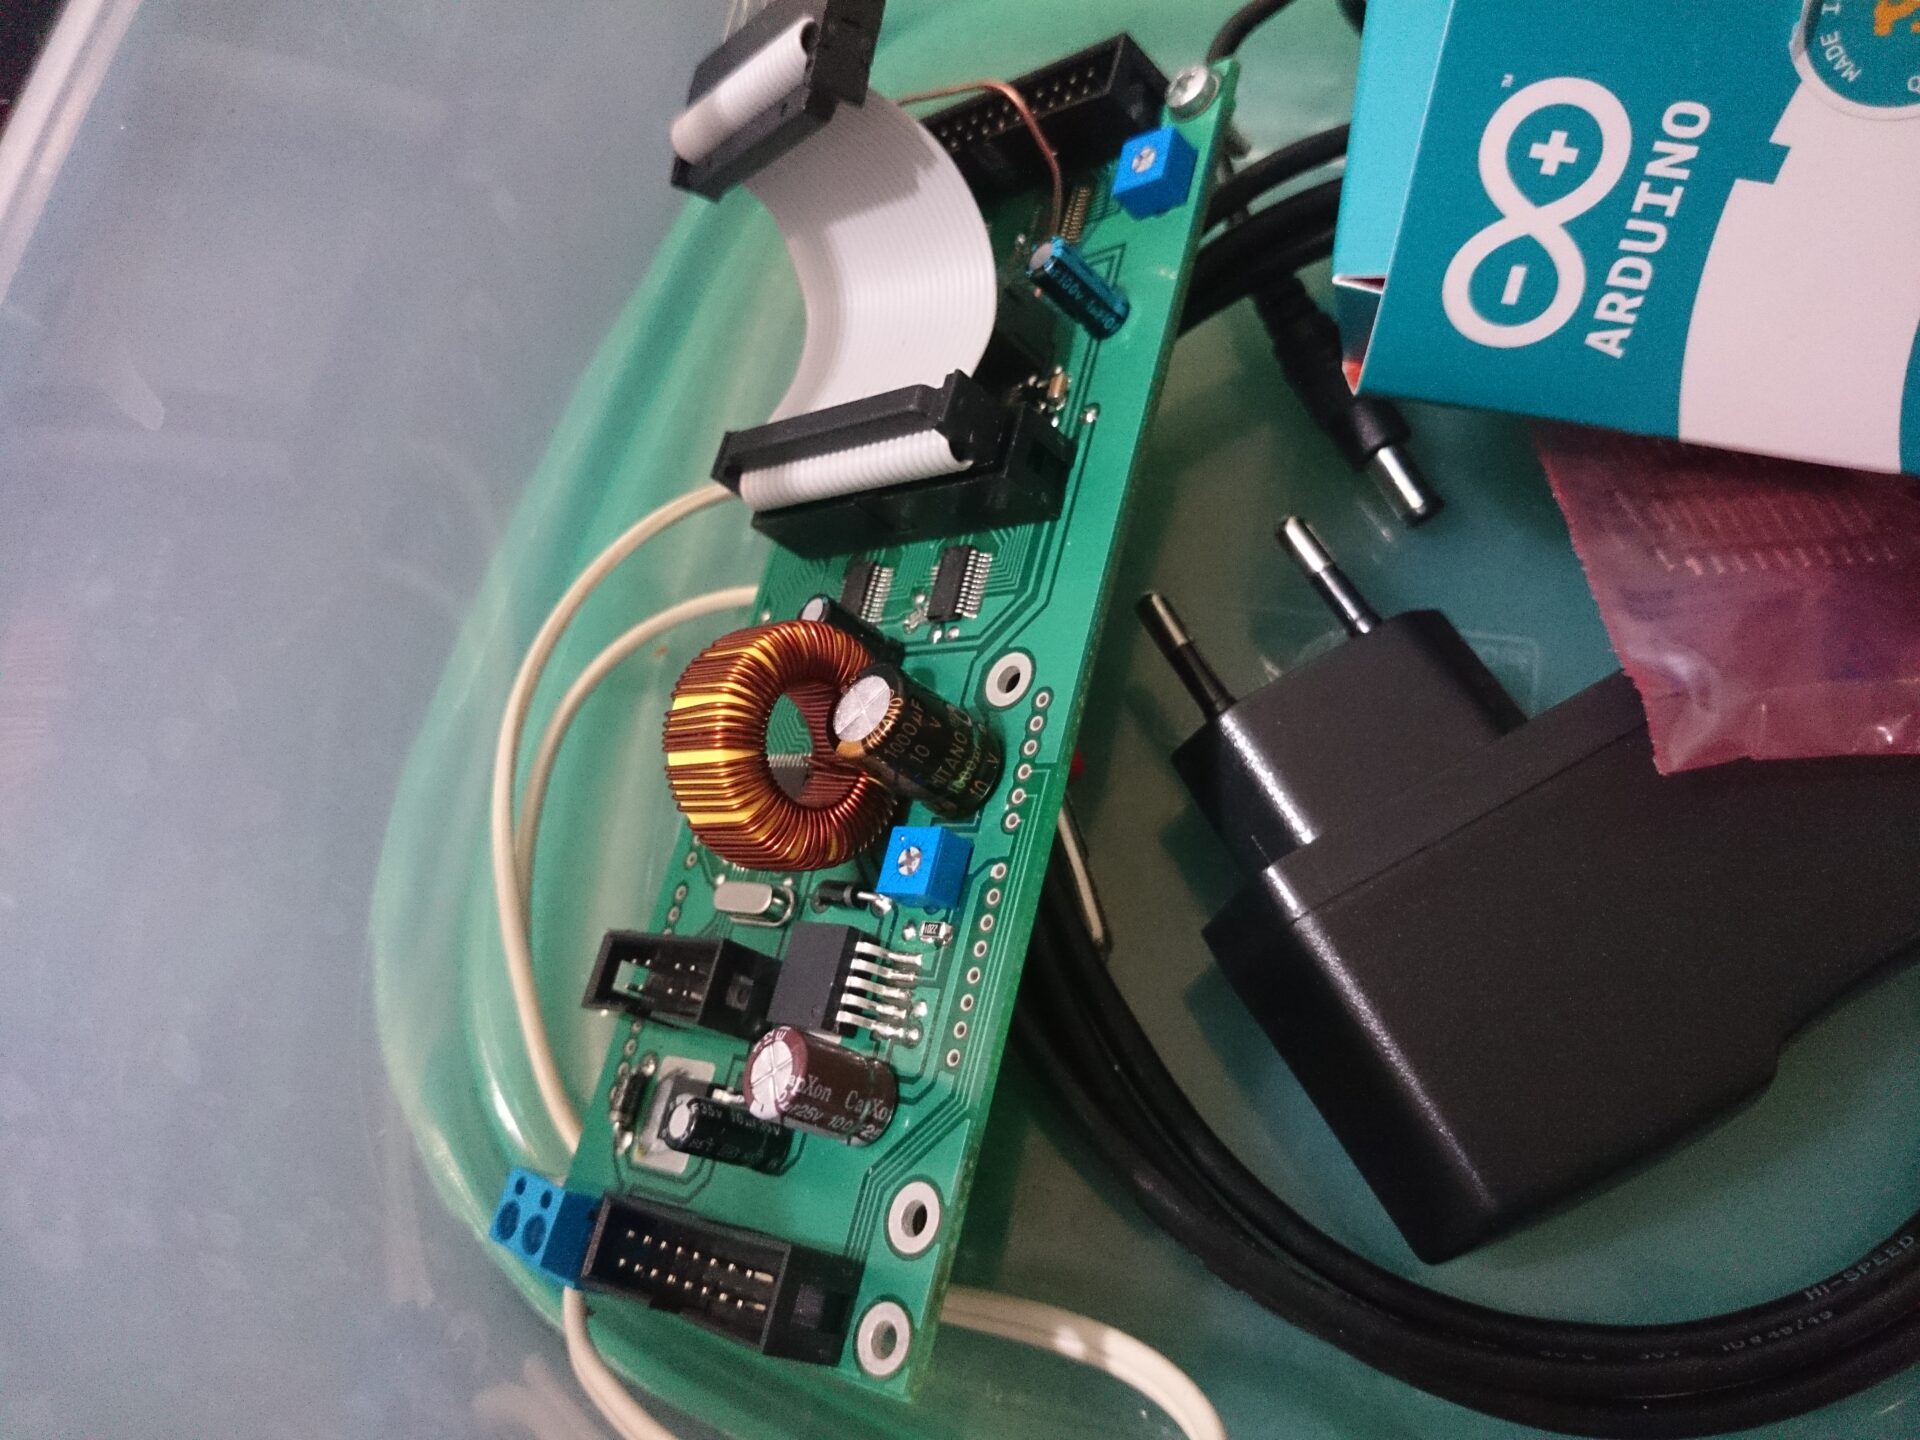
Meanwhile I could start work on the electronics. Again, I’ve outsourced the technical part of the work and hired a student of CVUT to help me create the technical solution and build it with me. For this purpose he’s created schematics and build a supporting GPU which would serve as translator between the Arduino board and all the LED lights.
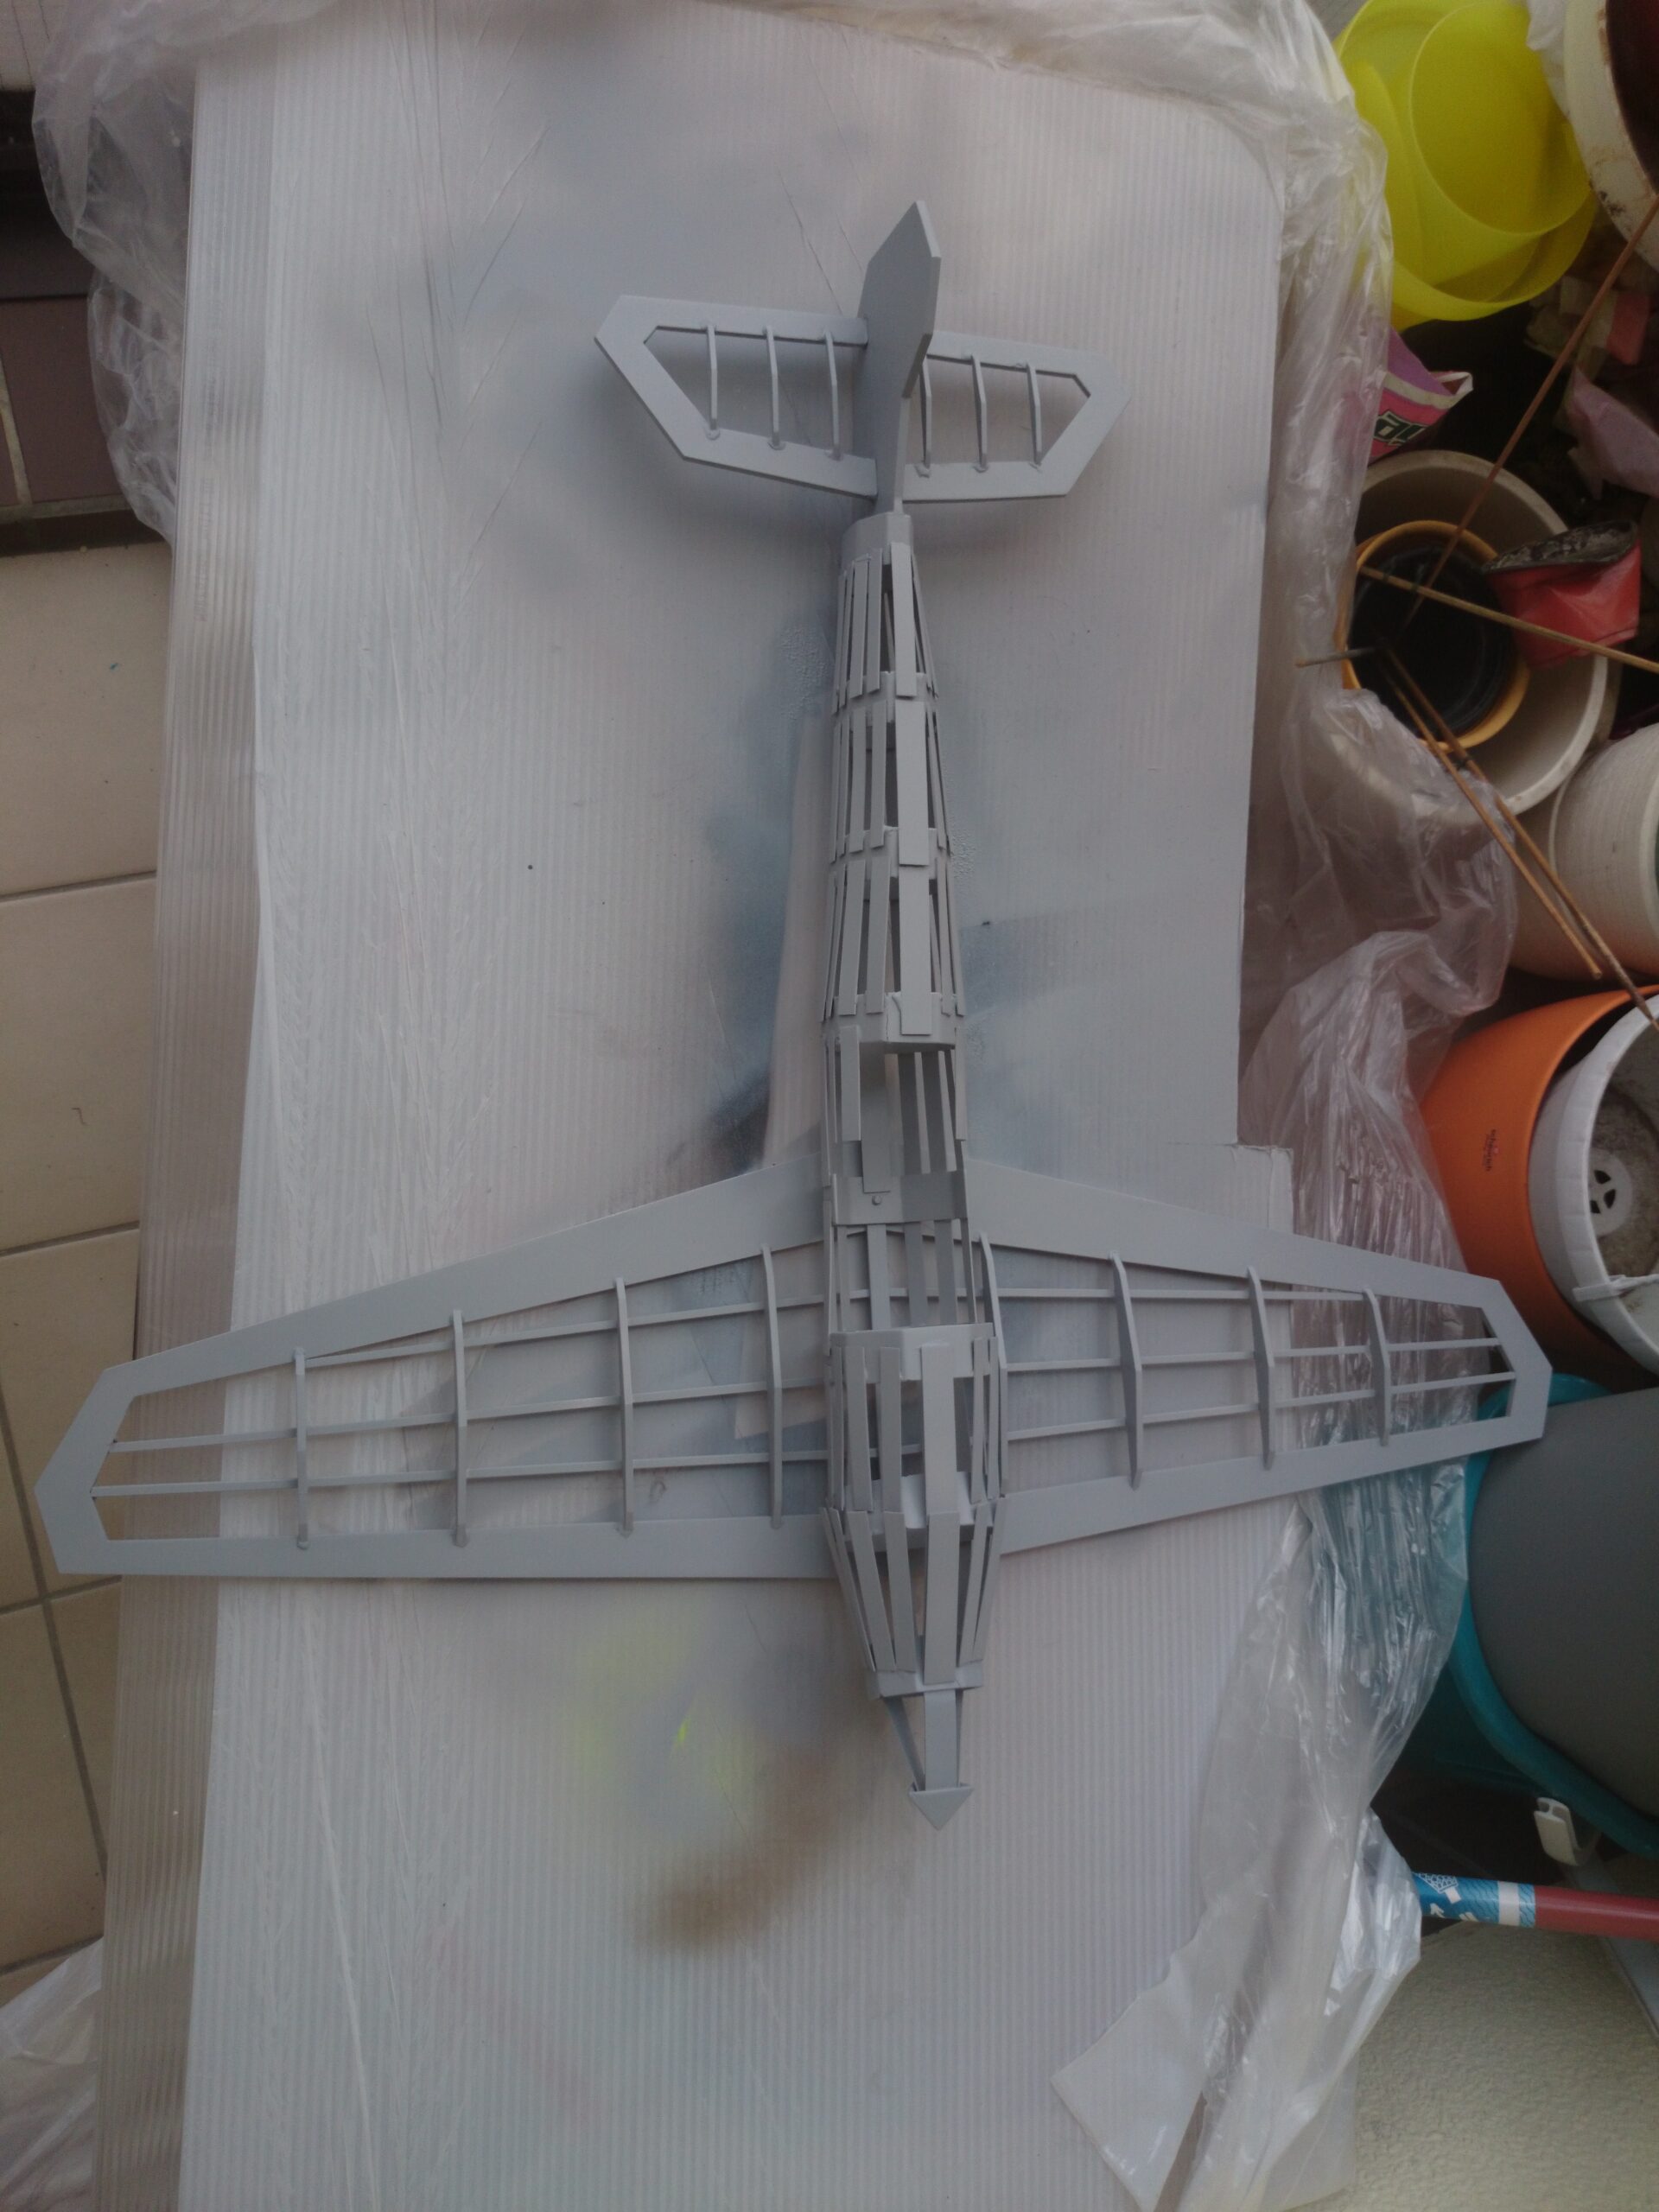
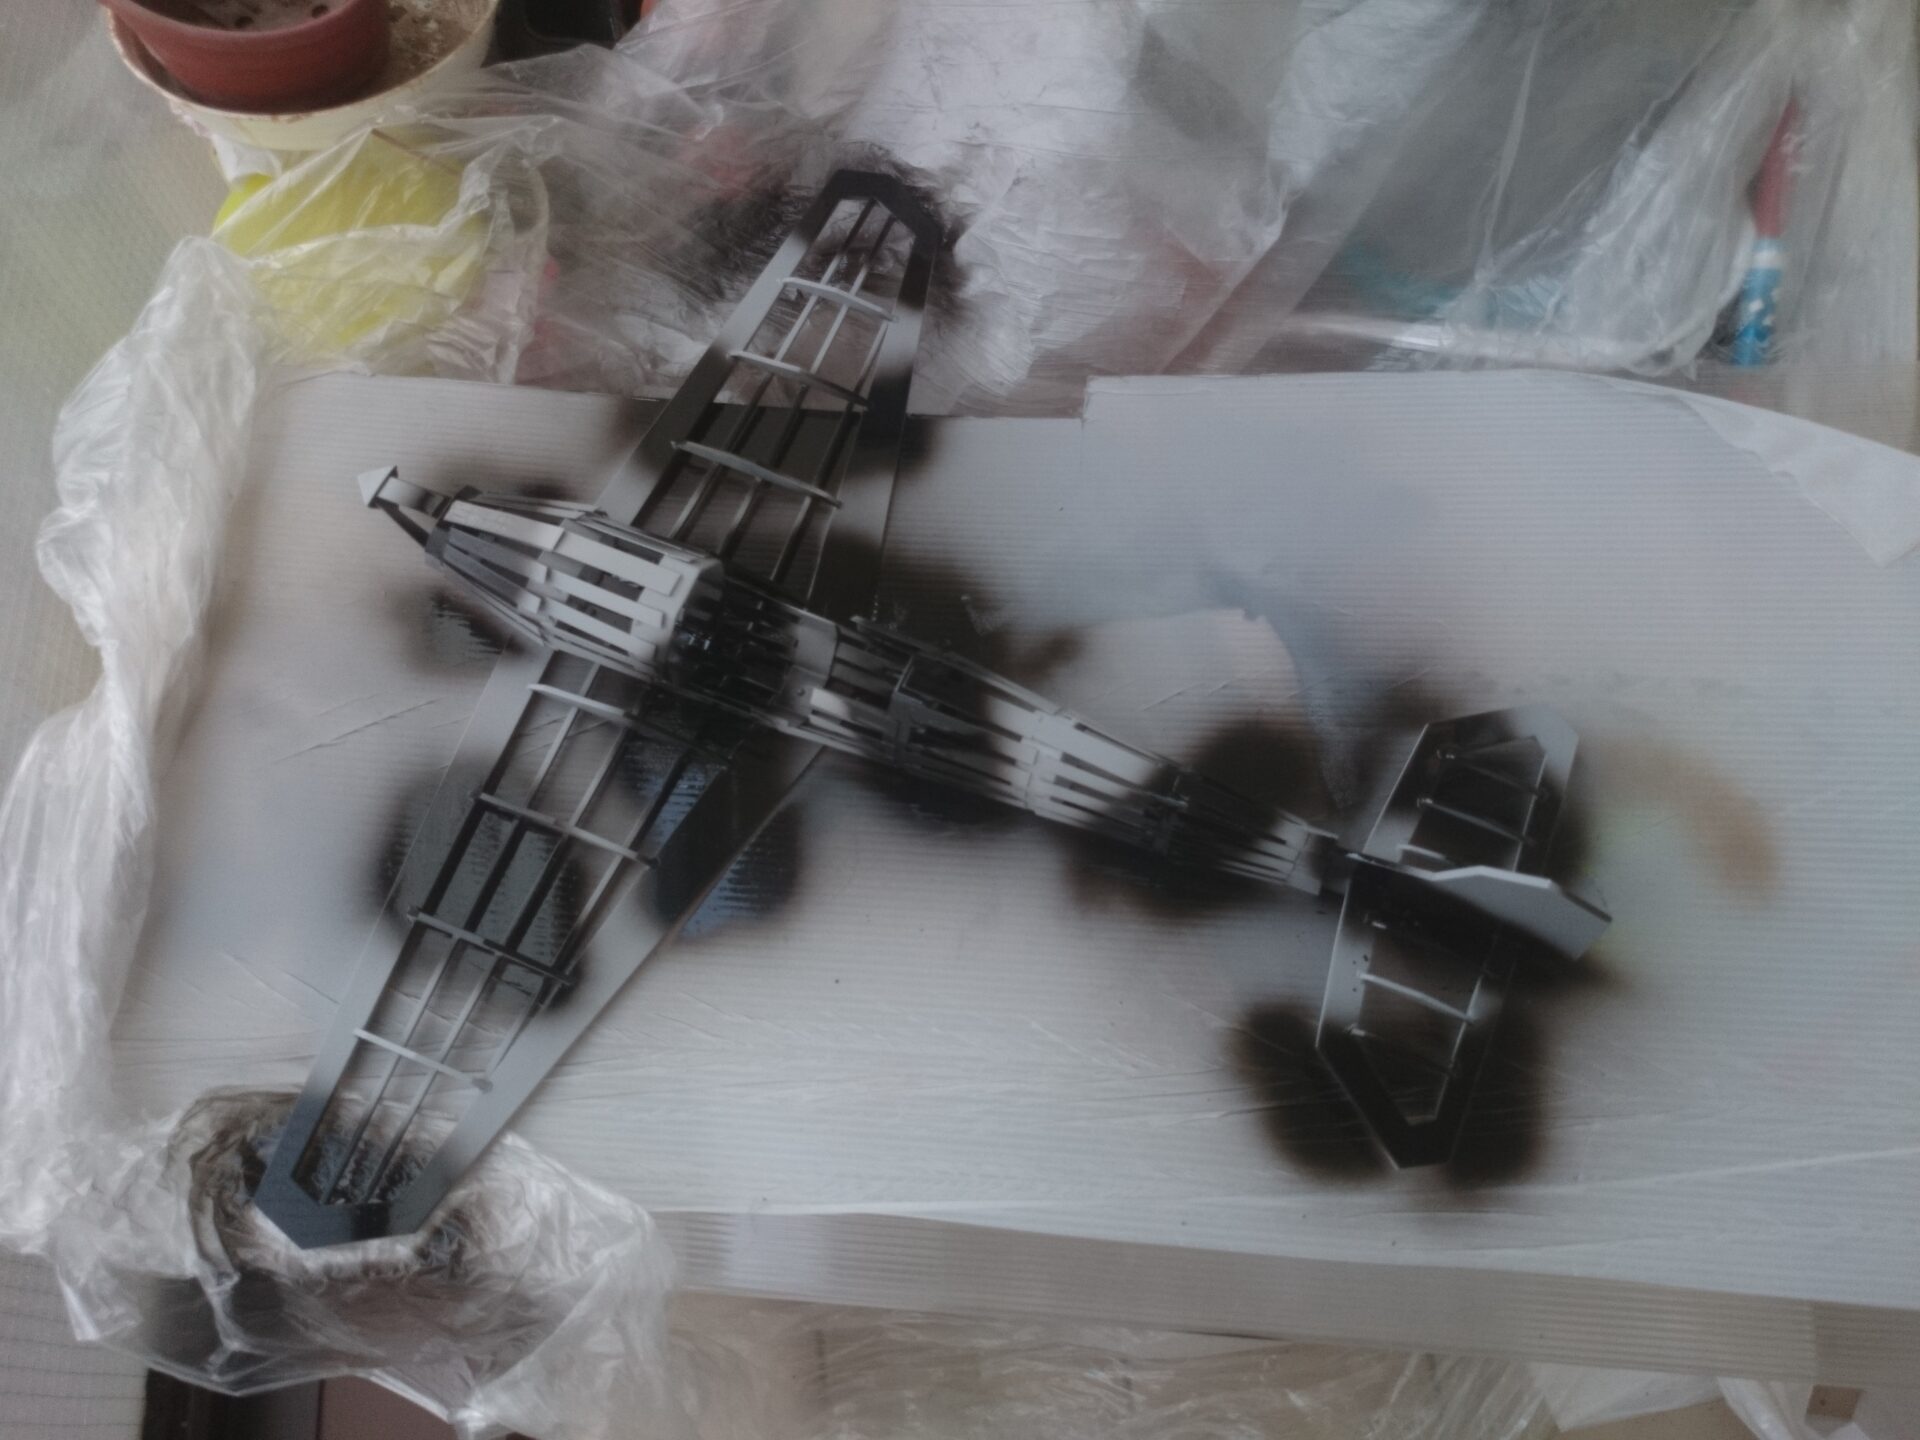
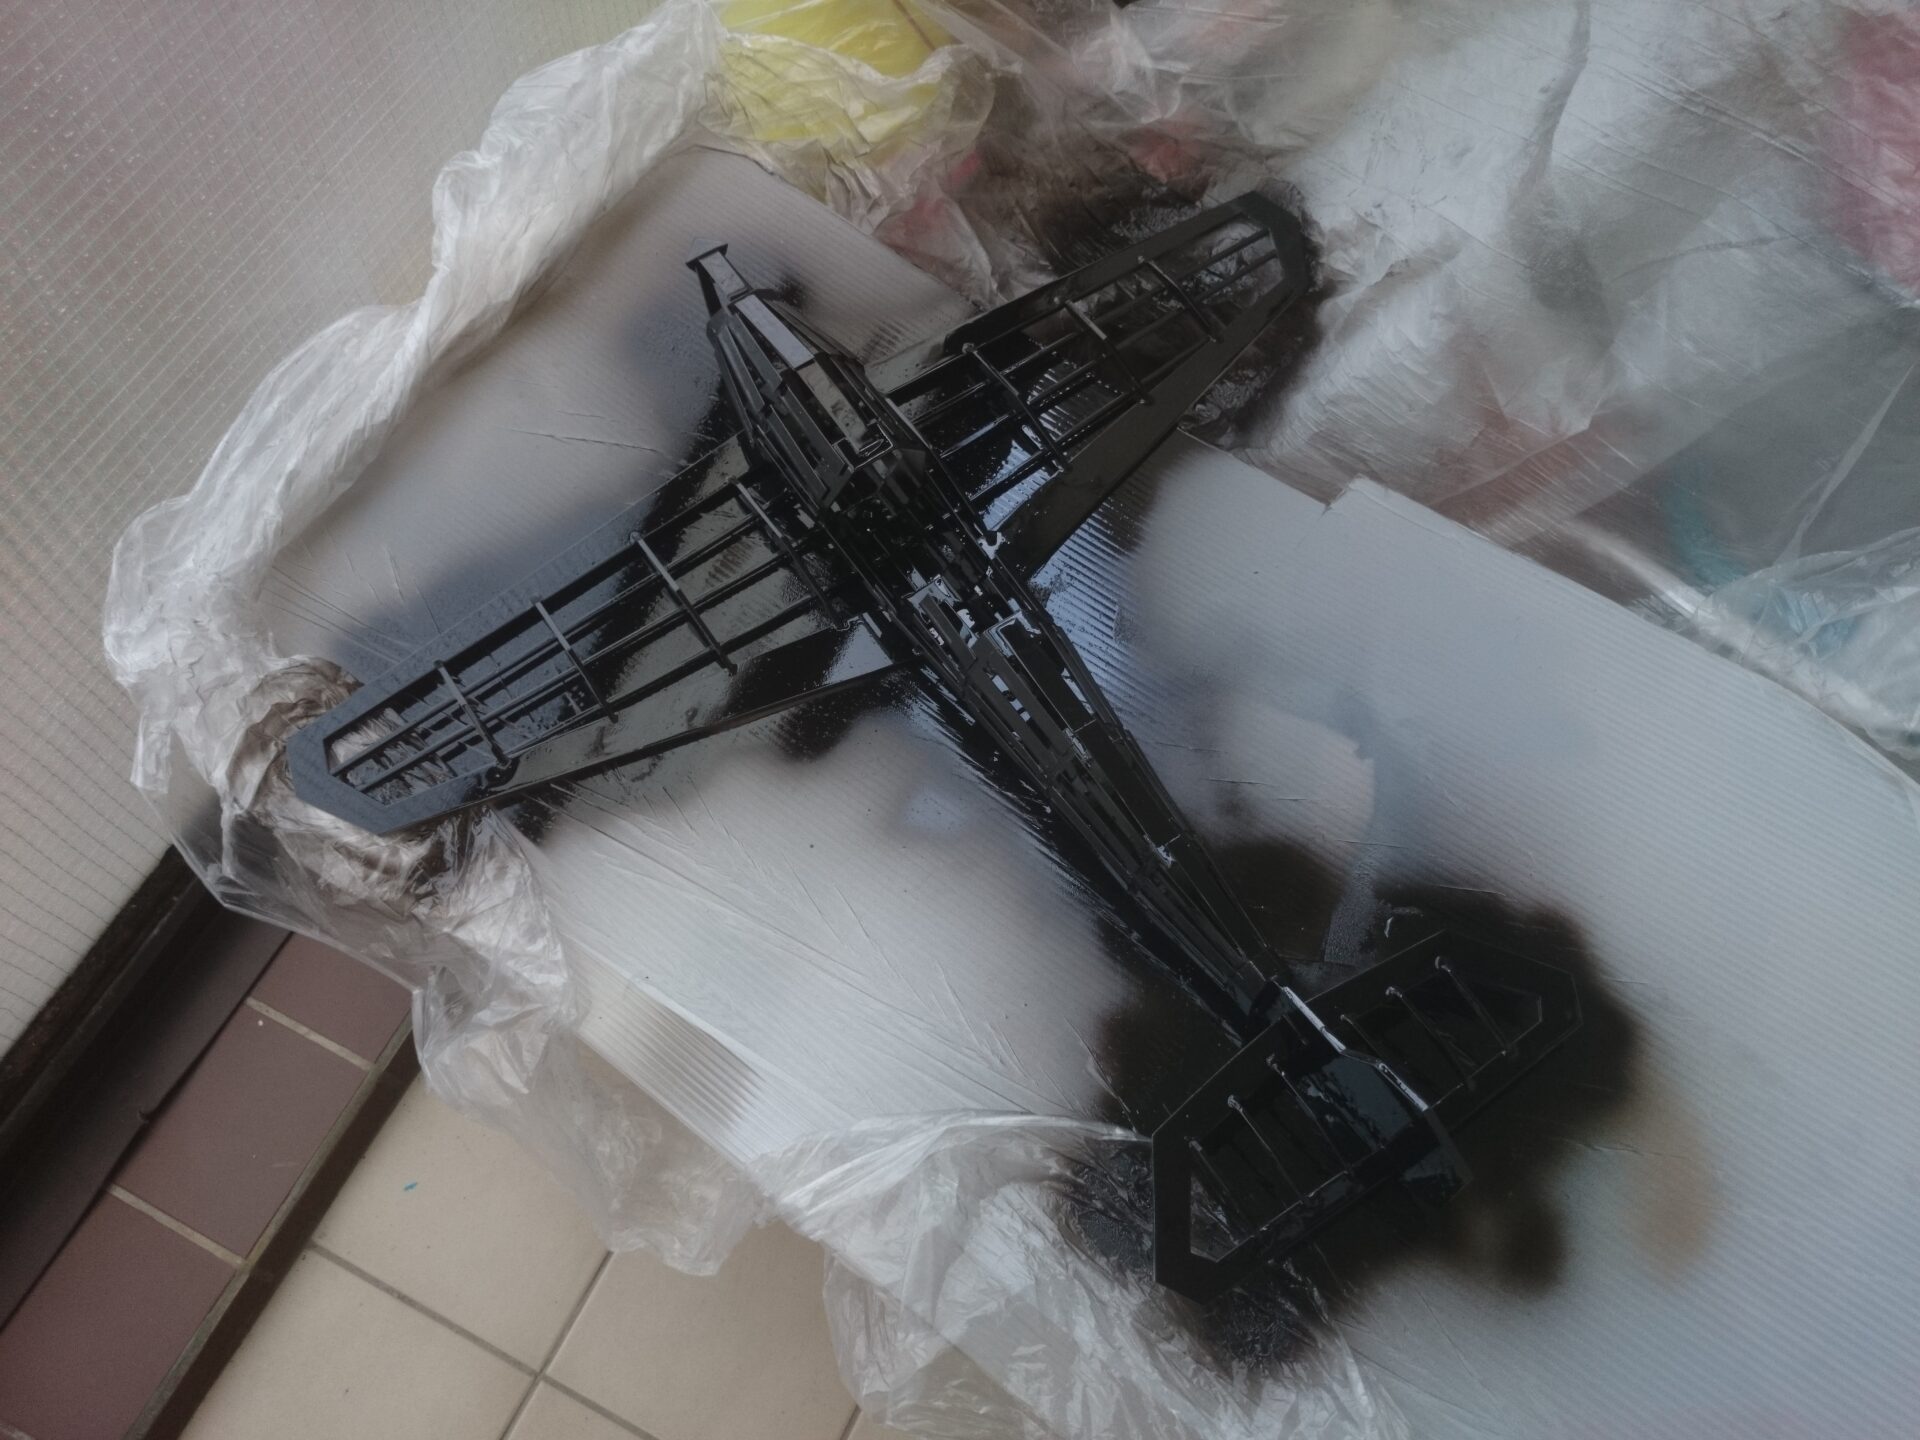
After the model has been built it was still time to finalize the surface with shiny black coat of paint. (Translate as I experimented with spraying. Learn from my mistakes, never do it inside your living room. I have cleaned the thin layer of aerosol from everywhere for months after. Even below the couch!)
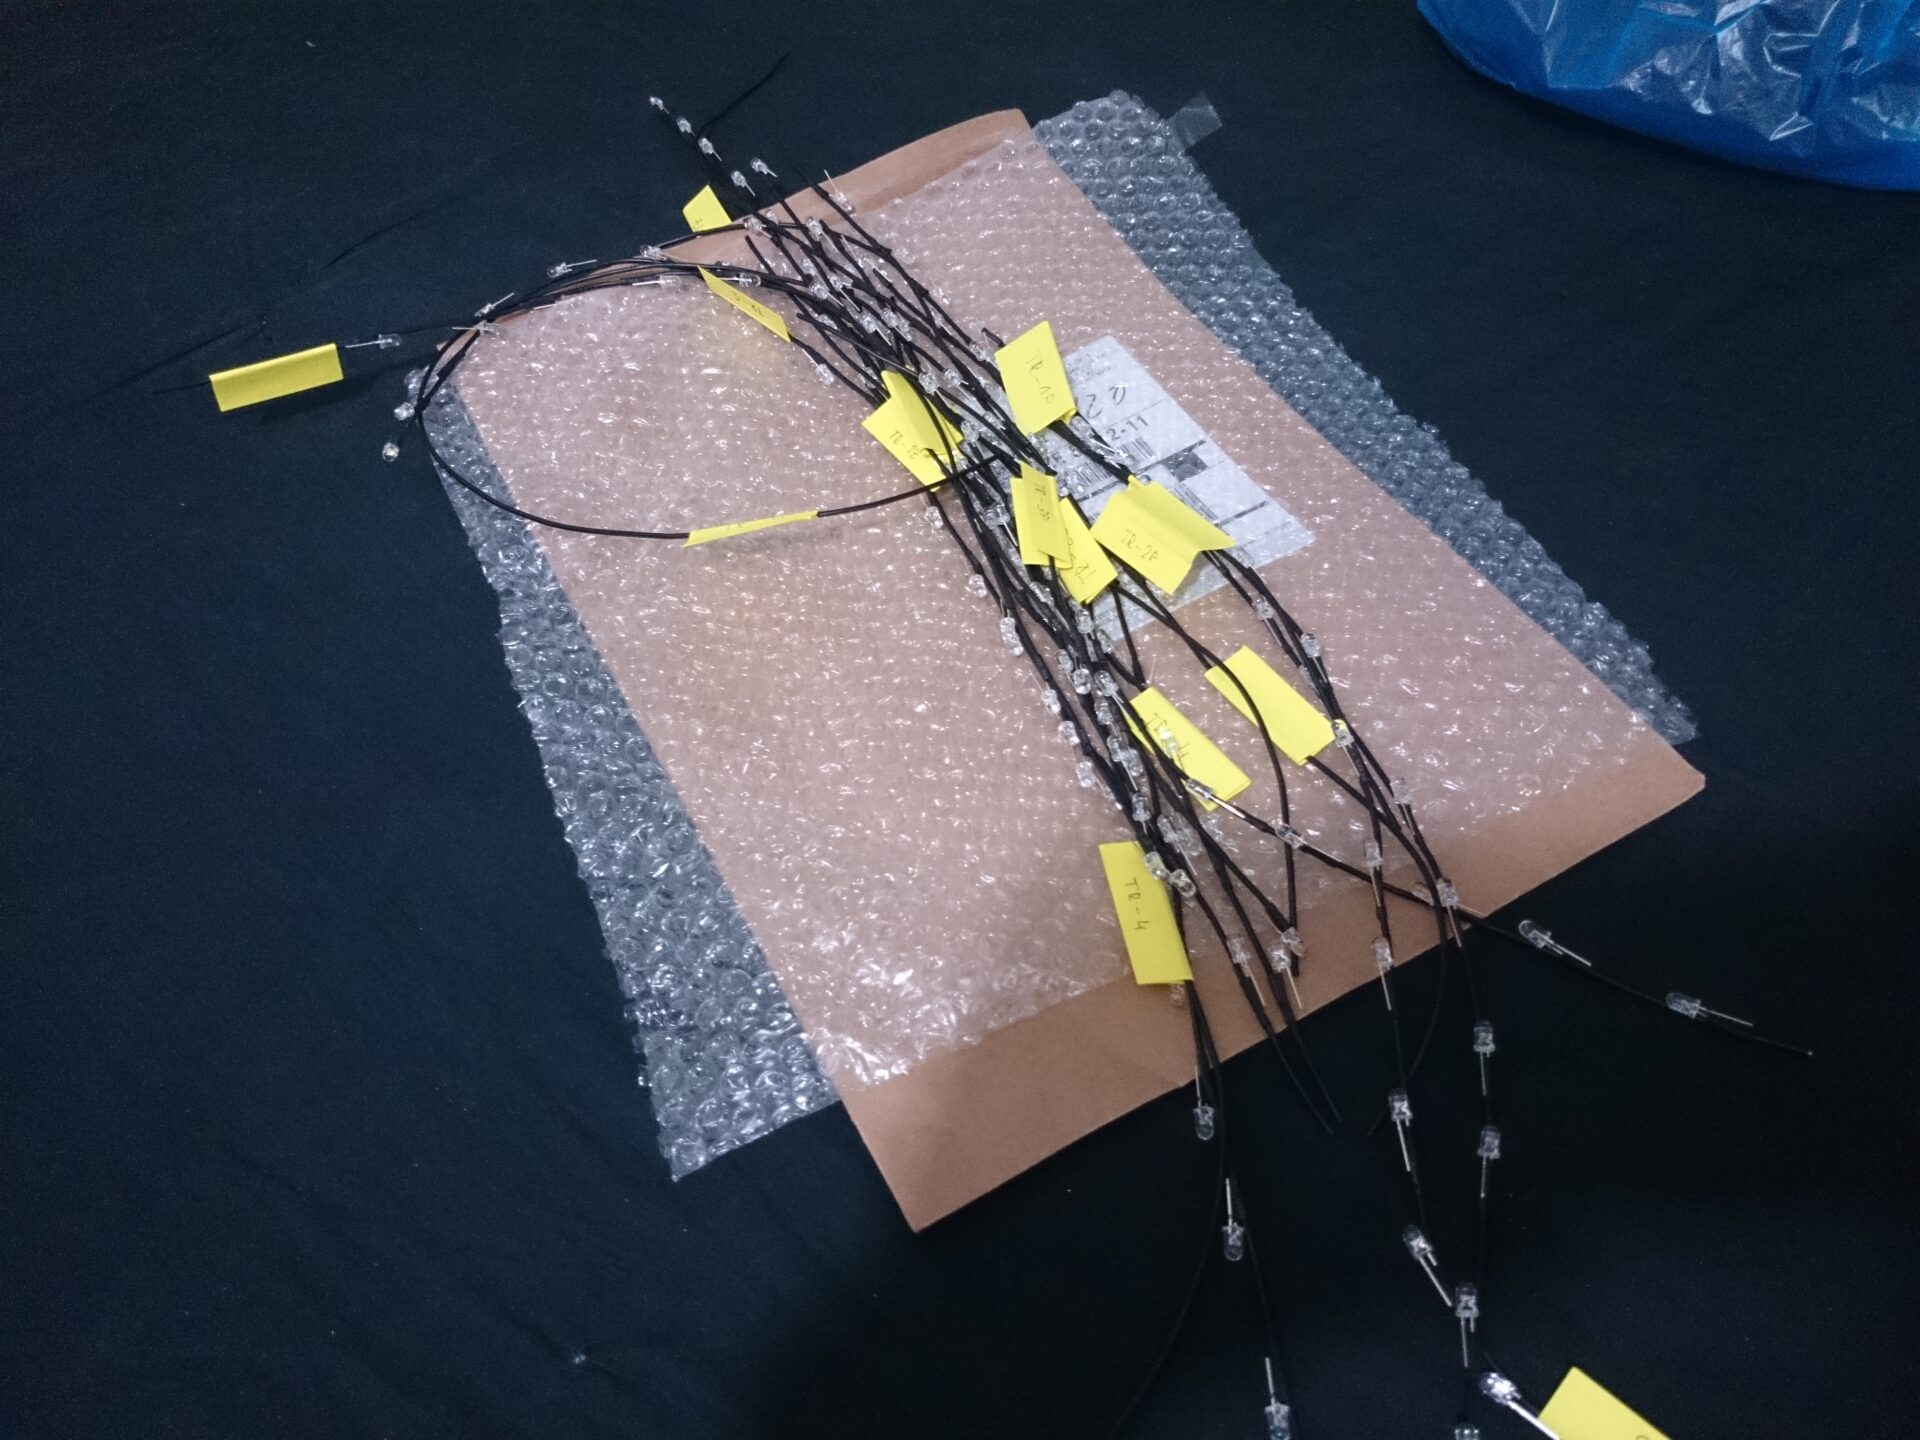
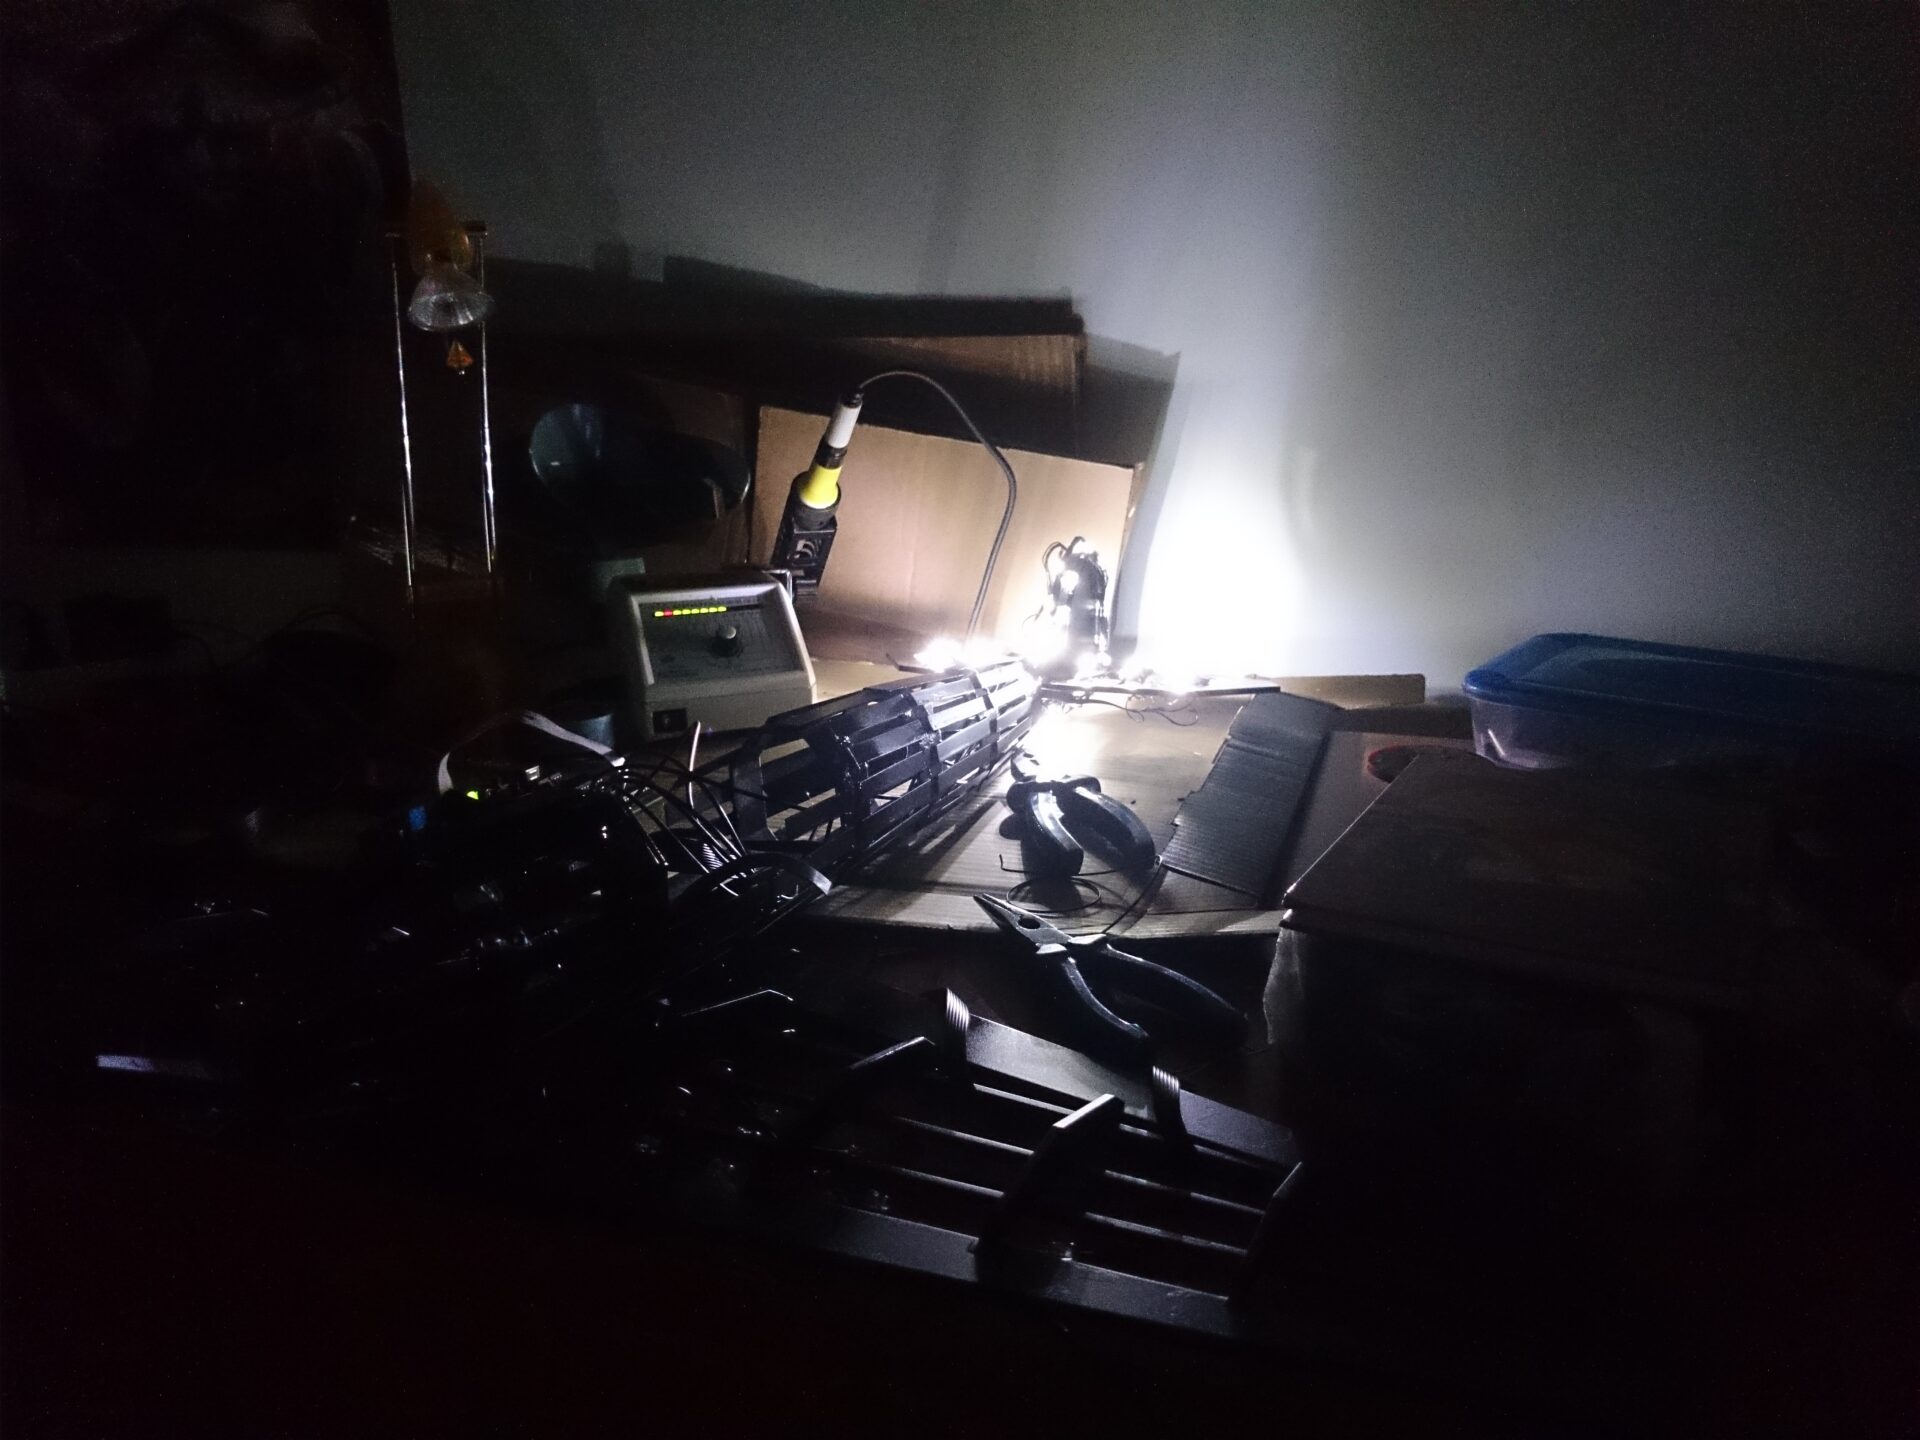
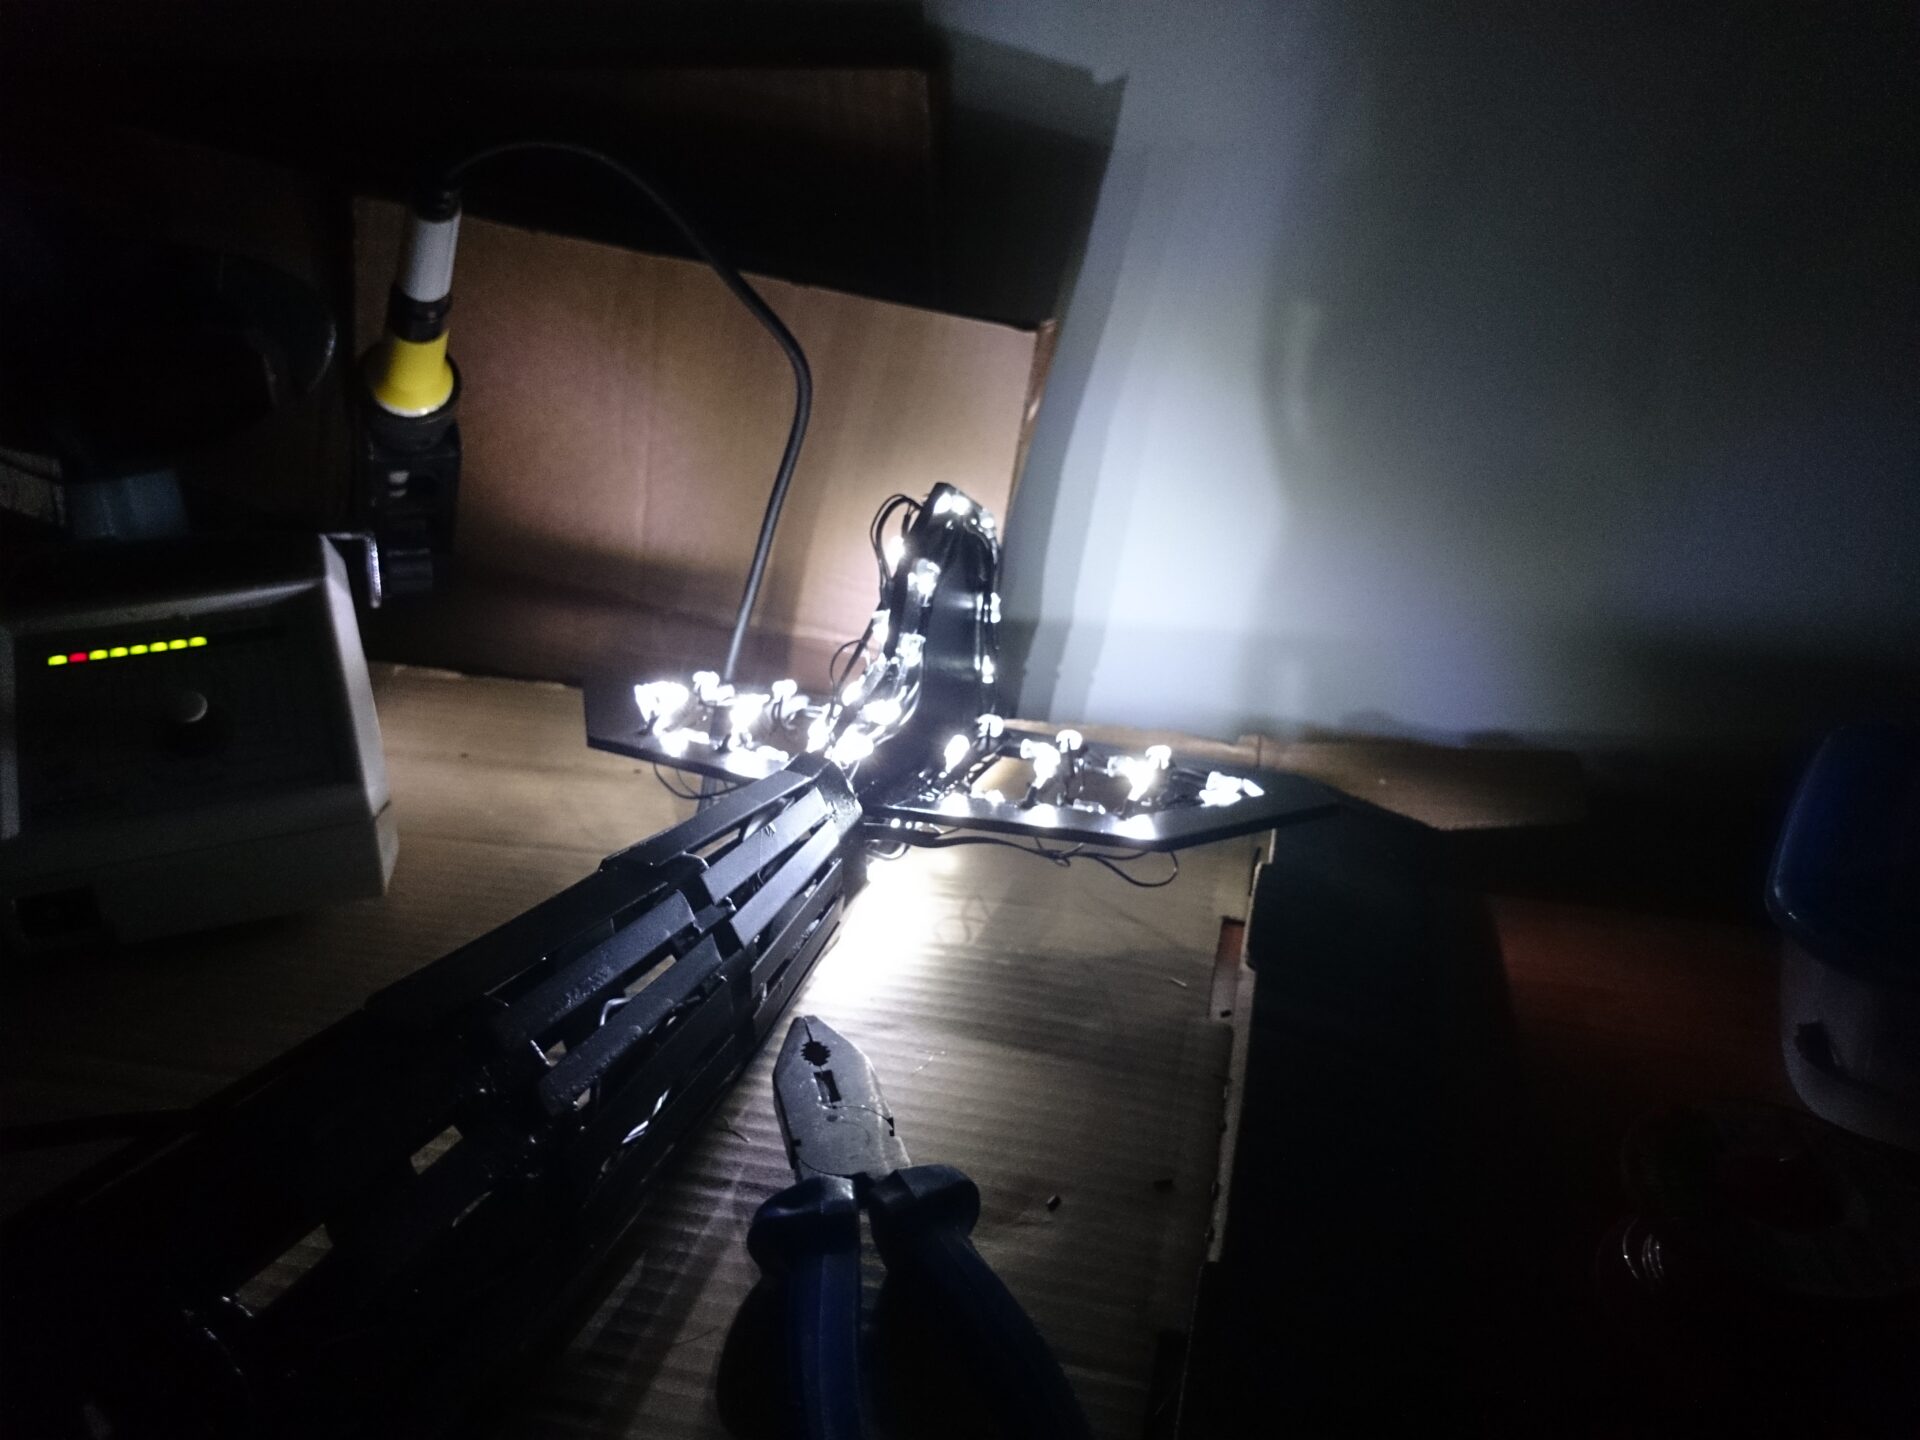
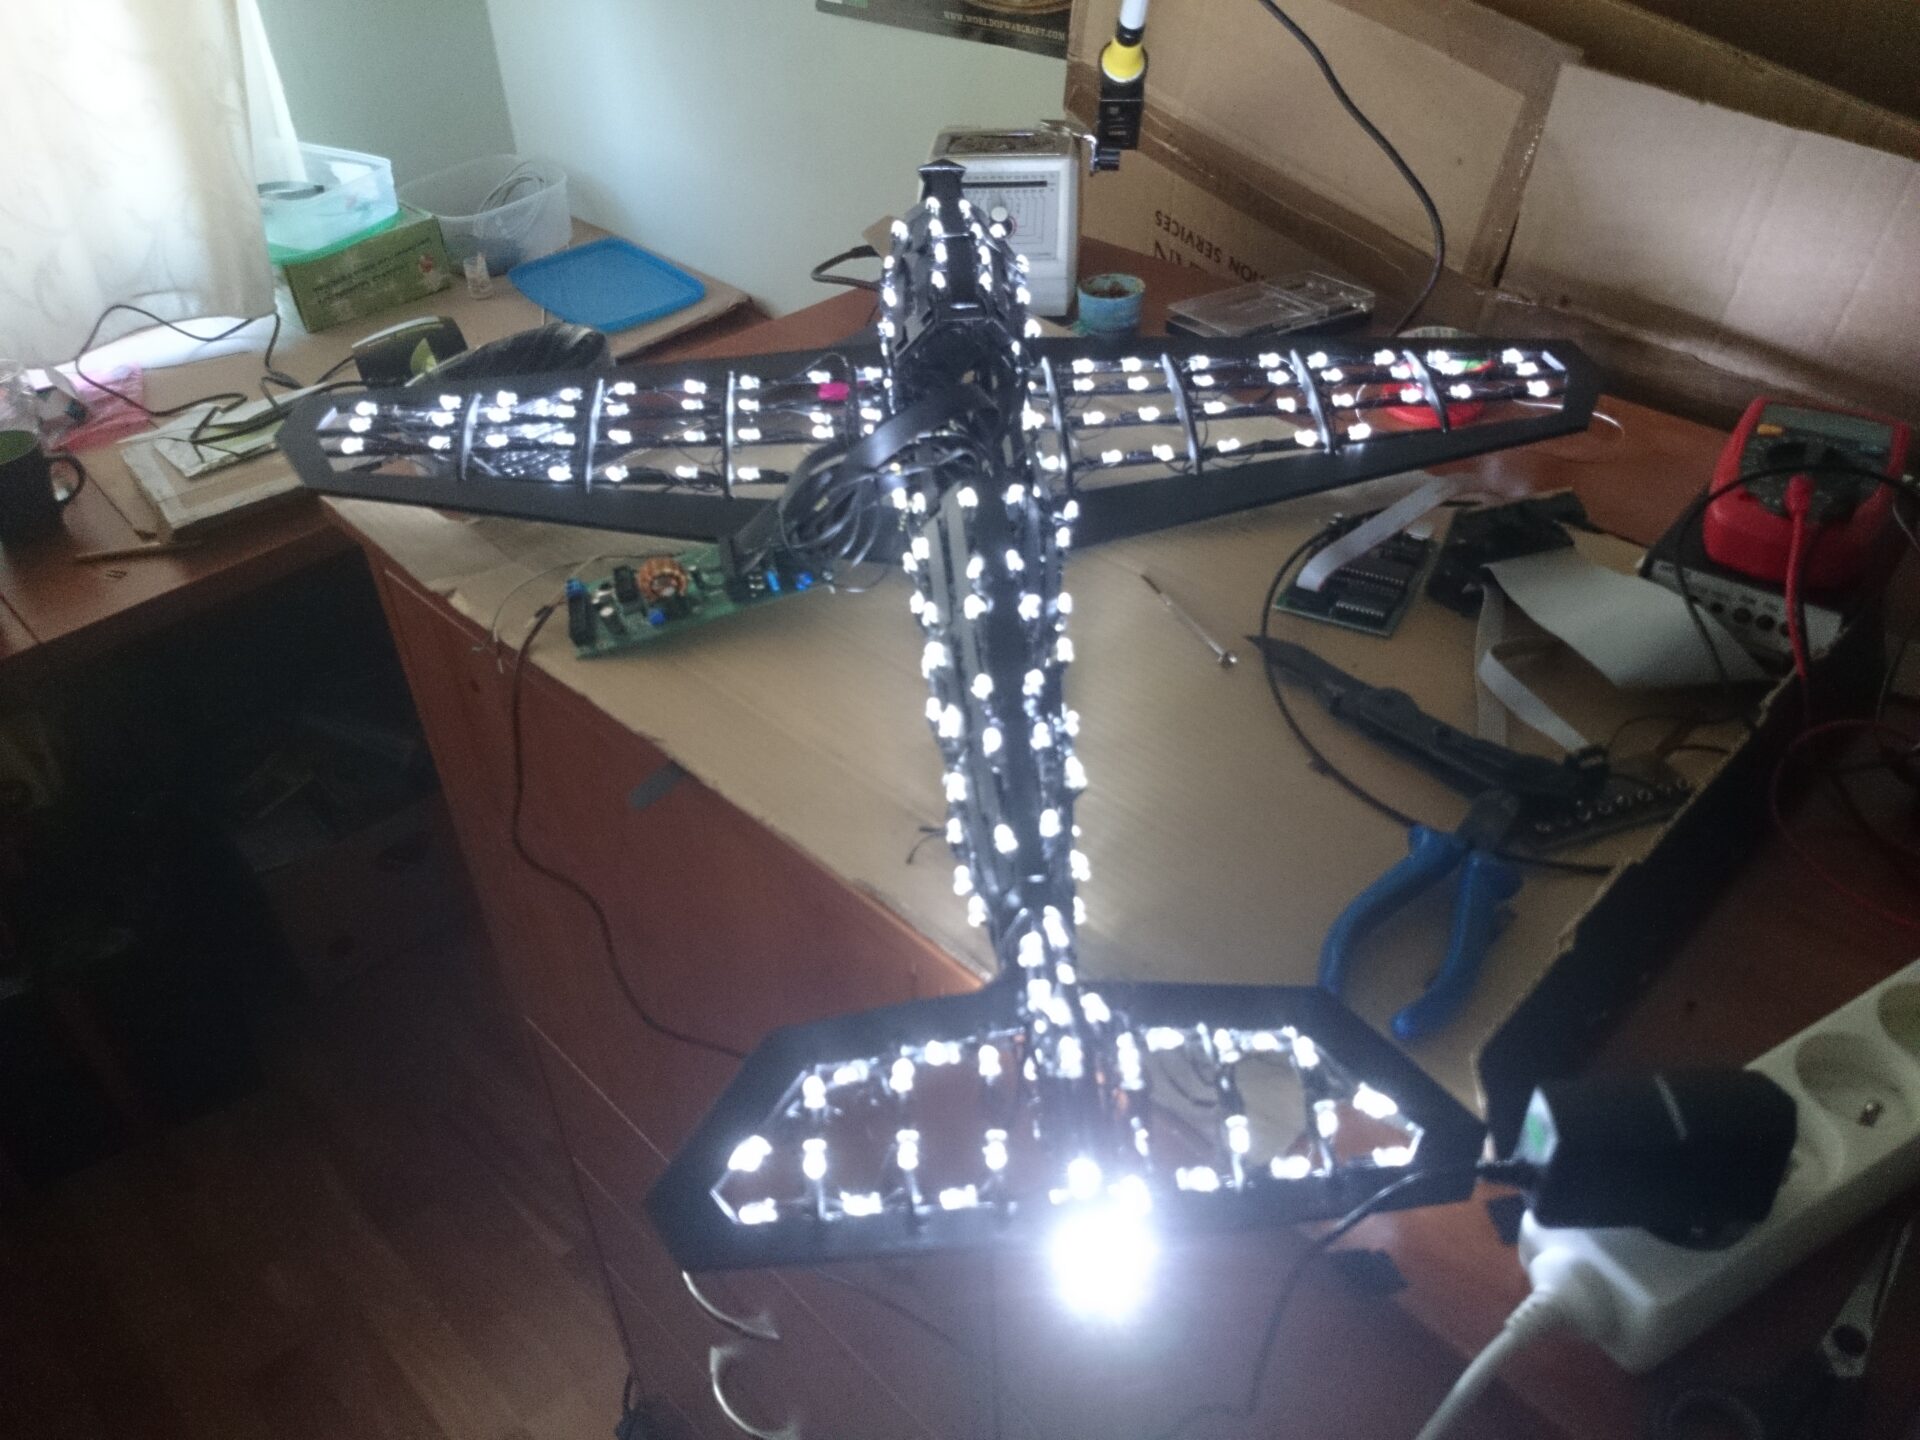
After ordering more than 20 different samples of LEDs, I picked one type that worked the best for the purpose and we’ve started to build the LED strips that would be later mounted/glued onto the skeleton of the plane.
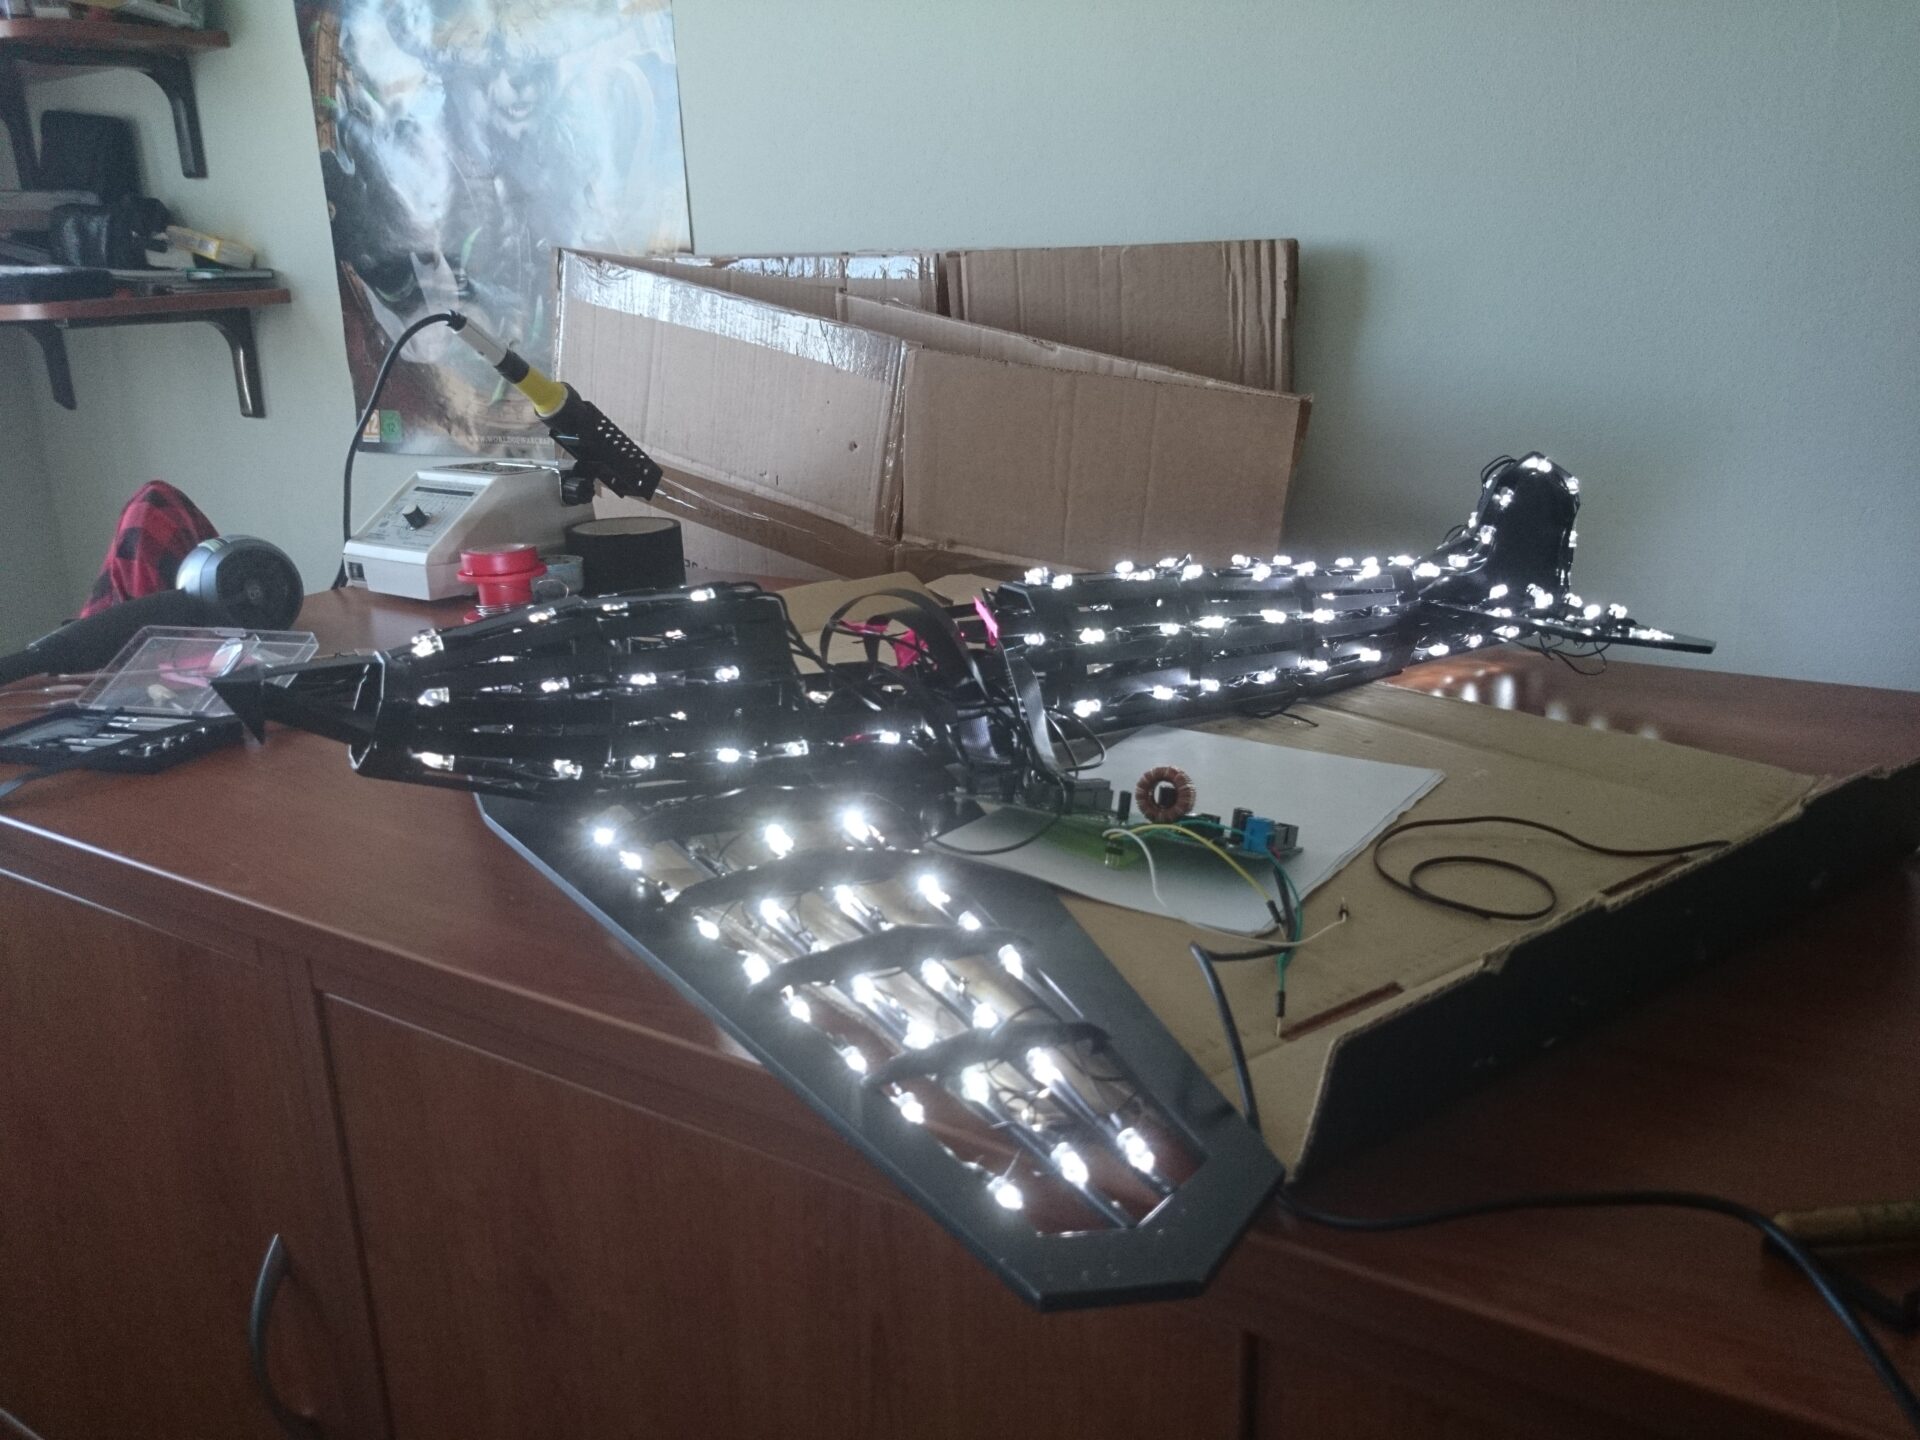
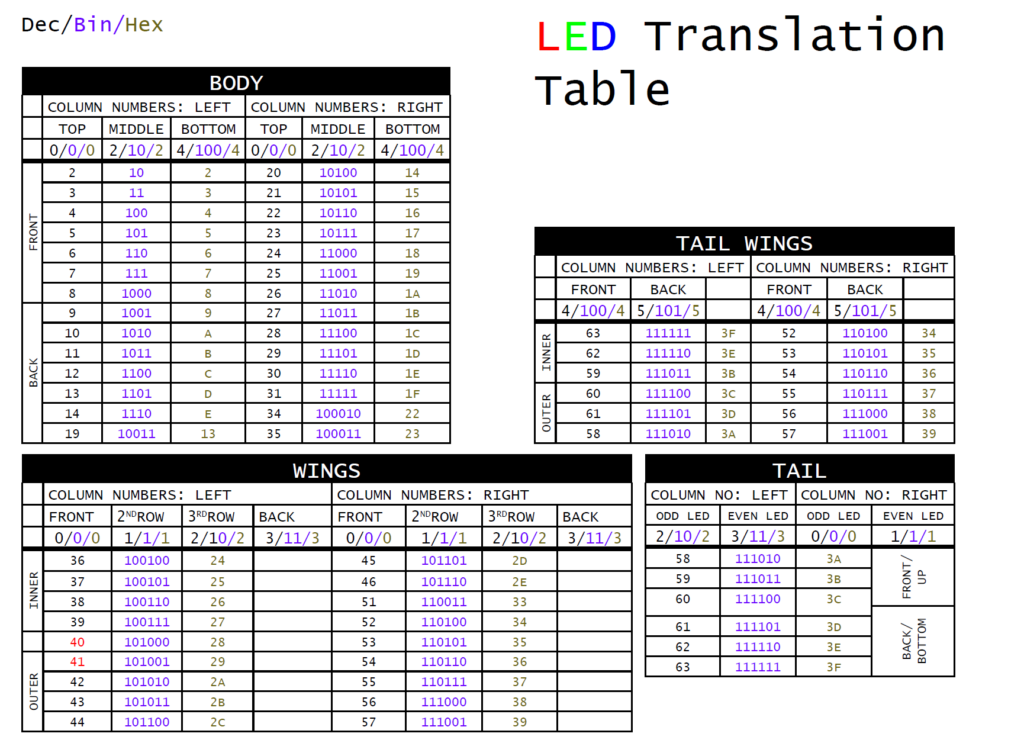
At the end all LEDs were mounted and mapped into table designating their position for programming.
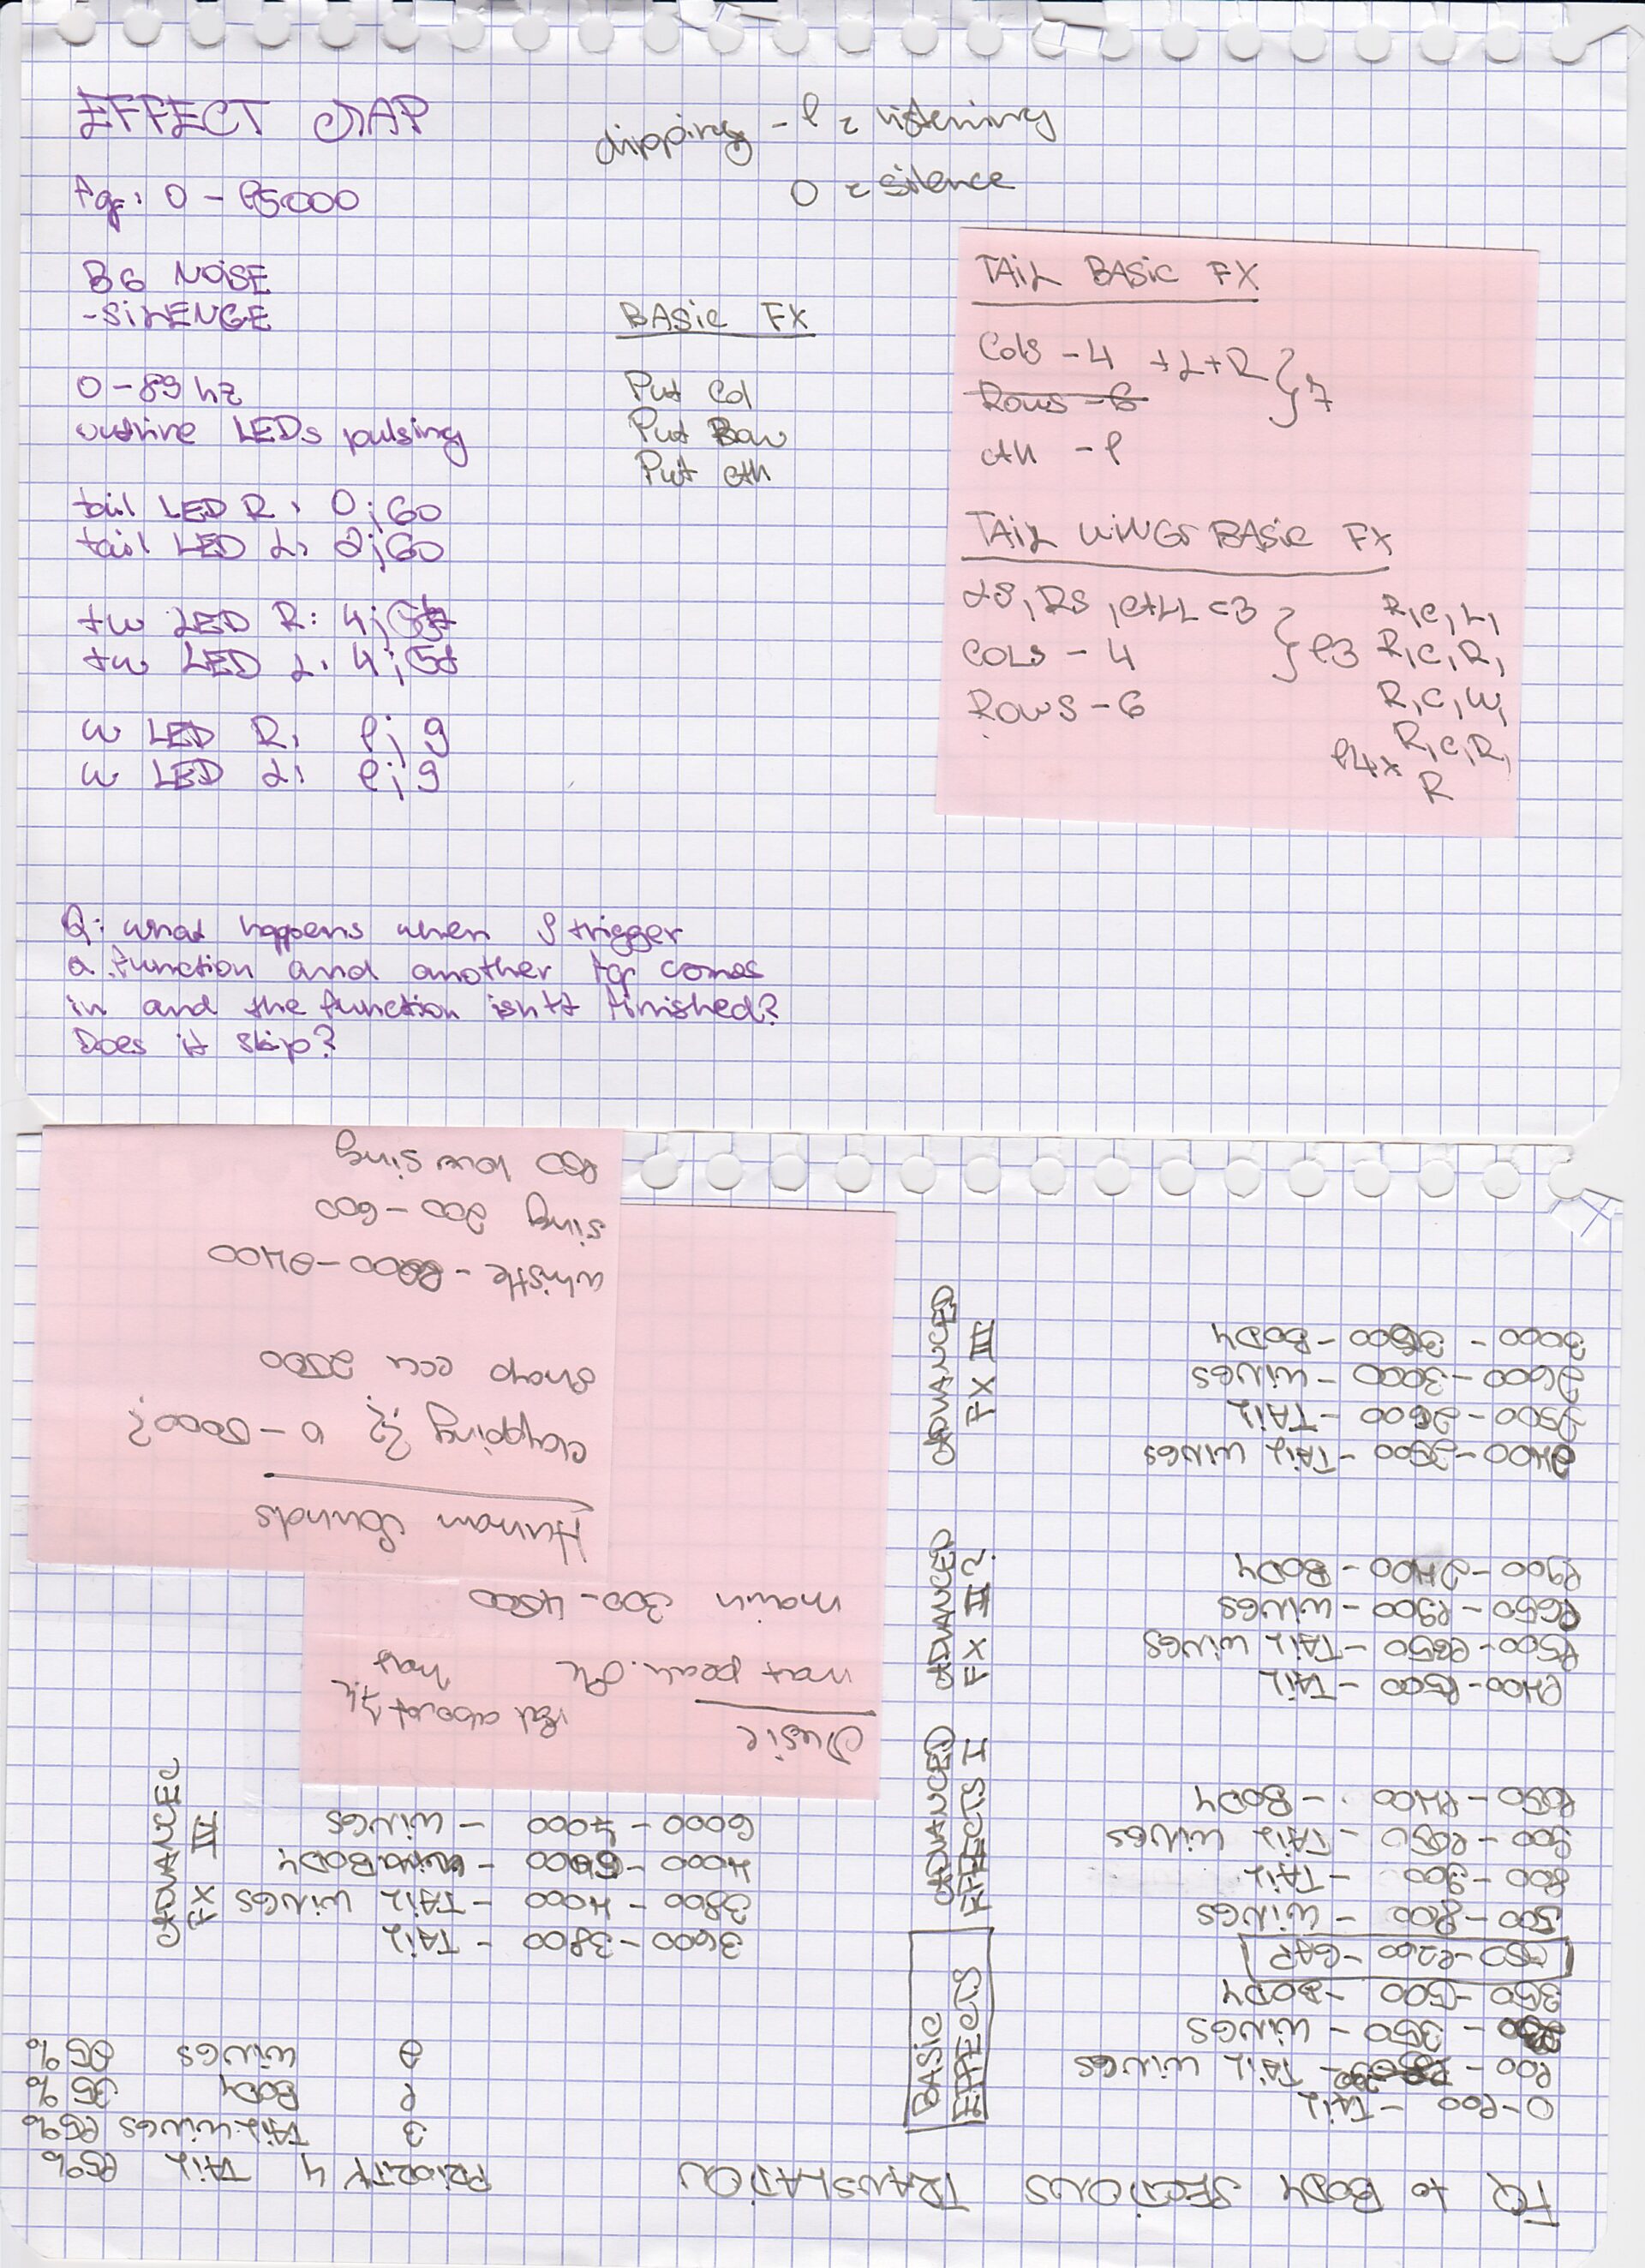
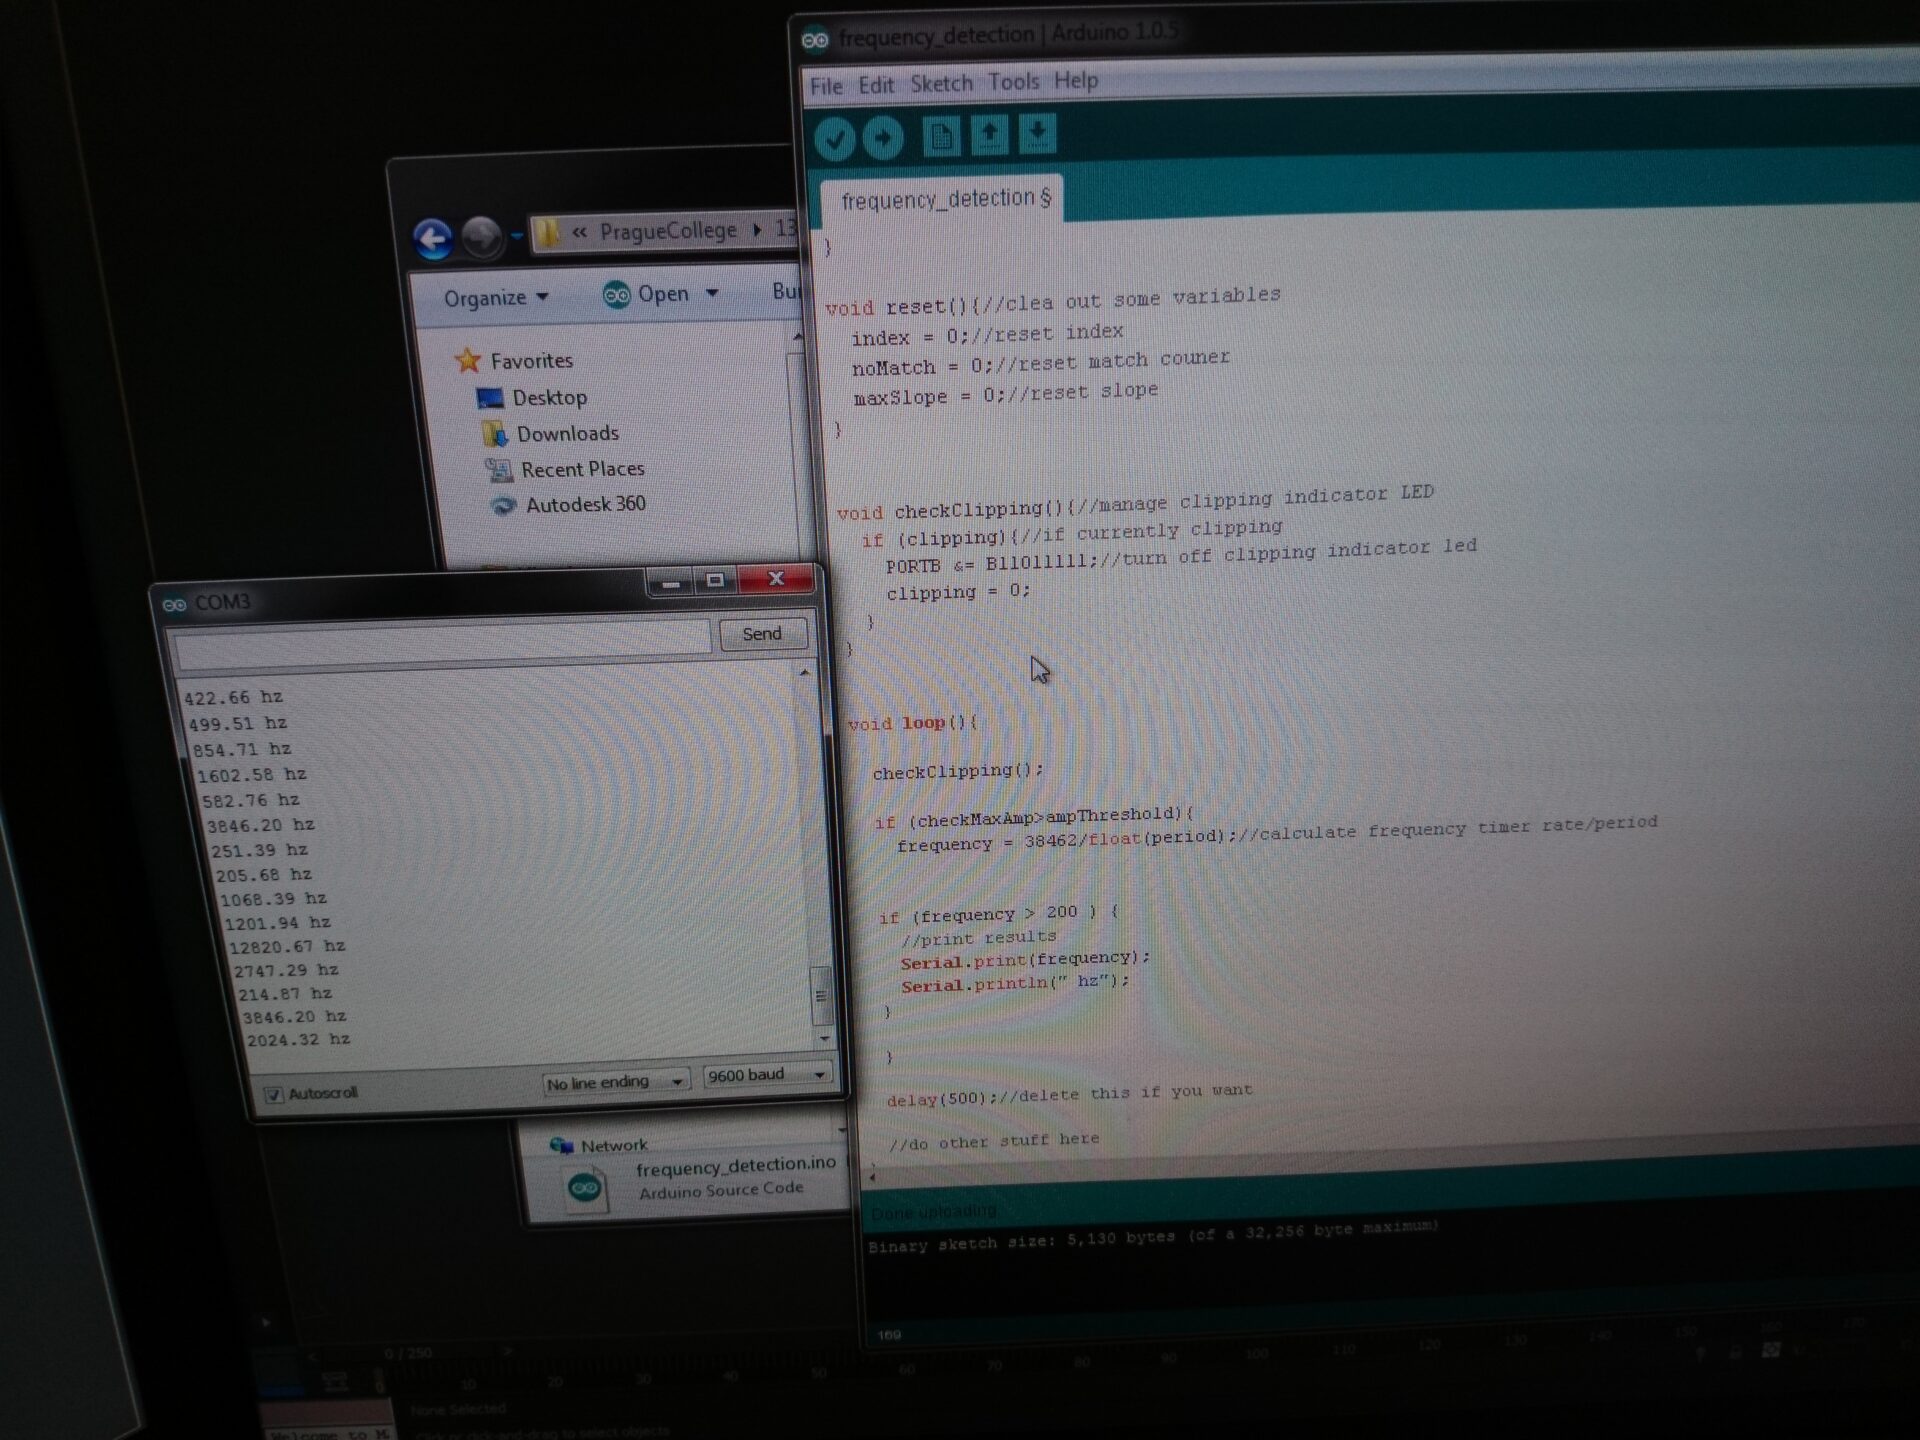
Beginning of the Arduino programming .
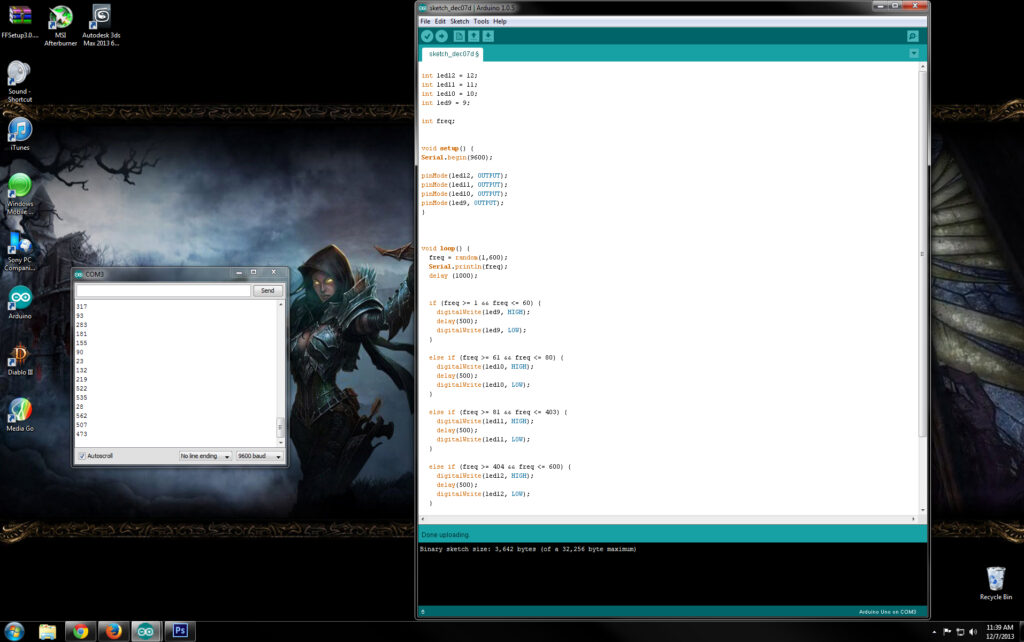
Time to take it for a test drive!
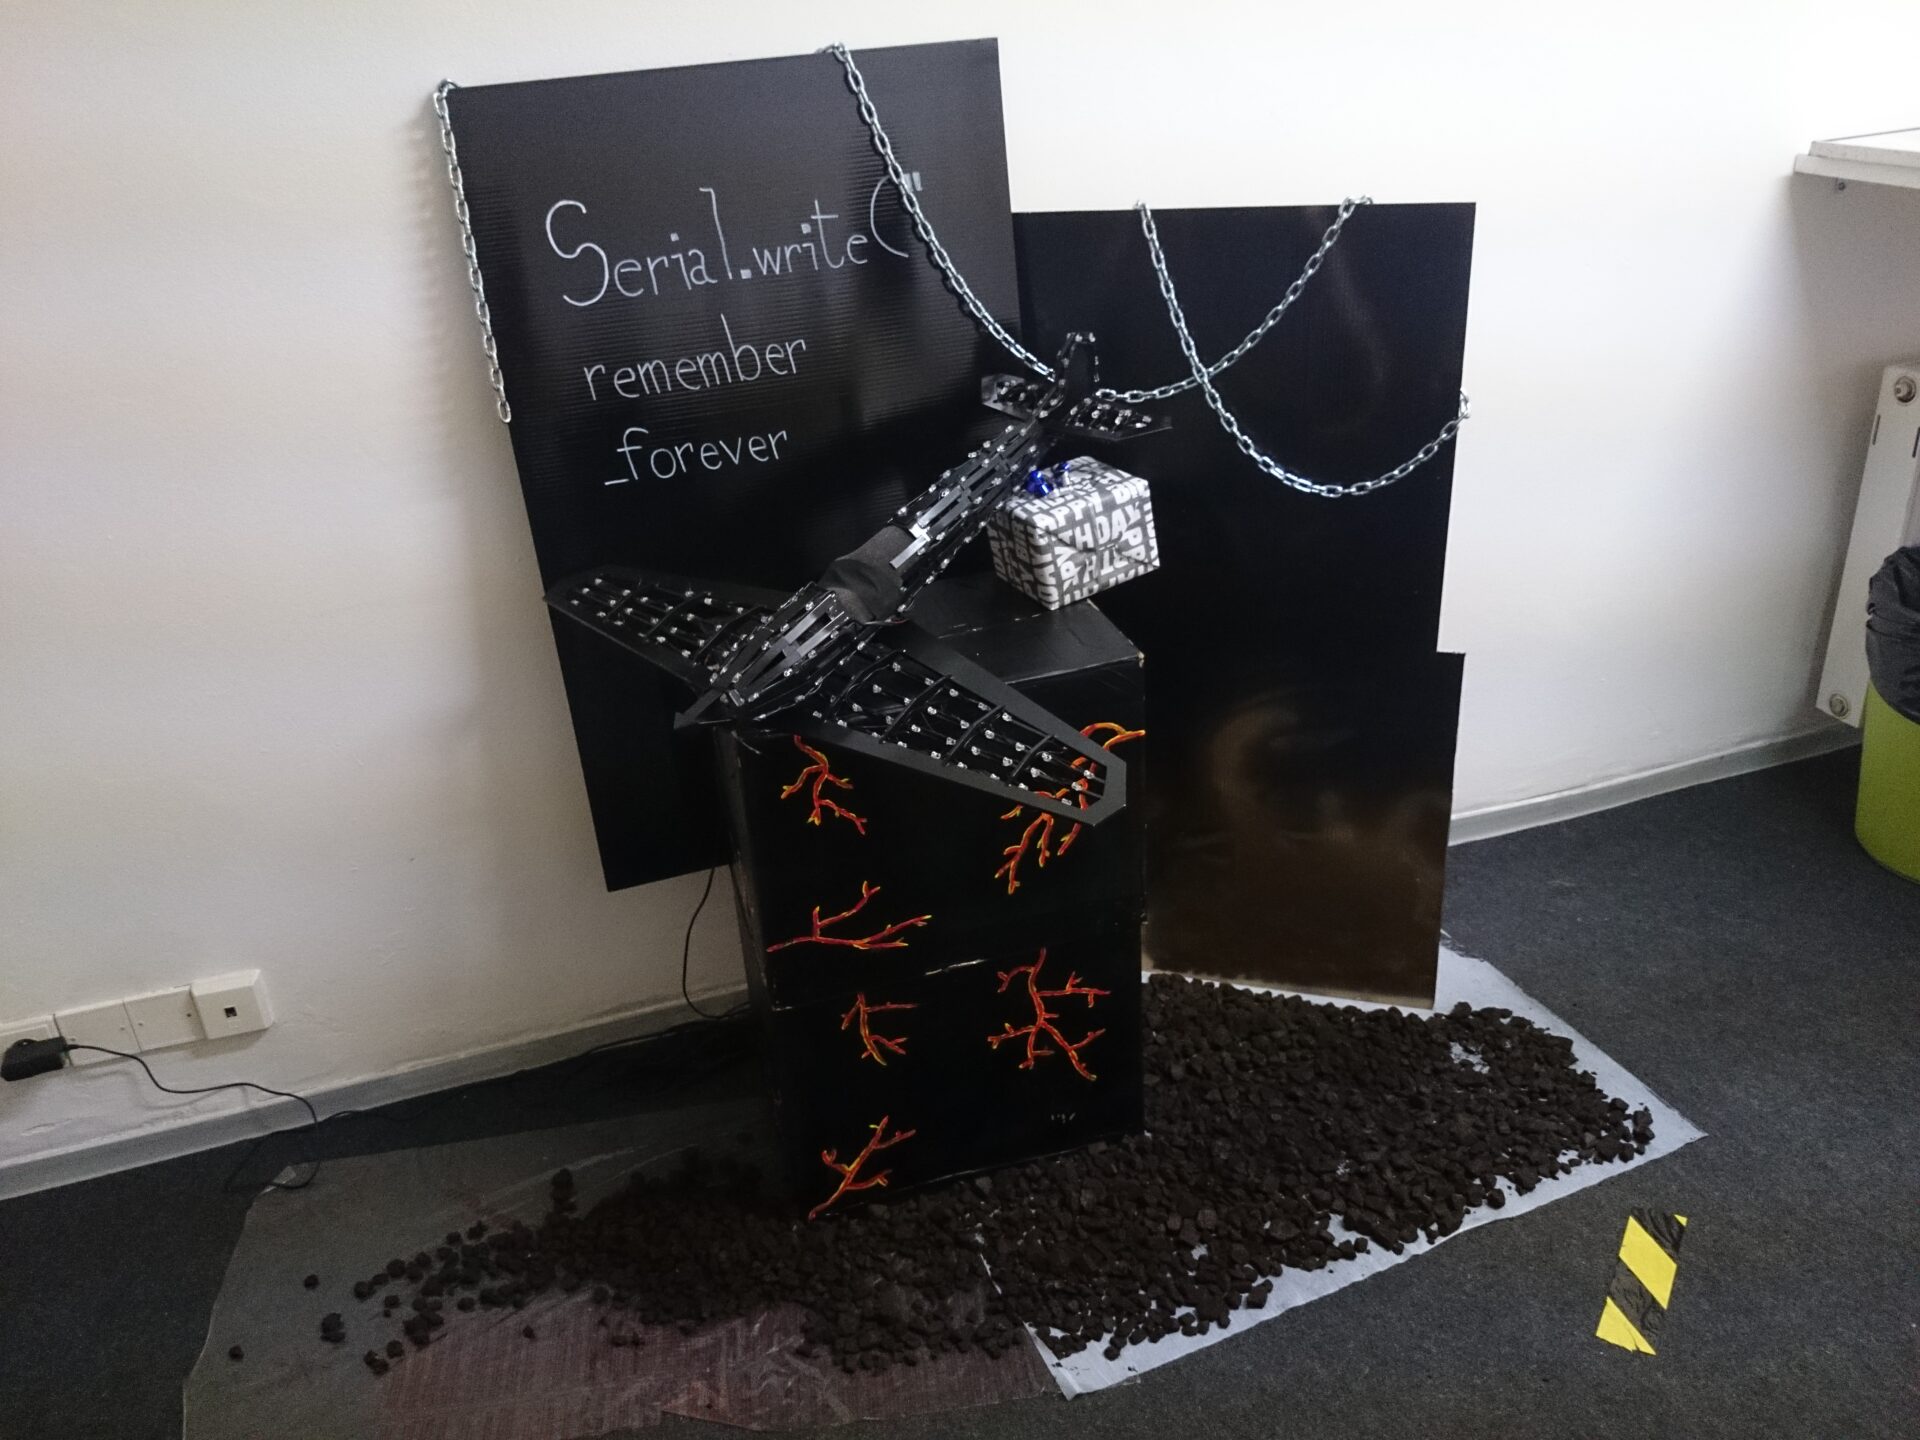
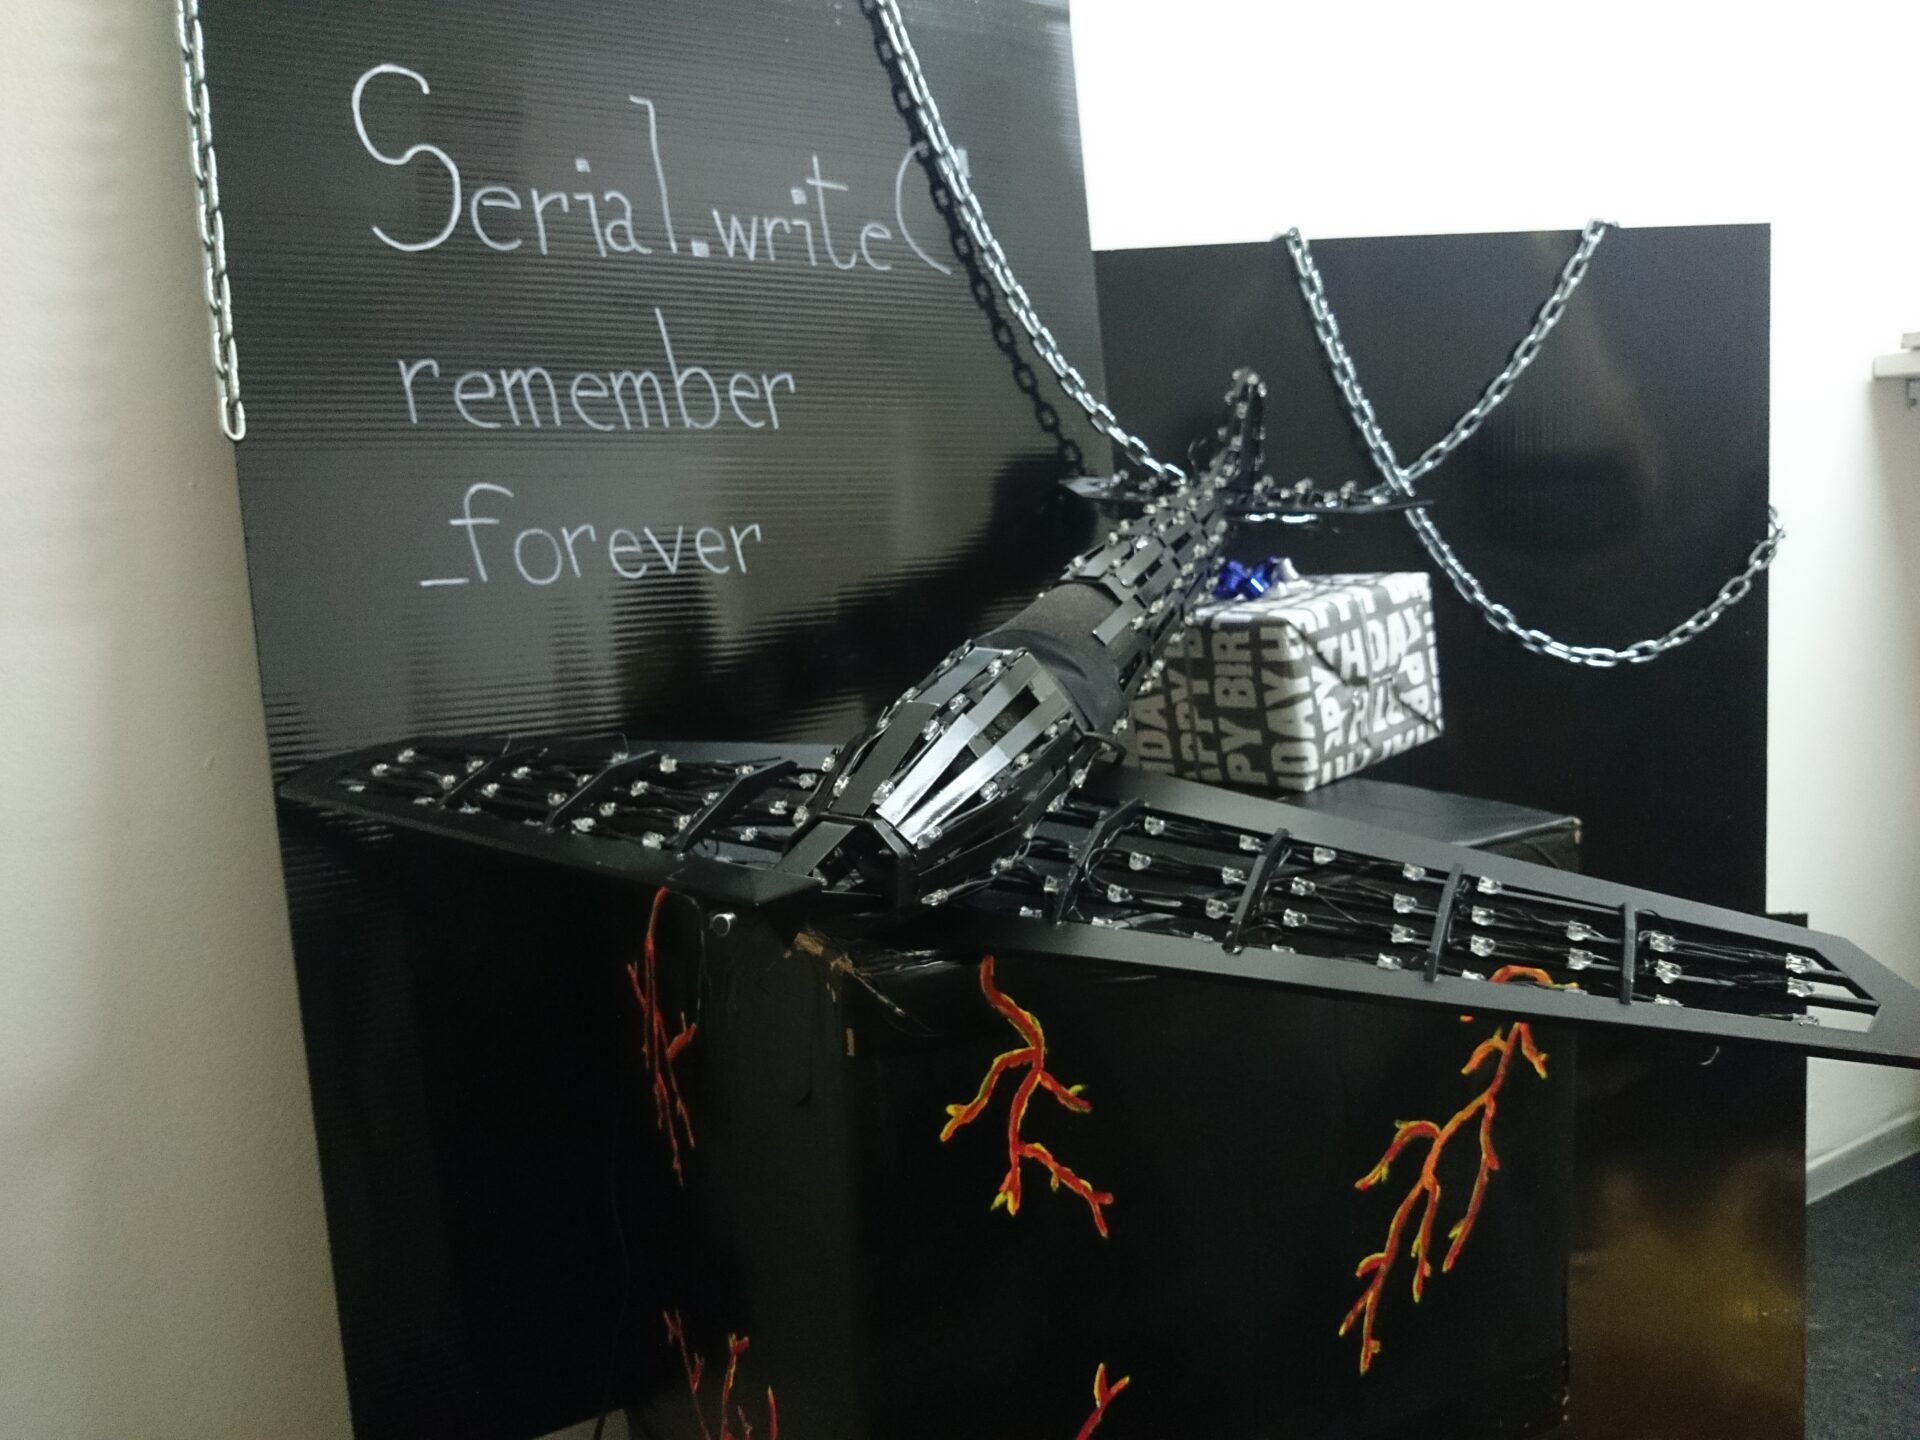
This is how the final installation has looked liked.
